


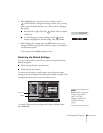

Fine-tuning the Projector 75
■ Progressive (in the Advanced1 menu)
This setting should normally be left at its default setting (Video
or
Film/Auto). Converts interlaced signals to progressive signals.
When set to
OFF, interlaced signals are processed without
conversion (available for video signals only).
■ BNC Sync Termination (in the Advanced2 menu)
This setting should normally be left Off (for TTL input). If an
analog (75-ohm) terminator is required, as for a switcher, change
the setting to
ON.
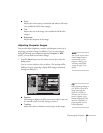
Communication Setup Options
These options let you set up the projector so it can be monitored and
controlled from a remote computer (see Chapter 5).
■ Standby Mode (in the Advanced1 menu)
Select Network ON to enable the projector to be monitored over
a network when it’s in standby mode; this setting also lets you
view images on an external monitor during standby, if the
monitor has been connected to the projector’s
Monitor Out port.
■ Network (in the Advanced2 menu)
Used for managing the projector over a network (see Chapter 5).
If the network assigns addresses automatically, turn on
DHCP.
Otherwise, turn off
DHCP and enter the projector’s IP Address,
Subnet Mask, and Gateway Address, if applicable.
If you want to monitor the projector using a network
management utility, select
SNMP and enter at least one trap IP
address.
■ COM Port (in the Advanced2 menu)
Used for communicating with a computer running the EMP
Link21L utility software. (You can download this utility free of
charge from http://support.epson.com.) Select
RS-232C or USB,
depending on the port that’s being used for communication with
the computer. Turn off the projector and then turn it back on for
the new setting to take effect.
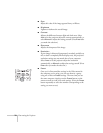
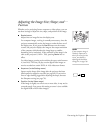
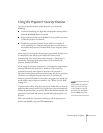
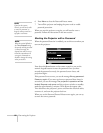
note
Press the Num button on
the remote control to use the
number keypad.
Num
button
Zero