


EPSON Stylus C63/64/83/84 Revision A
Disassembly and Assembly Disassembly 21
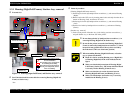
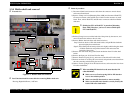
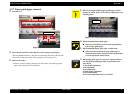
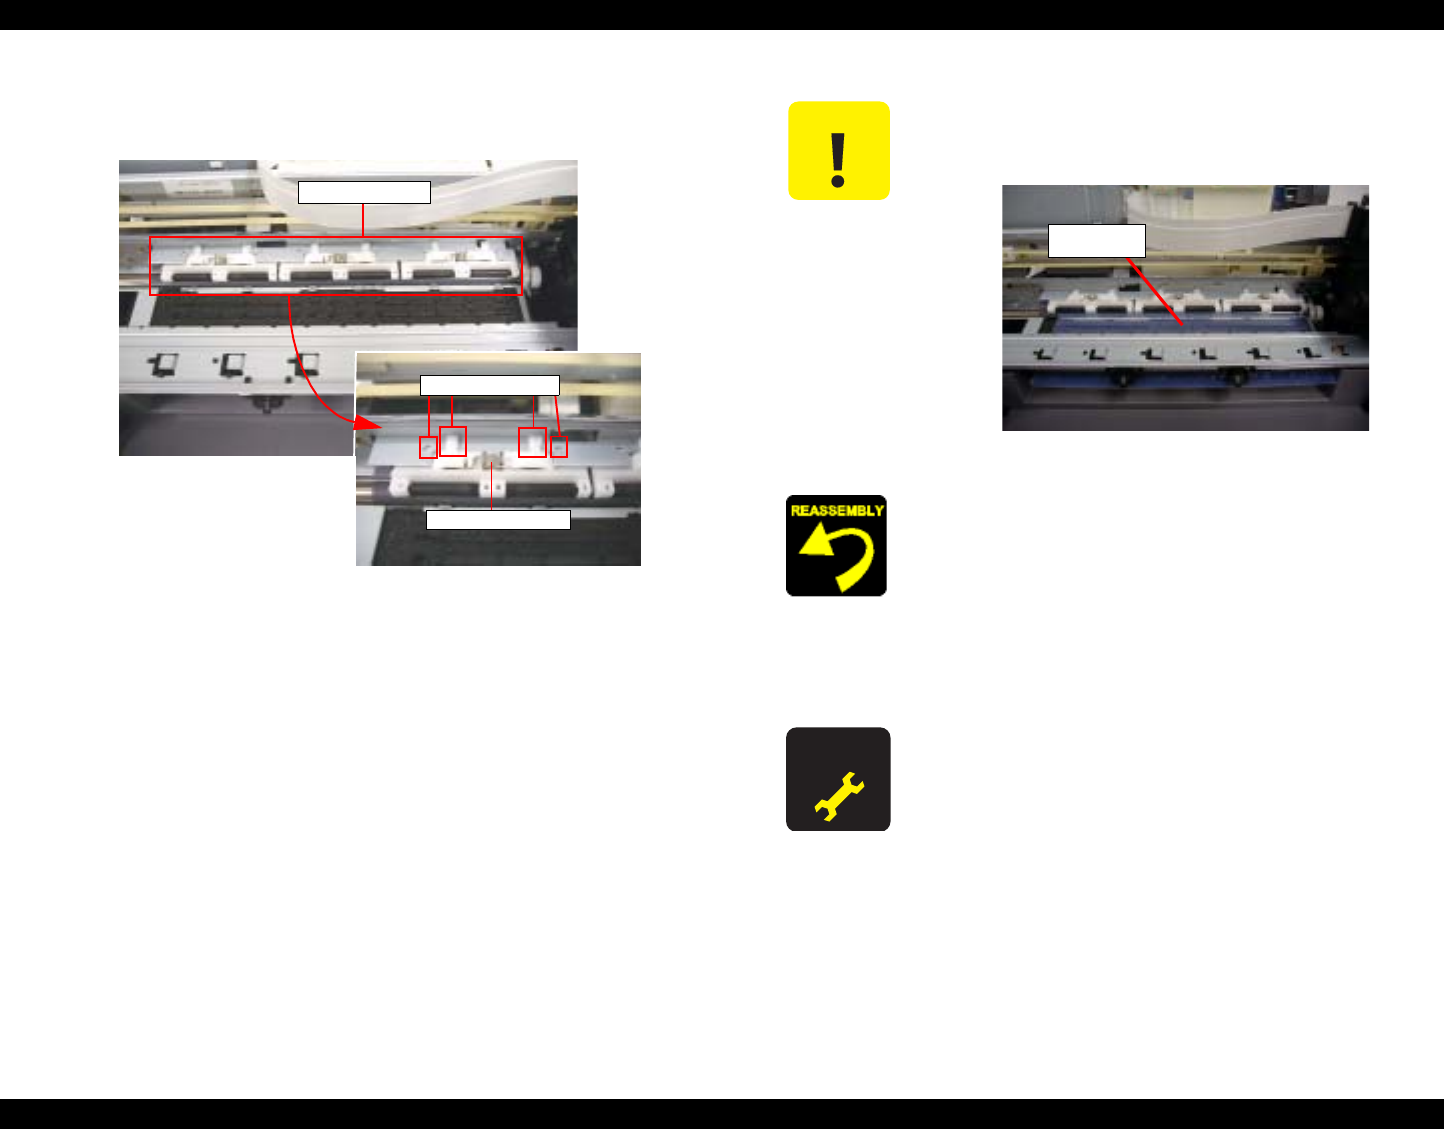
1.3.7 Paper guide upper removal
o External view
Figure 1-9.
o
Part/Unit that should be removed before removing Paper guide upper
Housing (Right/Left/Frame) / ASF unit / Circuit board / PS board / CR unit with
Front frame / Paper eject roller / Paper guide front / Housing (Lower)
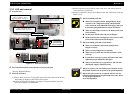
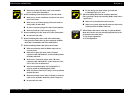
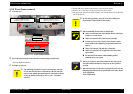
o Removal procedure
1) Push two dowels of Paper guide upper by the tweezer, and pull Paper guide
upper toward the front side of the printer.
Paper guide upper
Protrusion & Hook
Torsion spring, 60.05
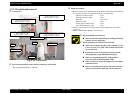
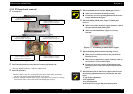
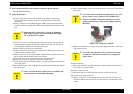
C A U T I O N
o When removing/assembling Paper guide upper, avoid to
damage the coated surface of PF roller by OHP sheet as the
following figure.
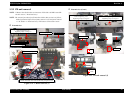
Figure 1-10. Paper guide removal procedure
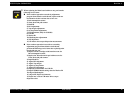
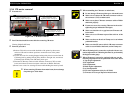
o When assembling Paper guide upper,
n Make sure to install the tip of Torsion spring 60.05 in
hole of Paper guide upper.
o When assembling Paper guide upper to main frame,
n Make sure that two dowels of Paper guide upper is
installed to main frame, and that Torsion spring 60.05 is
set to the protrusion of main frame.
A D J U S T M E N T
R E Q U I R E D
o When Paper guide upper is removed or replaced with new
one, the following adjustment must be performed in the
order below.
1) Top margin adjustment
2) PF adjustment
3) Bi-d adjustment
4) Head angular adjustment
5) 1st dot adjustment
6) PW sensor adjustment (Only for SC83/84)
OHP sheet