


EPSON Stylus C63/64/83/84 Revision A
Disassembly and Assembly Disassembly 31
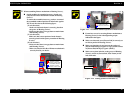
n Do not touch the sealing rubber portion and the Cleaner
head of the Cap unit.
n Make sure that [Sheet, Protect, Splash] is correctly
pasted on Cap unit.
If the adherence of [Sheet, Protect, Splash] is lower,
replace it with new one to avoid that ink leak out of
printer.
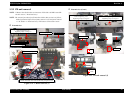
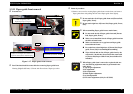
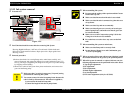
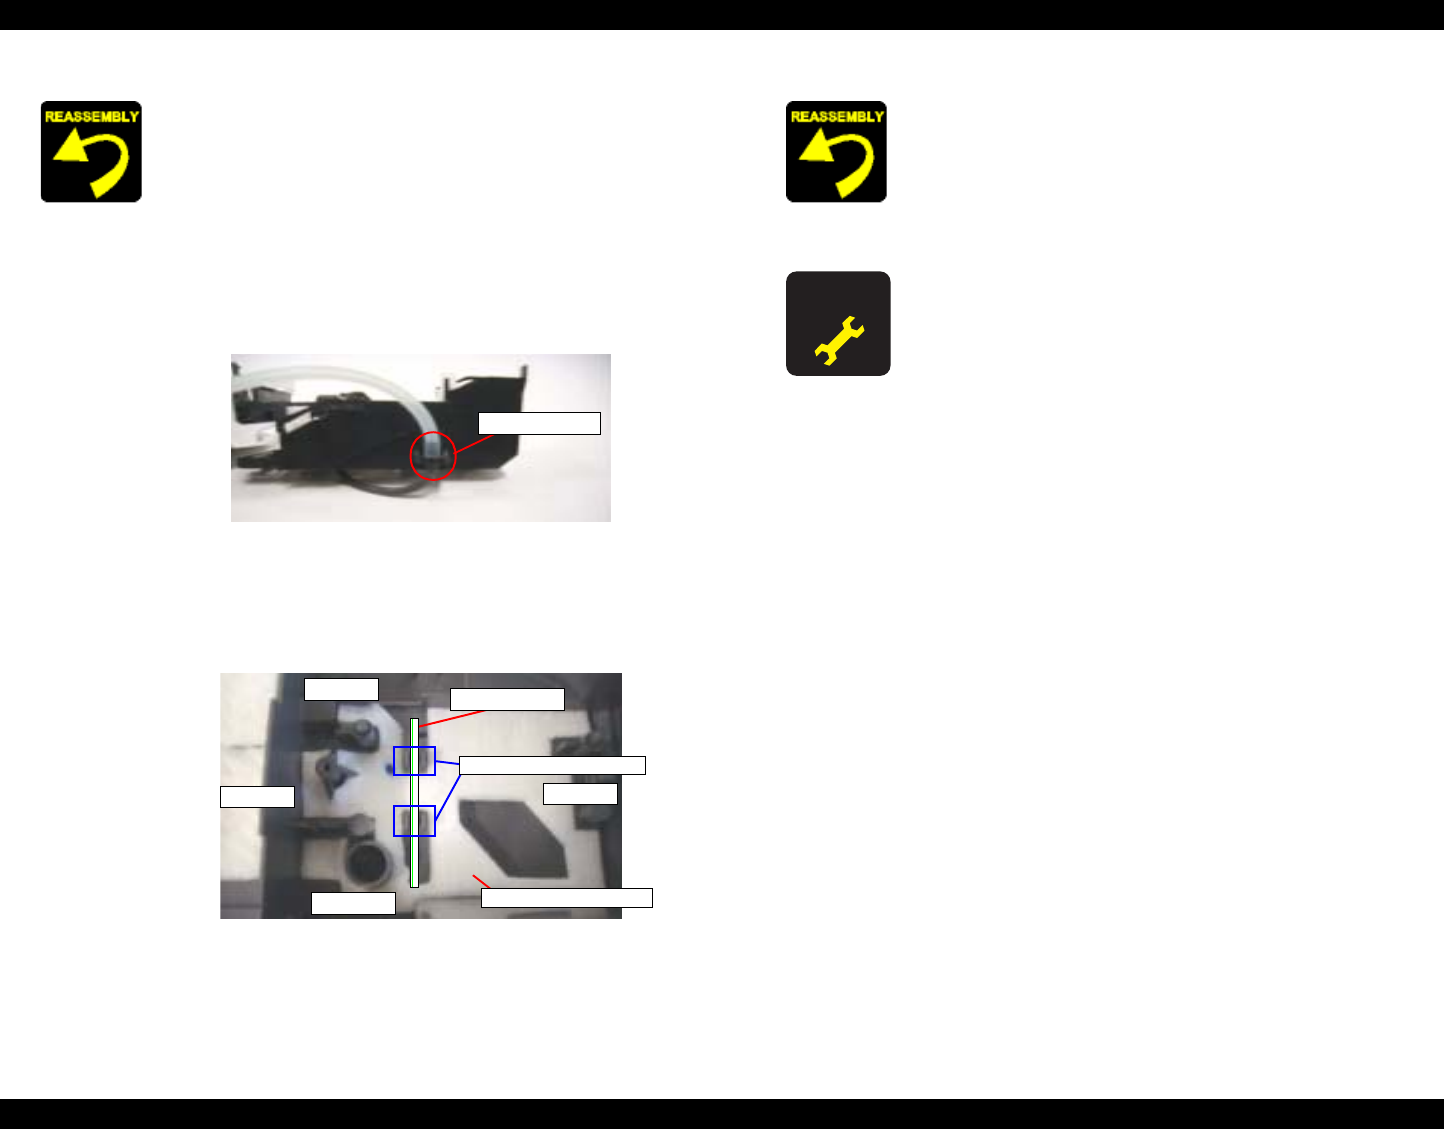
n Make sure that ink tube is connected on joint tube area
of cap frame.
Figure 1-23. Setting position of Ink tube (2)
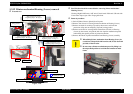
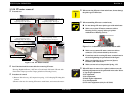
n
Make sure that ink tube is securely fixed by the groove
of Housing (Lower), and that line mark is faced to far
side direction. (ink tube is not twisted.)
Figure 1-24. Setting position of Ink tube (3)
n
Be careful not to crash or leave any stress on the Ink
tube.
Joint tube area
HP side
Front side
Backside
Porous Pad, Cap Lower
Ink tube (image)
Far side
Groove of Housing (Lower)
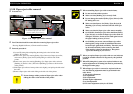
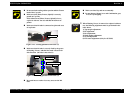
n Make sure that Cap unit moves smoothly.
n Do not damage Change lever and Combination gear,
27.2, 19.2 by dropping.
A D J U S T M E N T
R E Q U I R E D
o When Housing (Lower) is removed or replaced with new
one, the following adjustment must be performed in the
order below.
1) Top margin adjustment
2) PF adjustment
3) Bi-d adjustment
4) Head angular adjustment
5) 1st dot adjustment
6) PW sensor adjustment (Only for SC83/84)