


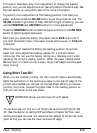

This section describes using micro-adjustment to change the loading
position, but you can adjust the short tear-off position the same way. See
the next section on using short tear-off for more information.
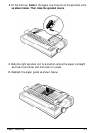
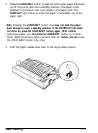
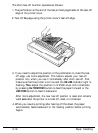
To perform micro-adjustment of the loading position, first load your
paper, and then press the
ON LINE
button to put the printer on line. The
ON LINE
indicator light starts to flash. While this light is flashing, you can
use the
FORM FEED
and
LINE FEED
buttons for micro-adjustment.
Press the
FORM FEED
button to feed the paper forward or the
LINE FEED
button to feed the paper backward.
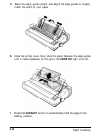
Each time you press the button, the paper moves
2/216
of an inch. If
you hold the button down, the paper moves continuously in
2/216-inch
increments.
When the paper reaches the factory-set loading position, the printer
beeps and micro-adjustment feeding pauses for a moment before
continuing. You can use this factory setting as a reference point when
adjusting the printer’s loading position. When the paper reaches either
the
minimum or maximum top margin, the printer beeps and the paper
stops moving.
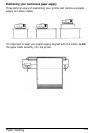
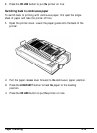
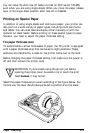
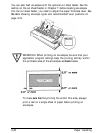
Using Short Tear-Off
When you are finished printing, the short tear-off feature automatically
feeds the perforation of the continuous paper to the tear-off edge of the
printer cover
so that
you can tear off the last sheet. When you resume
printing, the printer reverses the paper back to the loading position so
that you can use all of the next sheet.
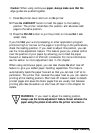
WARNING: Never use short tear-off with labels.
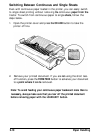
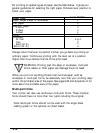
To use short tear-off, first turn off the printer and turn DIP switch
1-5
off. (See the section on setting DIP switches in Chapter
3.)
Then load
continuous paper as usual, but leave the rear section of the printer cover
open so that you can use the cover as a tear-off edge.
Paper Handling
2-15