11
2.3.2. Changing the TCP/IP Settings of the Managing
Computer
Use the Windows Network Control Panel Applet to change the TCP/IP settings of the managing
computer, so that the IP address of the computer and the IP address of the IWE3200-H are in the
same IP subnet. Set the IP address of the computer to 192.168.0.xxx.
NOTE:
For some versions of Windows, the computer needs to be restarted for the changes of
TCP/IP settings to take effect.
2.4. Configuring the IWE3200-H
The IWE3200-H is DHCP server enabled by default. After the IP addressing is configured, launch a
Web browser on the managing computer. Then, go to “http://192.168.0.1” to log on to the
IWE3200-H for Web-based management.
TIP:
For maintenance configuration, the IWE3200-H can be reached by its host name using a
Web browser. For example, if the IWE3200-H is named “AP”, you can use the URL
“http://AP” to access the Web-based management interface of the IWE3200-H.
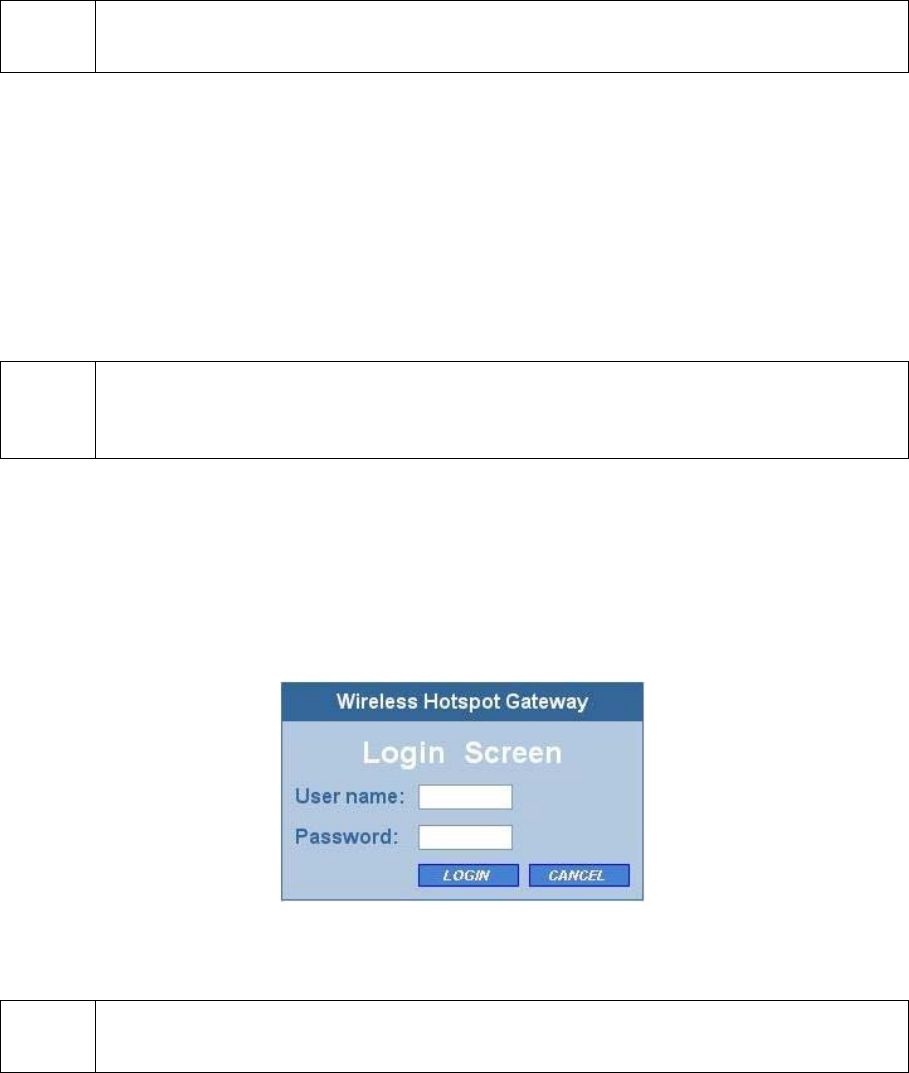
2.4.1. Entering the User Name and Password
Before the Home page is shown, you will be prompted to enter the user name and password to gain
the right to access the Web-based Network Manager. For first-time configuration, use the default user
name “root” and default password “root”, respectively.
Fig. 7. Entering the user name and password.
NOTE:
It is strongly recommended that the password be changed to other value for security rea-
sons. (See Section 2.10.2 for more information).


