


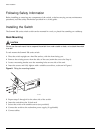


Installing or Replacing a Mini-Gigabit Interface Connector (Mini-GBIC)
Summit 200 Series Switch Installation and User Guide 29
Free-Standing
The Summit 200 series switch is supplied with four self-adhesive rubber pads. Apply the pads to the
underside of the device by sticking a pad in the marked area at each corner of the switch.
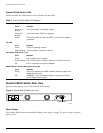
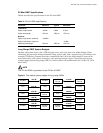
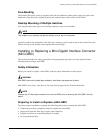
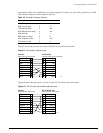
Desktop Mounting of Multiple Switches
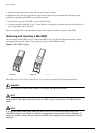
You can physically place up to four Summit switches on top of one another.
NOTE
This relates only to stacking the devices directly one on top of one another.
Apply the pads to the underside of the device by sticking a pad at each corner of the switch. Place the
devices on top of one another, ensuring that the corners align.
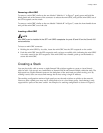
Installing or Replacing a Mini-Gigabit Interface Connector
(Mini-GBIC)
This section describes the safety precautions and preparation steps that you must perform before
inserting and securing a mini-GBIC.
Safety Information
Before you install or replace a mini-GBIC, read the safety information in this section.
WARNING!
Mini-GBICs can emit invisible laser radiation. Avoid direct eye exposure to beam.
Mini-GBICs are a class 1 laser device. Use only devices approved by Extreme Networks.
NOTE
Remove the LC fiber-optic connector from the mini-GBIC prior to removing the mini-GBIC from the
switch.
Preparing to Install or Replace a Mini-GBIC
To ensure proper installation, complete the following tasks before inserting the mini-GBIC:
• Disable the port that is needed to install or replace the mini-GBIC.
• Inspect and clean the fiber tips, coupler, and connectors.
• Prepare and clean an external attenuator, if needed.
• Do not stretch the fiber.