To save scanned document images immediately after scanning, mark this checkbox.
If you want to verify scans before saving them to file, clear this checkbox.
Folder Name
You can specify a folder to save scanned document images.
Type in a full path in the box or click the [Browse] button to select a desired folder
File Name
A file name used to save scanned document image files is displayed.
When you want to use the name rule for file names, mark the [Use the Name Rule] checkbox, click the
[Name Rule] button to display the [Name Rule] dialog box, and change the naming rule. When creating
multiple image files at a scan, you can specify how to name those files.
Clear this checkbox when you want to specify a file name on this dialog box.
File Format
You can select a file format to save image files.
Bitmap (*.bmp), TIFF (*.tif), JPEG (*.jpg/*.j2k), PDF (*.pdf), or PDF/A (*.pdf) can be selected.
(When you select a multi-page format such as MultiPage TIFF , PDF, and PDF/A, multiple images can be
saved in a file.)
Color Format
You can specify color mode (the number of colors to be used to display image data).
When [Use Detail Scanner settings] is selected, you cannot select the compression format below. The
default compression format is applied.
Compression
You can select how to compress files to save.
Document
When scanning a document containing more than one page, you can specify whether to create one file
containing all pages or to divide into files each containing the specified number of pages.
This becomes selectable only when a multi-page format is selected.
File Overwrite Warning
You can select whether to receive a confirmation message when scanned document image files with the
same names already exist in the destination folder. If you select [Do not display confirmation dialog], those
files are replaced with new ones.
Number of pages to scan
You can specify the number of pages to be scanned at a scan.
To make a confirmation message when no paper remains in the ADF paper chute, mark the [Show
confirmation when there is no paper on ADF] checkbox.
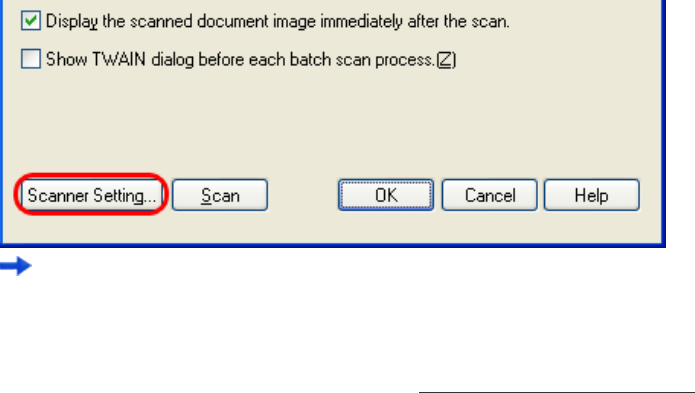
[Display the scanned document image immediately after the scan] Checkbox
Specify whether to preview a scanned document image or not.By default, this checkbox is marked.
If memory becomes insufficient because the file size of a scanned document image is too large to display,
clear this checkbox.(*Only when the [Save to file] checkbox is marked, this checkbox can be cleared.)
[Show TWAIN dialog before each batch scan process] Checkbox
Marking this checkbox displays the setup dialog box at a scan when the TWAIN driver is used for scanning.
(* When the FUJITSU ISIS Scanner Driver is used, this checkbox is not available.)
4. Click the [Scanner Setting] button.
The scanner driver setup dialog box appears.
5. Configure various settings for scanning documents.
For more details about the settings, see Section "2.5 How to Use Scanner Drivers."
