CHAPTER 4: Upgrading Your Computer
46
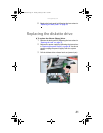
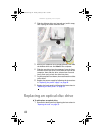
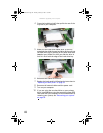
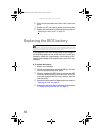
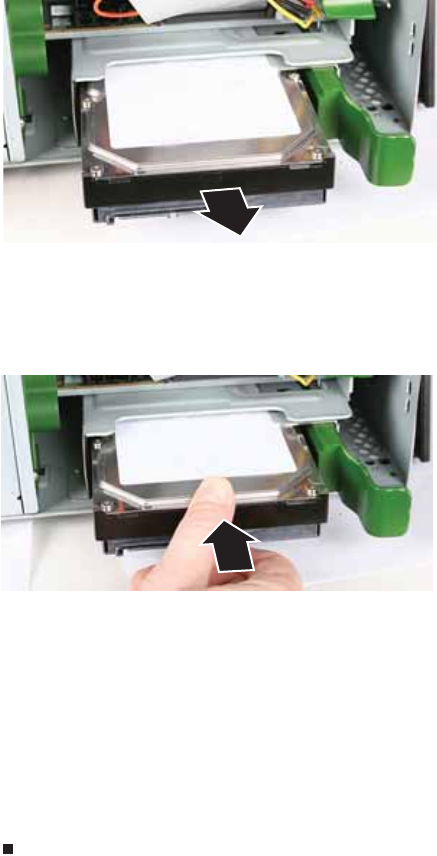
4 Grasp the hard drive itself, then pull it the rest of the
way out of your computer.
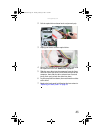
5 Make sure the hard drive release lever is still fully
extended, then slide the new hard drive all the way into
the hard drive bay by pushing on the hard drive itself
(not the lever). Make sure that you slide the drive in
until it is flush with the edge of the hard drive bay.
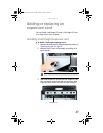
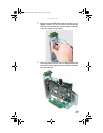
6 Reconnect the cables to the drive.
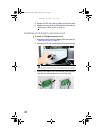
7 Replace the back panel by following the instructions in
“Replacing the back panel” on page 36.
8 Reconnect all external cables and the power cord.
9 Turn on your computer.
10 If you are using the new hard drive as your primary
drive, install Windows using the operating system DVD
that came with your computer. For more information on
restoring your system, see “Recovering your system”
on page 89.
8512032.book Page 46 Tuesday, January 9, 2007 1:47 PM


