


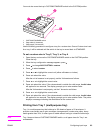

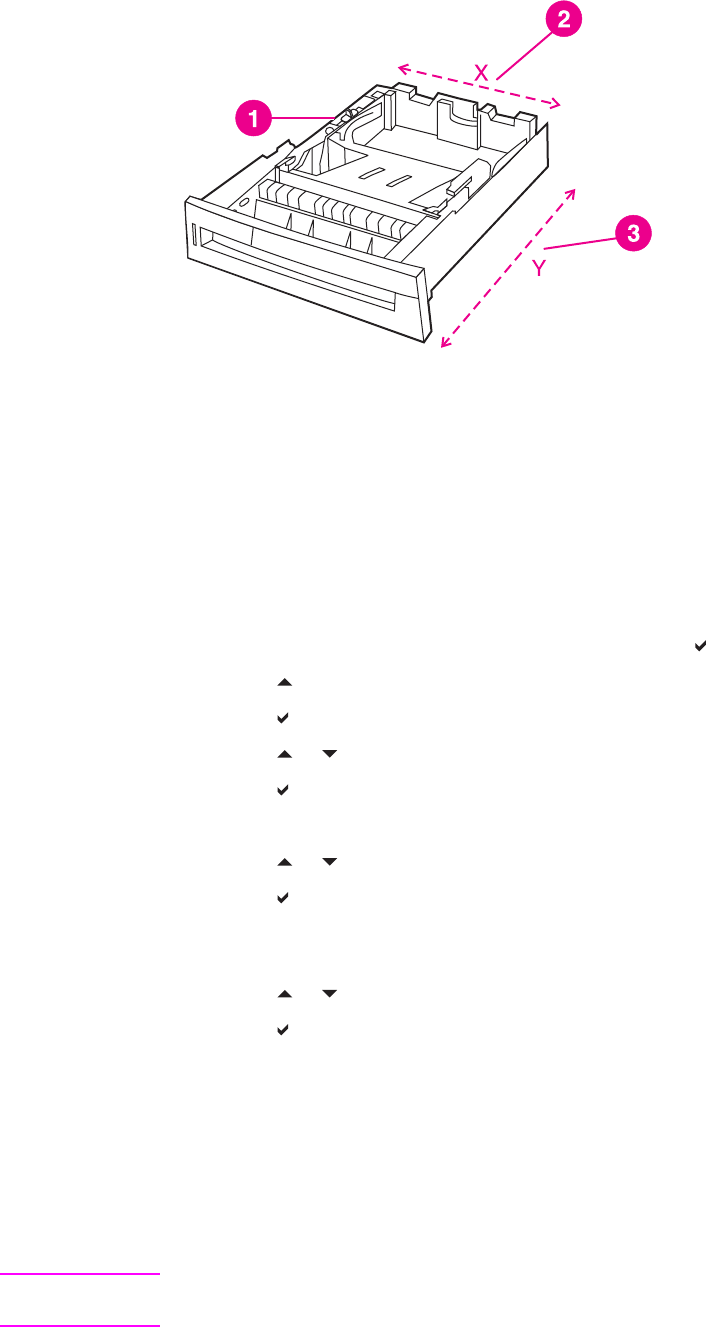
You must also move the tray’s CUSTOM/STANDARD switch to the CUSTOM position.
1 CUSTOM/STANDARD switch
2 Page width (X dimension)
3 Page length (Y dimension)
Use the following procedure to configure a tray for a custom size. Once a Custom size is set
for a tray, it will be retained until the switch in the tray is moved back to STANDARD.
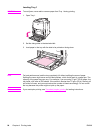
To set a custom size in Tray 2, Tray 3, or Tray 4
1. Open the tray and move the CUSTOM/STANDARD switch to the CUSTOM position.
Close the tray.
2. When the tray configuration message appears, press
.
3. Press
to change ANY CUSTOM to custom.
4. Press
to select custom.
5. Press
or to highlight the correct unit (either millimeters or inches).
6. Press
to select the value.
After the unit of measure is set properly, set the X dimension as follows:
7. Press
or to highlight the correct value.
8. Press
to select the value. If the value entered is outside the valid range, Invalid value
will appear for two seconds. The display prompts you to enter another value.
After the X dimension is set properly, set the Y dimension as follows:
9. Press
or to highlight the correct value.
10. Press
to select the value. If the value entered is outside the valid range, Invalid value
will appear for two seconds. The display prompts you to enter another value. The printer
displays a message indicating the dimensions for the custom size.
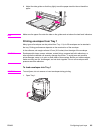
Printing from Tray 1 (multipurpose tray)
Tray 1 is a multipurpose tray that holds up to 100 sheets of paper or 20 envelopes. It
provides a convenient way to print envelopes, transparencies, custom-size paper, heavy
media greater than 32 lb, or other types of media without having to unload the other trays.
Note
Tray 1 does not have a CUSTOM/STANDARD switch, so all paper sizes for Tray 1 are
undetectable.
ENWW Configuring input trays 83