


Getting Started 8–11
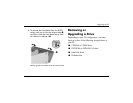
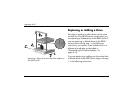
Upgrading the PC
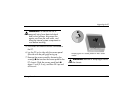
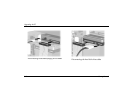
5. For both the S and 8000 series, if you are
replacing the old drive with a new drive,
remove the four screws 4 (two on each side)
from the old drive. You need these screws to
install the new drive.
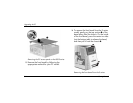
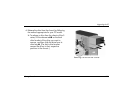
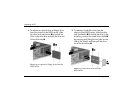
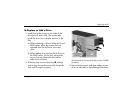
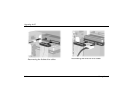
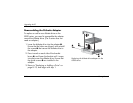
6. For an 8000 series diskette drive, squeeze
inward on both sides of the bracket brace and
lift the brace up and out 1. Remove the two
sets of screws 2 (left and right sides) that
secure the drive to the drive adapter. Lift the
diskette drive out of the drive adapter 3 by
sliding the drive back and then up. Ensure that
the guide screws 4 (left and right sides) are
left in the drive adapter.
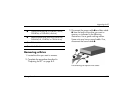
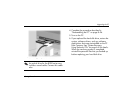
If you have the S series, you are
finished with the task of removing a
drive from the chassis. If you have the
8000 series and you removed either a
hard disk drive or an optical drive, you
are also finished with this task. If you
have the 8000 series and you removed
a diskette drive, continue to step 6.