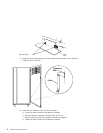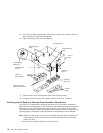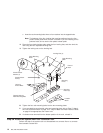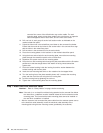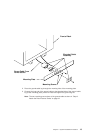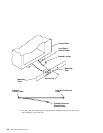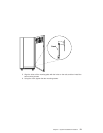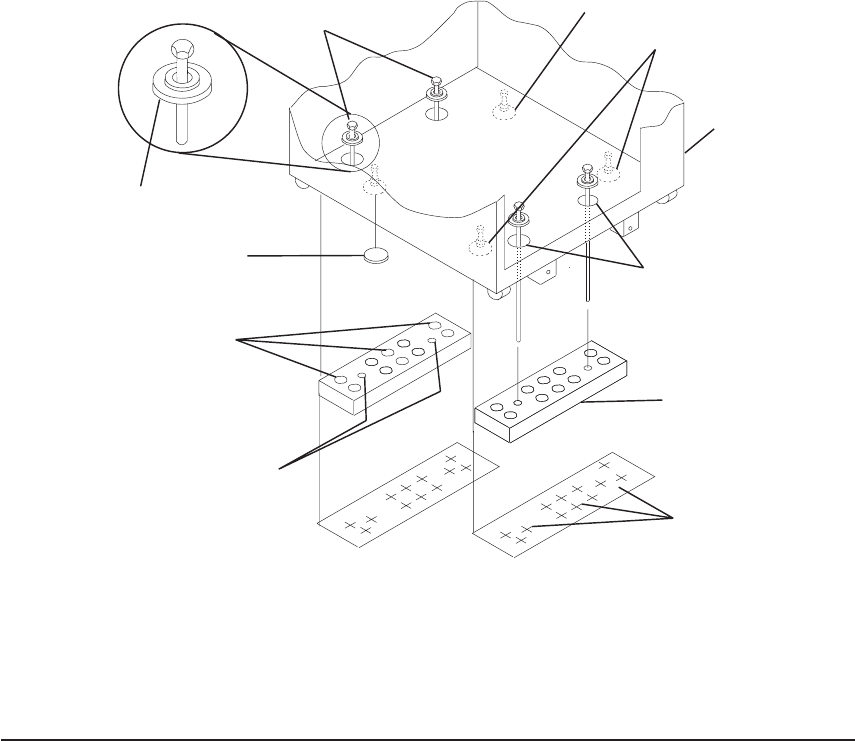
c. Insert the rack-mounting bolts three to four rotations into the tapped holes.
Note: The bottoms of the four leveling feet must be positioned over the four
plastic isolator pads when the rack is leveled. If you are installing an AC
powered rack, do not use the four plastic isolator pads.
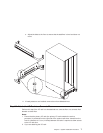
18. Place the four plastic isolator pads under the four leveling feet, and then level the
rack using the four adjustable leveling feet.
19. Tighten the locking nuts on the leveling feet.
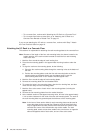
20. Tighten the four rack-mounting bolts into the two mounting plates.
21. If you are attaching an electrical outlet and mounting plate, skip to “Step 7. Attach
the Front Electrical Outlet” on page 18 or “Step 8. Attach the Rear Electrical Outlet”
on page 22 as appropriate, then return here.
22. If a drawer was removed from the bottom position of the rack, reinstall it.
Step 6B. Attach the System Rack to a Concrete Floor
Perform this step if the system rack is to be attached to a concrete floor or a concrete
floor beneath a raised floor.
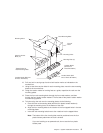
Mounting
Plates (2)
Location
Marks
Holes for
Anchor Bolts
Tapped Holes for
Rack Mounting Bolts
Mounting
Holes
Front of
Rack
Plastic Isolator
Washer (4)
Leveling Foot (4)
Plastic Isolator
Pad (4)
Rack-Mounting
Bolts
Rack-Mounting
Bolts
14 S80, S85 Installation Guide


