


page 2.16
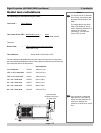
2. Installation Digital Projection LIGHTNING 35HD User Manual
Notes
BEFORE INSTALLING THE
PROJECTOR, READ ALL THE
WARNINGS BELOW AND ALL
THOSE IN IMPORTANT
INFORMATION AT THE
FRONT OF THIS MANUAL.
The projector weighs over
100kg (200lbs). Use safe
handling techniques when
lifting the projector.
Make sure that the surface,
ceiling or rigging that is to
support the projector is
capable of supporting the
combined weight of the
projector and lens (see
specification for weights).
Backup safety chains or
wires should always be used.
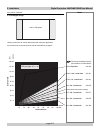
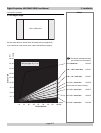
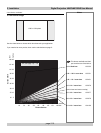
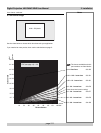
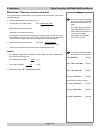
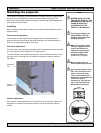
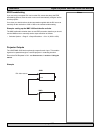
Do not tilt the projector more
than ±12° from side to side
when in use, as this may
cause serious lamp failure,
damage the lamp module and
cause extra cost on
replacement. The projector
my be tilted forwards and
backwards as necessary.
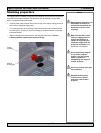
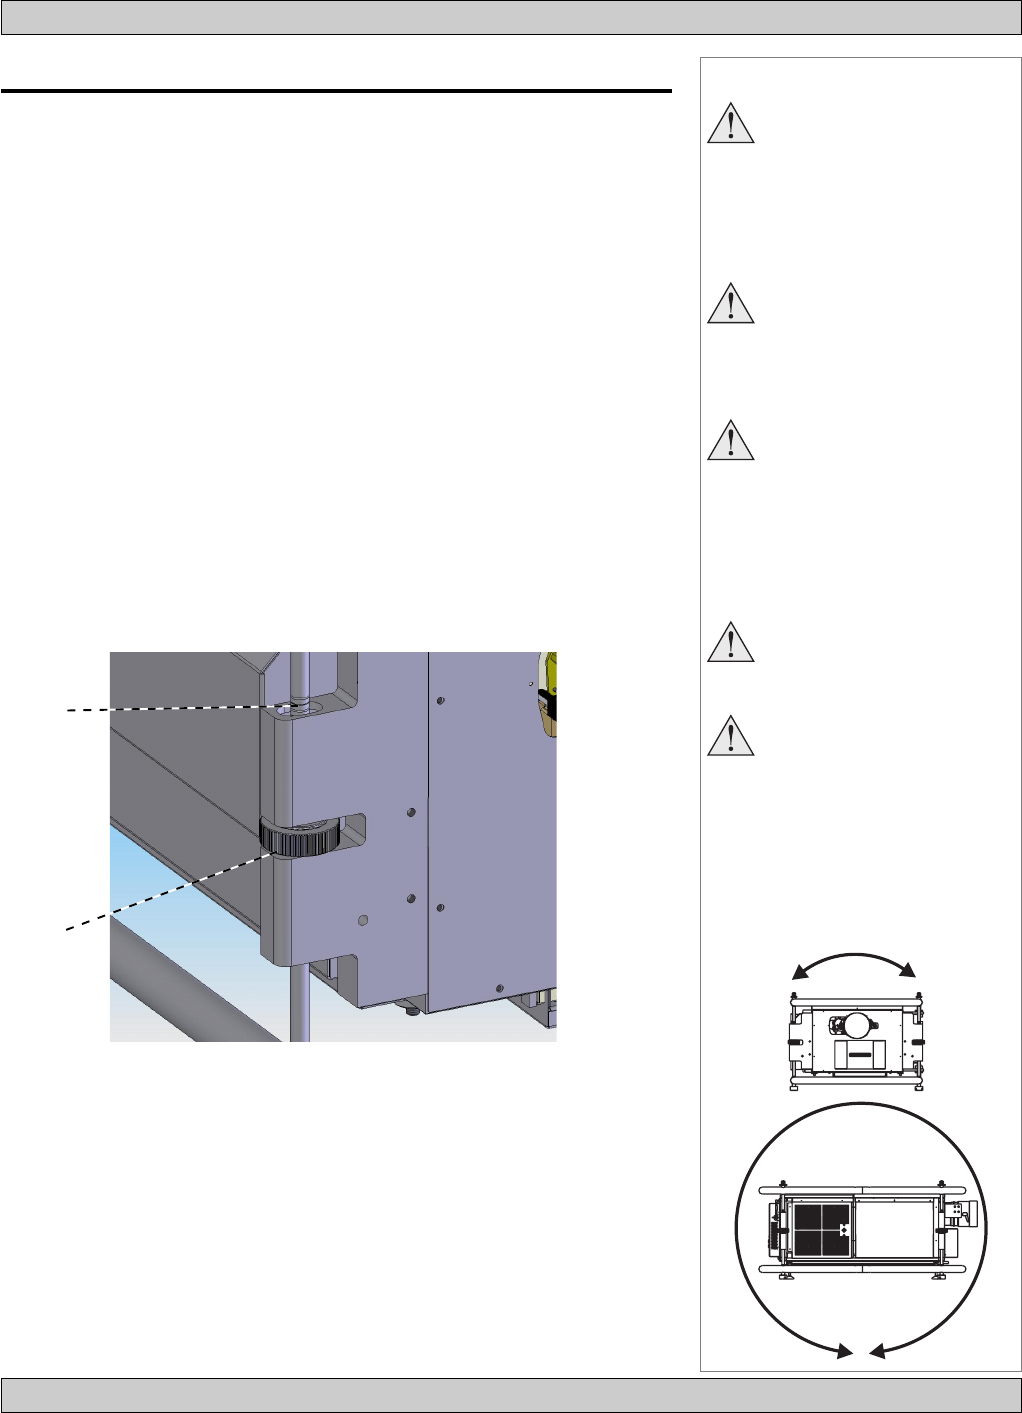
Centering
line
Frame
adjuster
±12°
360°
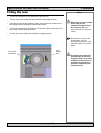
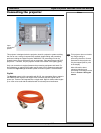
Mounting the projector
The projector is designed to be suspended from a lighting truss by its rigging frame.
However, the four adjustable feet under the chassis allow the projector to be
lowered onto a flat surface without any danger of hands being trapped between the
bottom frame and the surface.
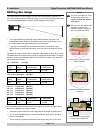
Levelling
Before suspending the projector, make sure that the three frame adjusters are set
roughly midway.
Coarse frame adjustment
If the projector is to be suspended by its rigging frame, coarse adjustment of
projector level should be made by adjusting the length of the supporting wires or
chains, or by adjusting the position of the truss.
Fine frame adjustment
Once the initial coarse adjustment has been made, fine adjustment should be made
by turning the three frame adjusters on the rigging frame.
The frame adjusters will provide approximately ±10mm of movement relative to the
rear right corner. Centering lines are scribed on the shafts to show the centre of
adjustment.
Chassis adjustment
If the projector is to be operated from a flat surface such as a projector table, then
adjustment of projector level should be made by turning the four feet under the
chassis.