page 4.12
4. Using the menus Digital Projection LIGHTNING 35HD User Manual
Notes
The eight buttons of the Main
menu are always visible at the
bottom of the display.
To go back to a previous menu
option that is no longer visible,
call up the menu again using
the appropriate Main menu
button.
When Test patterns are
selected, the actual colours
displayed may depend on the
settings of the contrast,
brightness and gamma controls.
It may be necessary to set all
brightness controls to 0.0, and
all contrast controls to 1.0,
before making any light level
measurements.
There are two ways of creating
a blank screen:
Shutter closed: the screen is
completely black.
All black test pattern: all pixels
are set to off, but there may be
an extremely small amount of
light leakage through the prism
and DMD assembly.
Image menu
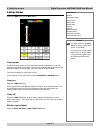
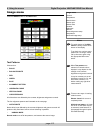
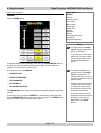
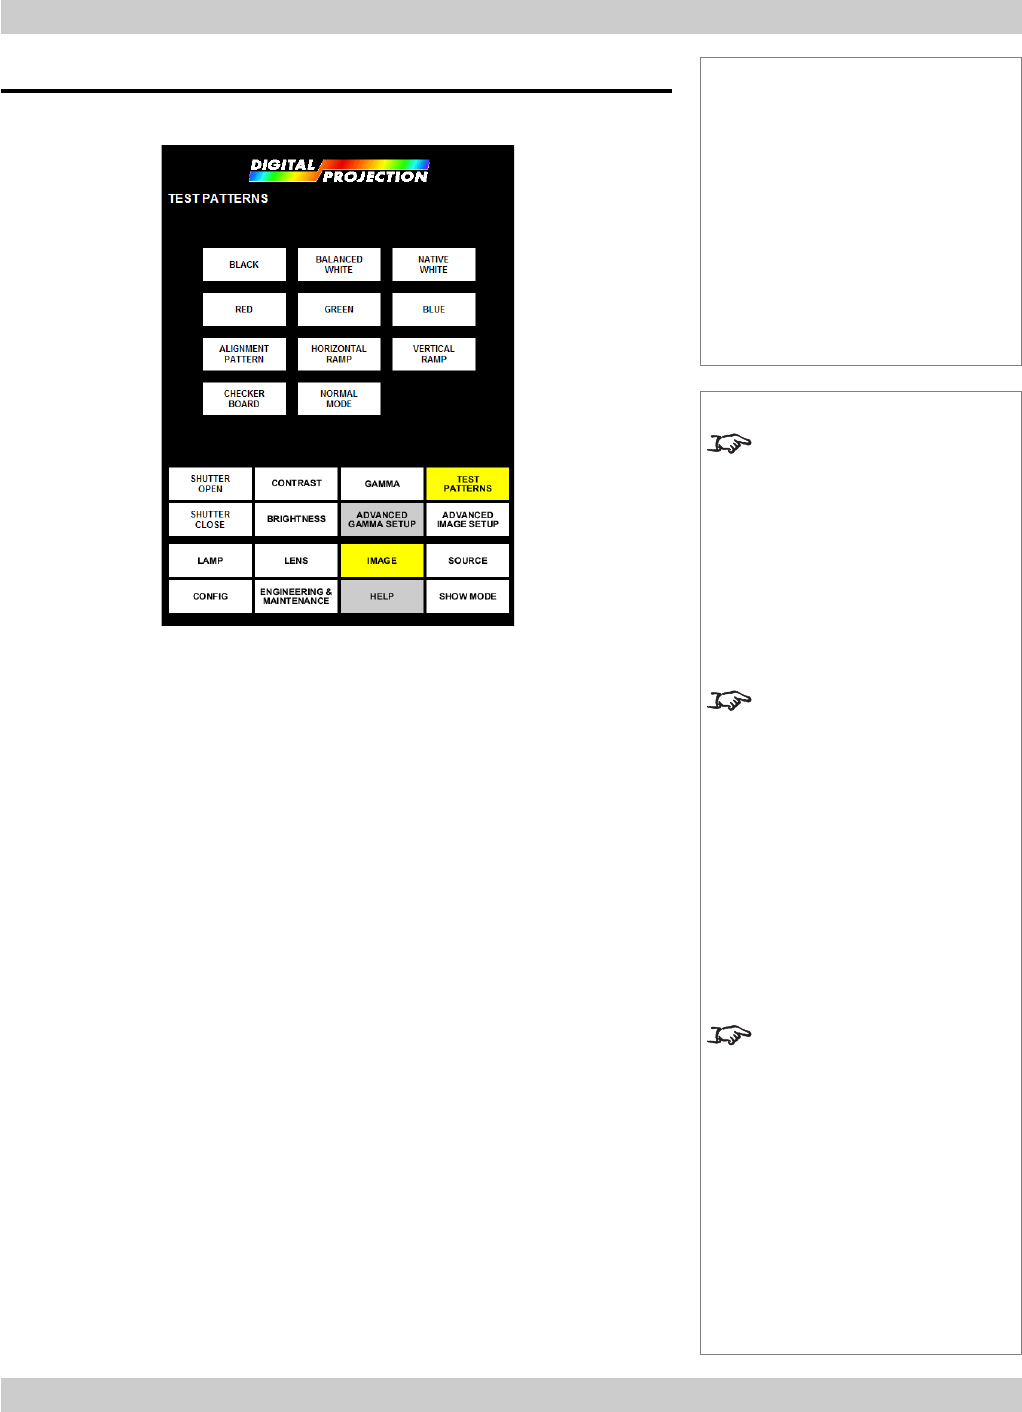
Press the IMAGE button on the Main menu:
Test Patterns
Choose from:
• BLACK
• BALANCED WHITE
• RED
• GREEN
• BLUE
• ALIGNMENT PATTERN
• HORIZONTAL RAMP
• VERTICAL RAMP
• CHECKER BOARD
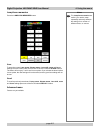
All of the above are affected by the contrast, brightness and gamma controls.
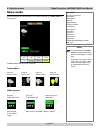
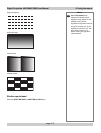
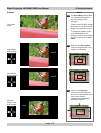
The four alignment patterns are illustrated on the next page.
• NATIVE WHITE
Native white is not affected by the contrast, brightness and gamma controls. All
pixels are fully illuminated, and no colour balancing is possible.
• NORMAL MODE
Normal mode turns off all test patterns, and restores the source image.
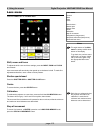
Image menu
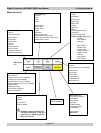
Controls
Test patterns
Menu buttons...
Shutter open
Shutter close
Contrast
Brightness
Gamma
Advanced gamma setup
Test patterns
Advanced image setup


