TimeMed Labeling Systems, Inc. - Call Toll Free: 800-323-4840 or visit www.timemed.com
20
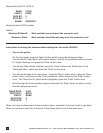
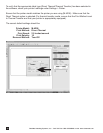
• You will now be given the choice to select the primary key, check the “Choose my own Primary
Key” option and select “Record #” as the drop down option, click on “Next”
• Select an appropriate name for the Table and click on “Finish” to complete
• Double click on the new table name you created in the database window
• You will now see the data that was imported from Excel
• Column widths can be adjusted by clicking and dragging the end of each column
• To add additional data, simply scroll down to the end of the table and add additional
information as needed, click on the “Save” icon to save the newly entered data
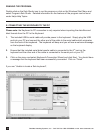
2. Run SOLO Studio from the Start|Programs|SOLO Studio menu (or by clicking on the Solo
Studio icon on your desktop), after it has been installed.
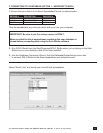
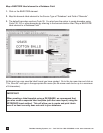
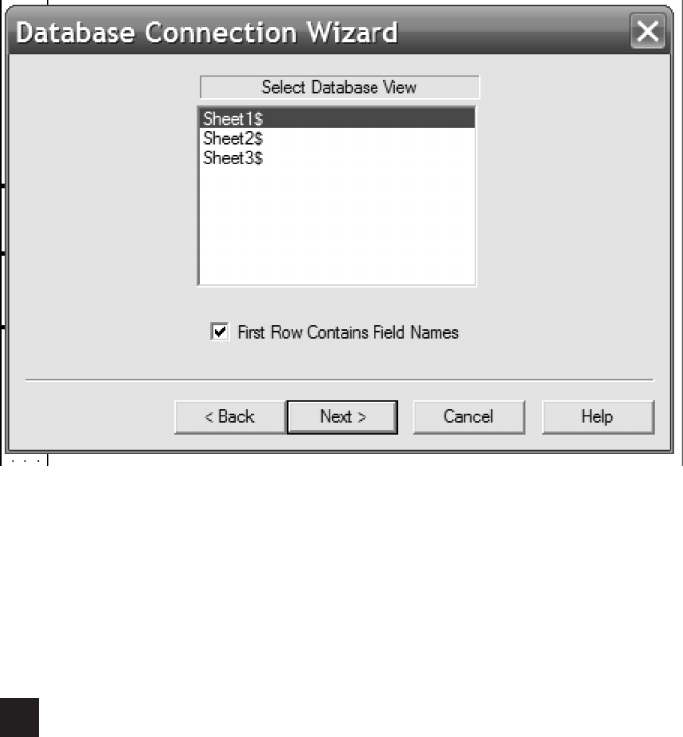
3. Use the Database Connection Wizard, from the Database|Properties top menu item, to
connect SOLO Studio to the Access database you have just saved.
Select “Access (*mdb)” and locate your saved Access database
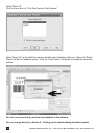
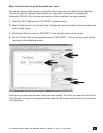
Select “Sheet 1$”
Click the check box for “First Row Contains Field Names”


