


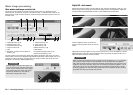

Exposure control for negatives: autoexpo-
sure adjusts the scan to compensate for the
density of the negative. The manual setting
uses a fixed exposure regardless of the density
of the film. Manual exposure can show the
exposure difference in a bracket series. When
using AE lock or AE area selection with nega-
tives (p. 45), the auto function must be select-
ed.
Auto expose for slides: to use autoexposure
when scanning slides. Since the density range
of slides is relatively uniform, adjusting the
exposure for each slide is usually unnecessary.
However, when scanning an underexposed or
overexposed slide, the autoexposure system
can compensate for the unusual image density.
When using AE lock or AE area selection with
slide film (p. 45), the auto-expose-for-slide box
must be checked.
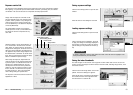
Manual Focus Dial: to use the manual-focus
dial on the scanner unit. The appearance of the
manual-focus button in the prescan tab
changes when active. For more on manual focus, see page 44. If selected, auto-
focus and point AF cannot be used.
Autofocus at scan: this option activates the autofocus function during the pre-
scan and final scan. When using Digital ICE, ROC, and GEM, the use of autofocus
is recommended. The autofocus function increases the scanning time.
Prescan after point AF: the scanner automatically makes a prescan after the focus point is
specified with point AF. See page 44 for more on point AF.
Index scan at loading: the scanner automatically makes an index scan each time a film holder
is inserted into the scanner.
4140
Advanced scanning
Advanced scanning
This section covers the advanced scanning tools in the DiMAGE Scan Utility. The basic scanning
section on pages 26 through 33 should be read before continuing.
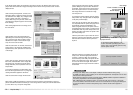
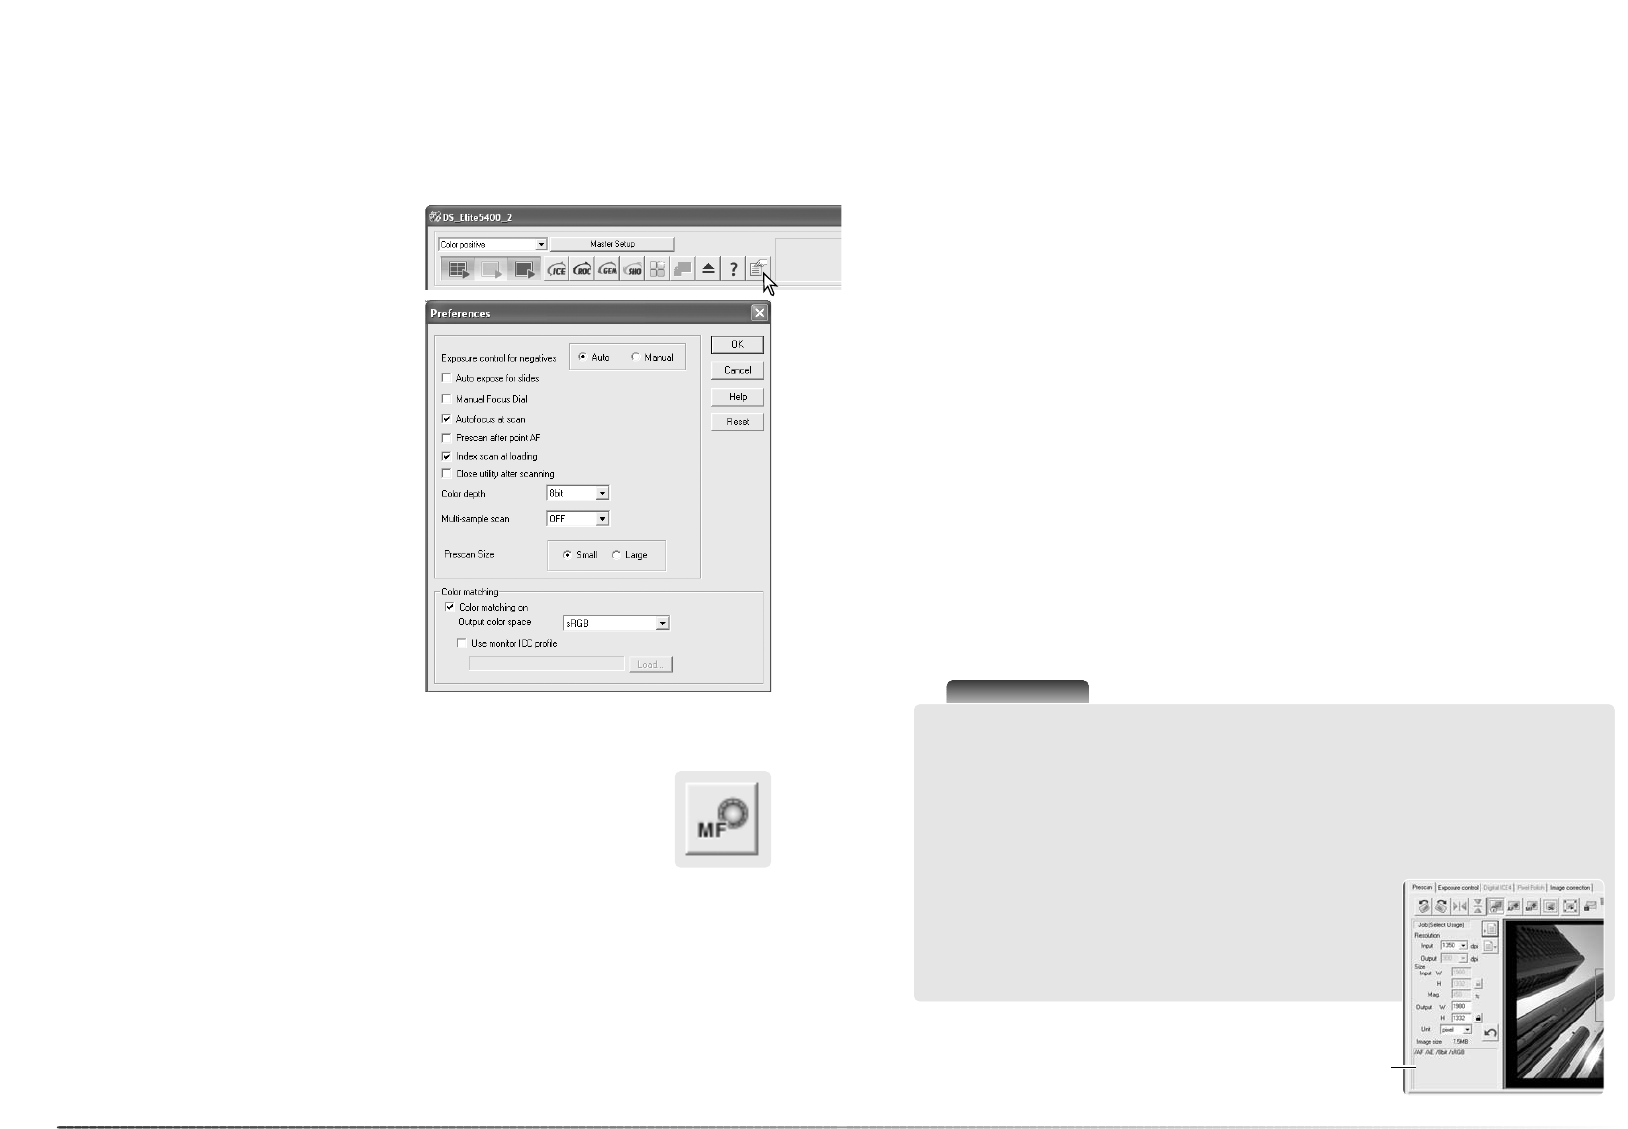
Setting scanner preferences
Click the preferences button in the main win-
dow to open the preferences dialog box.
Select preferences options to customize scan-
ner operations.
Close utility after scanning: this option closes the DiMAGE Scan Utility after the final scan
when using the scanner with an image-processing application. Activate this function when indi-
vidual images will be scanned and then processed or retouched in another application. Uncheck
the box when multiple images need to be scanned before retouching.
Color depth: this option specifies the color depth of the scanned image between 8 bit, 16 bit,
and 16-bit linear for each RGB channel. Because 16-bit linear color depth does not make any
gamma corrections, the scan of a negative produces a negative image. 16-bit and 16-bit linear
images can only be saved in the TIFF file format. Some imageprocessing application cannot
open 16-bit image files such as Adobe Phototshop Elements 2.0.
Multi-sample scan: multi-sample scans reduce random noise in the image by analyzing the data
of each sample scan; 2, 4, 8, and 16 samples can be made. The more samples taken, the less
random noise in the image and the longer the scanning time.
Prescan size: to change the size of the prescan image.
Color matching: to specify the output color space and monitor ICC profile. For detailed informa-
tion, see the color matching section on page 65.
OK button: to apply the preference settings and close the window.
Cancel button: to cancel any settings made and close the window.
Help button: to open the help window.
Scanner Notes
When the autofocus-at-scan option is selected in the preferences window, the autofocus sys-
tem uses the center of image to determine focus. This normally results in an excellent scan
when the film plane is flat. However, if the film is warped or curled, the scanner can be
focused using point AF or manual focus (p. 44).
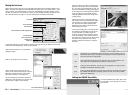
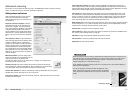
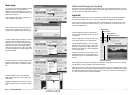
Active preferences used in scanning are shown in the prescan tab. The preference display is
below the scan setting pane.
The use of autofocus, manual focus dial, autoexposure, color
depth, multi-sample scanning, and color matching is indicated.
Color matching is indicated by the color space or monitor color
profile.
Preference display