Preparation for Usage
2-25
Installing the Software
To connect this device to a computer, install the printer driver, scanner utilities, and the Advanced
Tools, etc.
The installation procedure may vary depending on the version of the CD-ROM supplied with the
device. Some versions may provide a choice between Express mode and Custom mode. For
details, follow the CD-ROM wizard.
The following procedures and screenshots are based on a Windows XP installation, but the same
procedure may be followed to install on other Windows operating systems including Windows Vista.
NOTE: Installation on Windows Vista, Windows XP, Windows NT 4.0/2000 and Server 2003 must
be performed by a user logged on with administrator privileges.
If you run the installation in Windows Vista, you need to confirm that the installation program comes
from a trusted vendor. This is a Microsoft standard process for your own safety.
1
Connect this device to the computer. After connecting,
switch the main power switch to on and switch on the
computer.
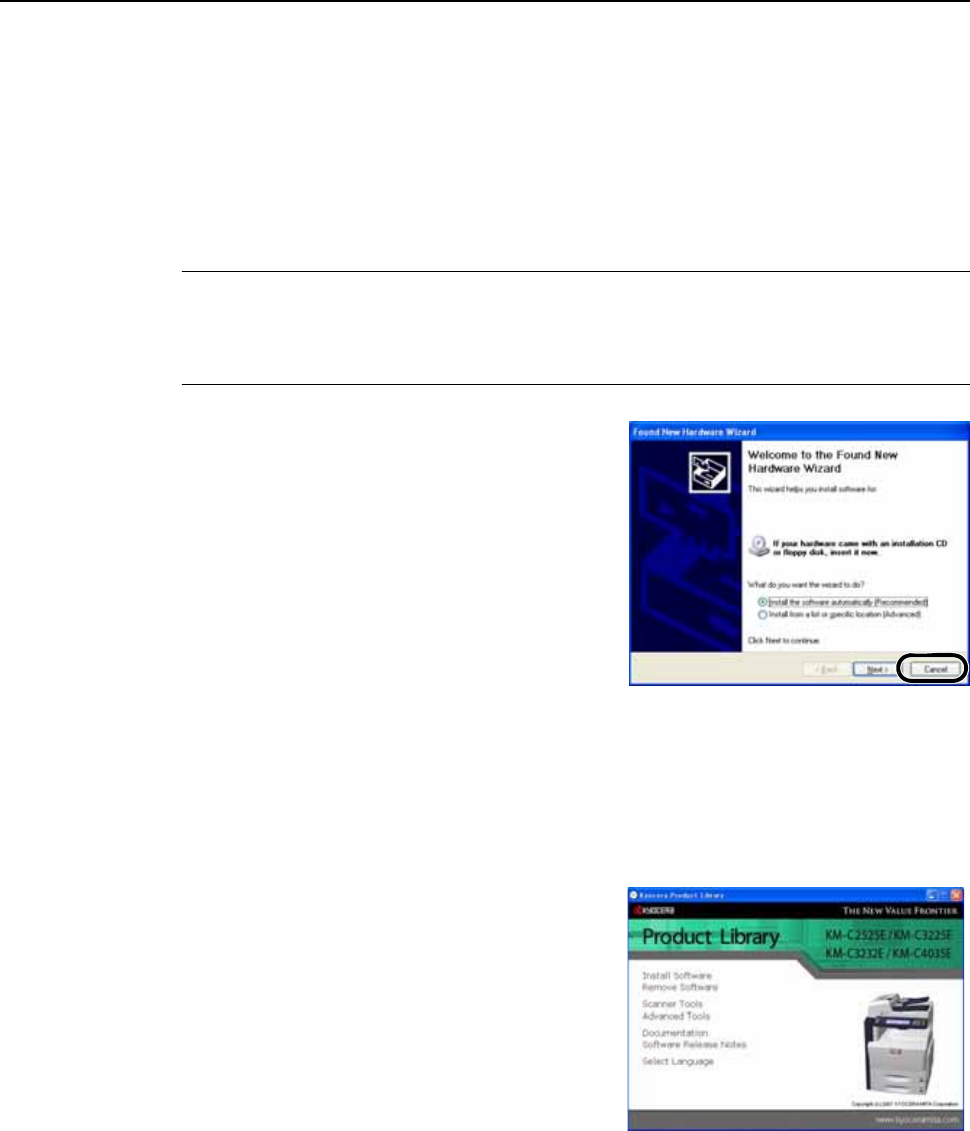
If a Plug and Play window like that shown at right
appears, click the Cancel button.
2
Insert the included CD-ROM into the CD-ROM drive.
If the screen is not displayed even after loading the CD-ROM, open the CD-ROM drive letter and
double-click on the setup.exe file. The following window will appear. (This will differ depending on
the CD-ROM version.)
The following menus are included on the window.
• Install Software
• Remove Software
• Scanner Tools
• Advanced Tools
• Documentation
• Software Release Notes
• Select Language
3
Click Install Software to install the software (the printer driver, etc). Complete the installation by
following the wizard on the screen. To install scanner utilities, etc., click Scanner Tools .
