


26
Chapter 7: Using The Router’s Web-based Utility
Filter
EtherFast Cable/DSL Router with 8-Port Switch
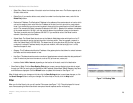
• Select Entry. Select the number of the static route from the drop-down menu. The Router supports up to
20 static route entries.
• Delete Entry. If you need to delete a route, select its number from the drop-down menu, and click the
Delete Entry button.
• Destination IP Address. The Destination IP Address is the address of the remote network or host to which
you want to assign a static route. Enter the IP address of the host for which you wish to create a static
route. If you are building a route to an entire network, be sure that the network portion of the IP address is
set to 0. For example, the Router’s standard IP address is 192.168.1.1. Based on this address, the address
of the routed network is 192.168.1, with the last digit determining the Router’s place on the network.
Therefore you would enter the IP address 192.168.1.0 if you wanted to route to the Router’s entire
network, rather than just to the Router.
• Subnet Mask. The Subnet Mask (also known as the Network Mask) determines which portion of an IP
address is the network portion, and which portion is the host portion. Take, for example, a network in
which the Subnet Mask is 255.255.255.0. This determines (by using the values 255) that the first three
numbers of a network IP address identify this particular network, while the last digit (from 1 to 254)
identifies the specific host.
• Gateway. This IP address should be the IP address of the gateway device that allows for contact between
the Router and the remote network or host.
• Hop Count. This determines the maximum number of steps between network nodes that data packets will
travel. A node is any device on the network, such as PCs, print servers, routers, etc.
• Interface. Select LAN or Internet, depending on the location of the static route’s final destination.
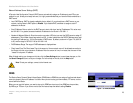
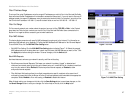
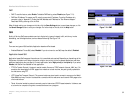
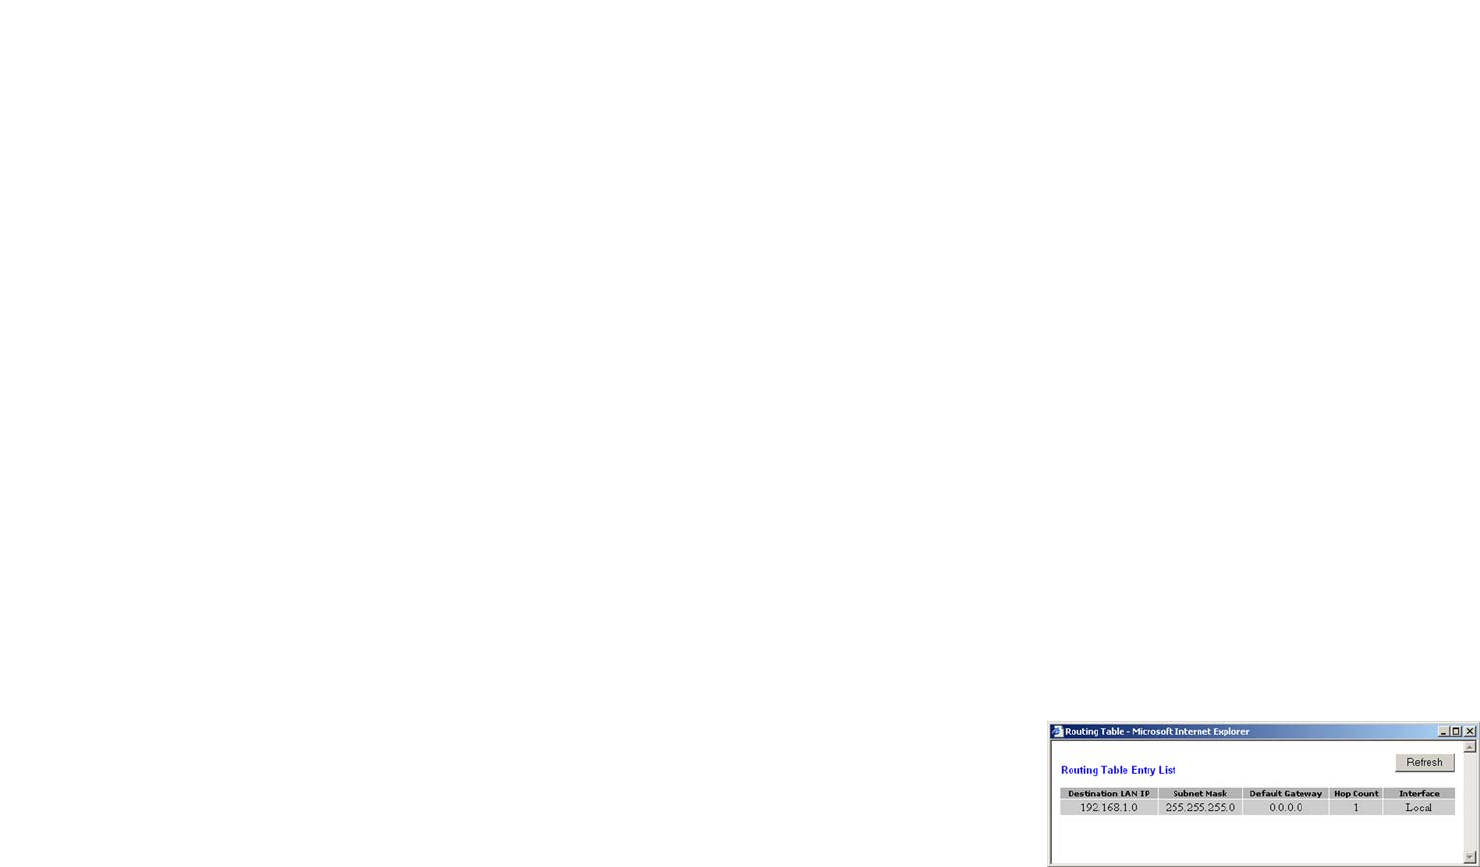
• Show Routing Table. Click the Show Routing Table button to open a screen displaying how data is routed
through your LAN. For each route, the Destination LAN IP address, Subnet Mask, Default Gateway, Hop Count,
and Interface are displayed. Click the Refresh button to update the information. See Figure 7-14.
When finished making your changes on this tab, click the Save Settings button to save these changes, or click
the Cancel Changes button to undo your changes. For further help on this tab, click the Help button.
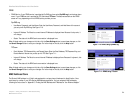
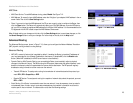
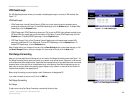
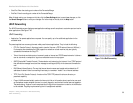
Filter
When you click the Security tab, you will see the Filter screen (see Figure 7-15). Filters block specific internal
users from accessing the Internet and block anonymous Internet requests and/or multicasting.
Figure 7-14: Routing Table