26
Chapter 6: Installing and Using the Compact Wireless-G Internet Video Camera Multi-Camera Viewer & Recorder Utility
Using the Multi-Camera Viewer & Recorder Utility
Compact Wireless-G Internet Video Camera
View Video
The Camera Status section lists all of the Cameras the Utility has detected. To view the video of a specific
Camera, select a Camera. Drag and drop the Camera to a Channel (viewing) window.
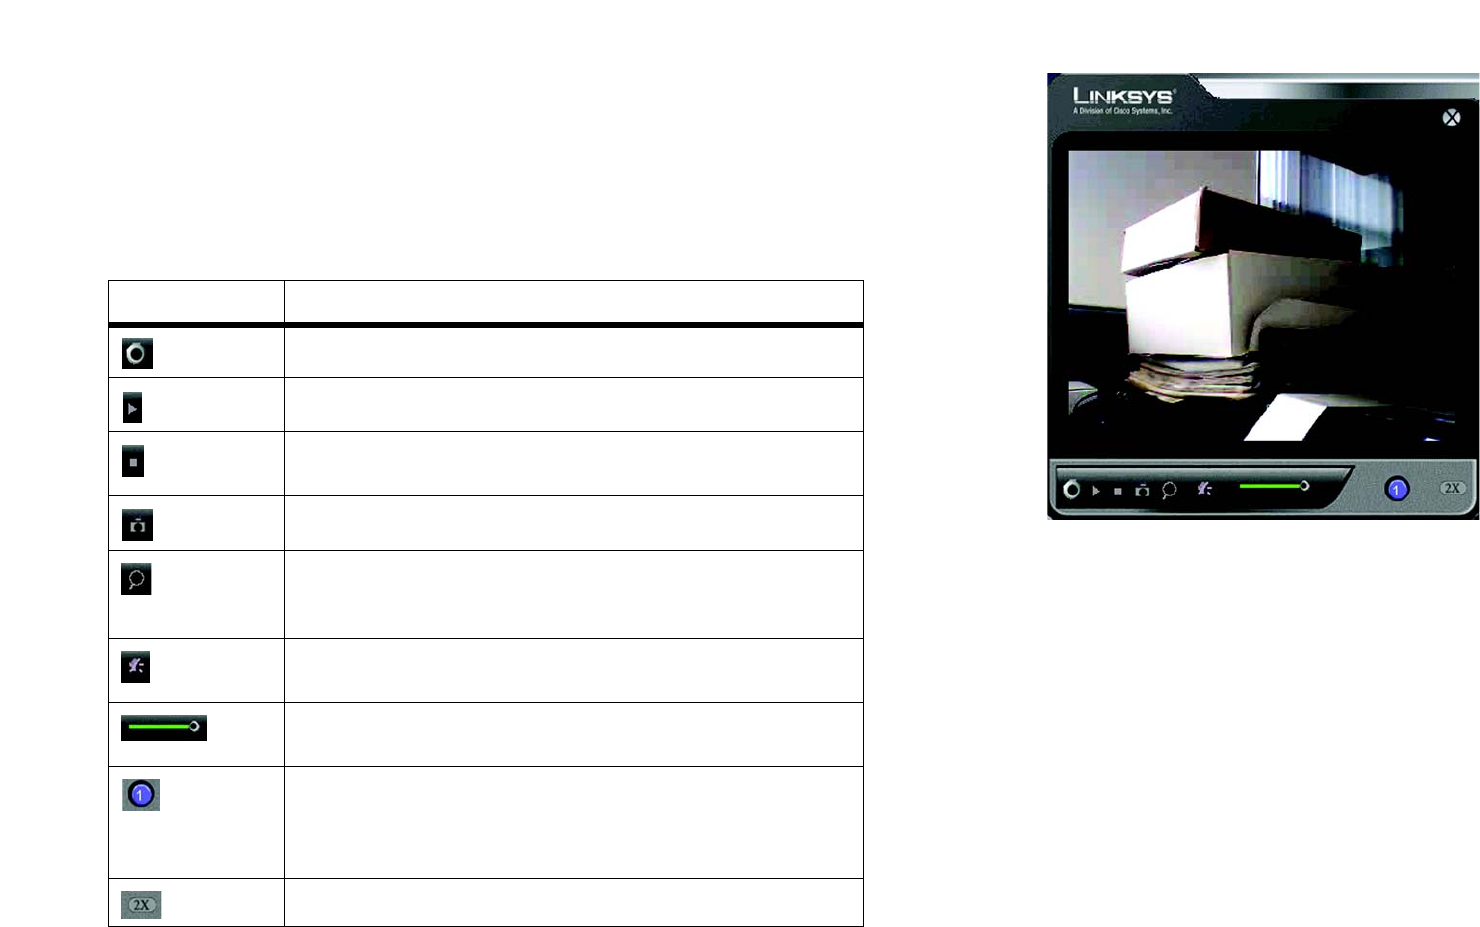
Double-click the viewing window if you want to make the viewing window larger, record, play, stop, take pictures,
or zoom. (For Cameras with audio, you can also raise or lower the volume.) To close this viewing window, click
the X button in the upper right-hand corner.
Icon Function
If you want to record the current video, click this icon.
If you want to play the current video, click this icon.
If you want to freeze the current frame of video or stop recording, click
this icon.
To take a snapshot of the current frame of video, click this icon.
A digital zoom feature is available. To zoom in on a section of the
window, click this icon. Then use your mouse to select the section you
want to magnify. Click the icon again to disable the zoom feature.
For Cameras that feature audio, click this icon to turn audio on or off.
(The Compact Wireless-G Internet Video Camera does not feature audio.)
For Cameras that feature audio, click this bar and move its endpoint to
raise or lower the volume.
This indicates the Channel setting used by the Camera within the Utility.
(You cannot use this icon to change the Camera’s Channel setting;
instead, you must return to the main menu. Drag and drop the Camera to
a different viewing window with the Channel setting you want.)
If you want to make the viewing window twice as large, click this icon.
Figure 6-10: View Video Screen
