54
Chapter 8: Using the Compact Wireless-G Internet Video Camera’s Web-based Utility
Setup
Compact Wireless-G Internet Video Camera
SoloLink DDNS
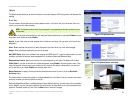
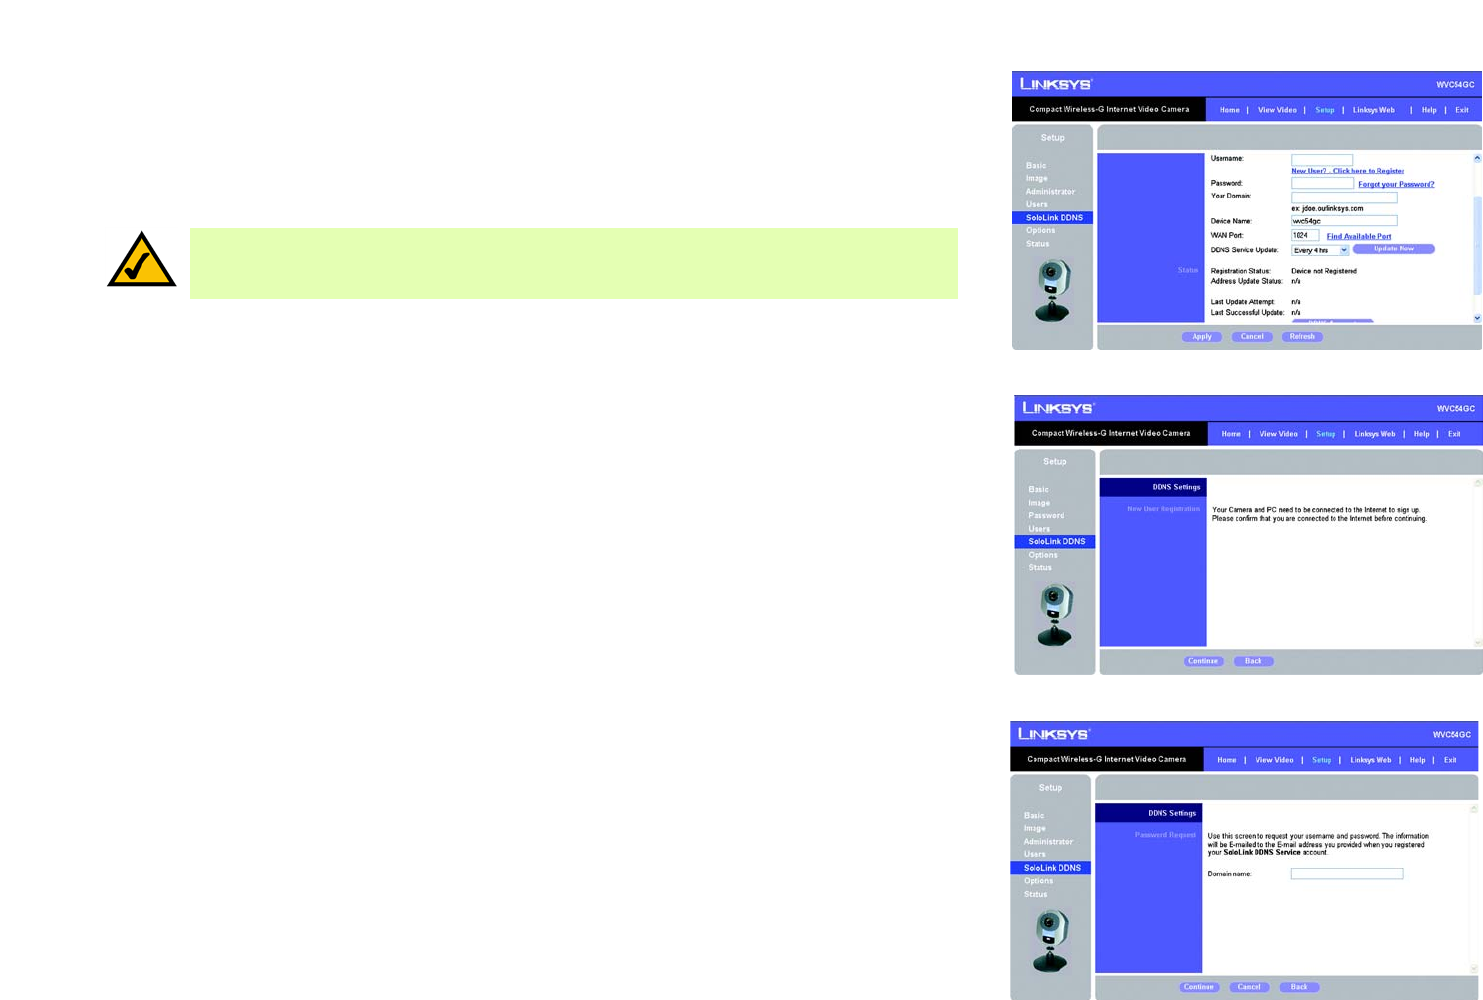
The SoloLink DDNS screen allows you to set up and configure your SoloLink DDNS Service. DDNS (Dynamic
Domain Name System) lets you assign a fixed host and domain name to a dynamic Internet IP address. If you
have already set up your SoloLink account, then you can use this screen to register additional Cameras. For
instructions, go to the “SoloLink Registration of Additional Cameras” section on the following page.
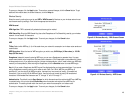
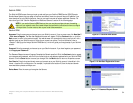
SoloLink DDNS
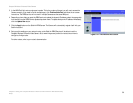
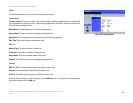
Username. Enter the username you have set up on your SoloLink account. If you are a new user, click New User?
- Click here to Register. The New User Registration screen will appear. Click the Continue button, or click the
Back screen to return to the previous screen. Your web browser will automatically start up, and you will visit a
website to set up your SoloLink account. Follow the on-screen instructions. For more information, refer to
“Chapter 7: Setting up the Linksys SoloLink DDNS Service,” which will guide you through setup of your SoloLink
account.
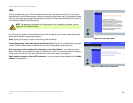
Password. Enter the password you have set up on your SoloLink account. If you have forgotten your password,
click Forgot your Password?
The Password Request screen will appear. Complete the Domain name field. Click the Continue button to request
your username and password, which will be e-mailed to the e-mail address registered with your SoloLink DDNS
account. Click the Cancel button to cancel your change. Click the Back button to return to the previous screen.
Your Domain. Enter the host and domain name you have set up on your SoloLink account. It should be in this
format: <Location ID>.ourlinksys.com. For example, if myhouse is the Location ID, then the host and domain
name would be myhouse.ourlinksys.com.
Device Name. Enter the name you have given the Camera.
Figure 8-15: SoloLink DDNS Screen
NOTE: If you use the Camera’s DDNS feature, then you must also configure the port forwarding
feature on your network router. Go to www.linksys.com/portfwd for instructions on how to configure
a Linksys router. For other routers, refer to your router’s documentation.
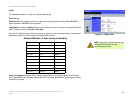
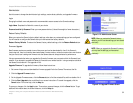
Figure 8-16: New User Registration Screen
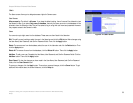
Figure 8-17: Password Request Screen


