33
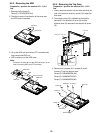
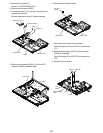
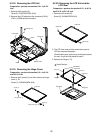
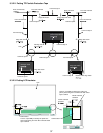
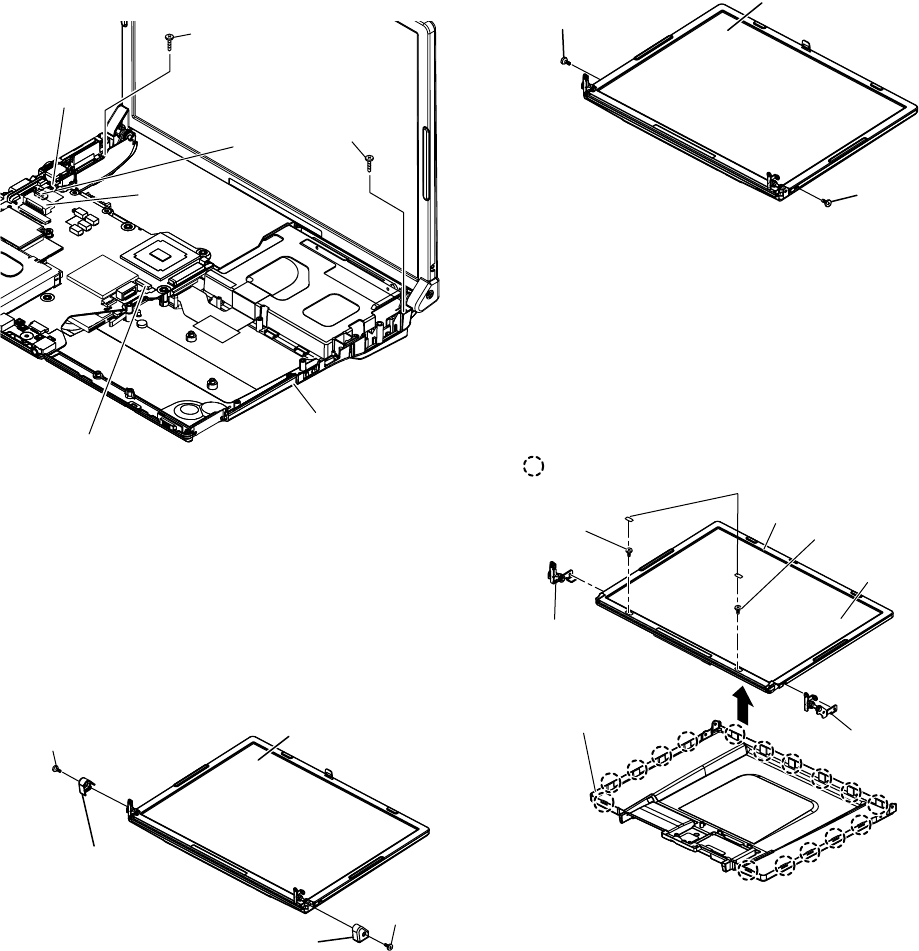
9.2.19. Removing the Hinge Cover
Preparation : perform the section 9.2.1. to 9.2.4.
and 9.2.18. first.
1. Remove the 2 screws (Y) and then remove the hinge
cover (L, R).
Screw (Y) : DRHM0108ZA (N19)
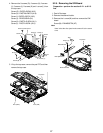
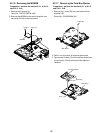
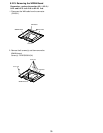
2. The LCD front case and the combination parts of
LCD rear case are separated.
(Combination parts are 6 the top and bottom places
for each, 4 right and left places for each)
3. Remove the Hinge (L, R).
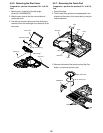
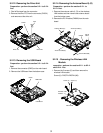
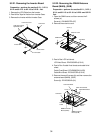
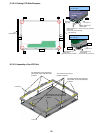
9.2.20. Removing the LCD Unit and the
LCD Rear
Preparation : perform the section 9.2.1. to 9.2.4.
and 9.2.18. to 9.2.19. first.
1. Remove the 2 screws (Z).
Screw (Z) : DXHM0076ZA (N18)
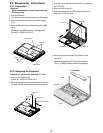
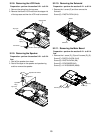
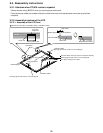
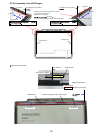
9.2.18. Removing the LCD Unit
Preparation : perform the section 9.2.1. to 9.2.4.
first.
1. Remove the 2 screws (X).
Screw (X) : DXQT26+D5FNL (N15)
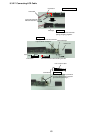
2. Remove the LCD cable from the connector (CN10),
(CN11), (CN28) of the main board.
CN10
CN11
CN28
Screw (X)
Screw (X)
LCD Cable
Bottom Case
Hinge Cover (R)
Hinge Cover (L)
Screw (Y)
Screw (Y)
LCD Unit
Screw (Z)
Screw (Z)
LCD Unit
Hook Position
HInge (L)
Hinge (R)
LCD Front
LCD Ruber
LCD Rear
LCD Unit
Screw (T)
Screw (T)


