


Upgrading Your Server 9-45
Memory Board
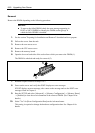
To install or remove the DIMM, remove the memory board first.
NOTE: Up to 24GB of memory (2GB DIMM × 12) can be installed.
(The DIMMs installed as standard need to be replaced in this case.) A
DIMM of 256MB is installed in DIMM slots #1 to #4 at shipment.
Removal
Remove the memory board in the following procedure.
IMPORTANT: The memory board is extremely sensitive to static
electricity. Make sure to touch the metal frame of the server to
discharge static electricity from your body before handling the memory
board. Do not touch the memory board terminals or on-board parts by a
bare hand or place the memory board directly on the desk. For static
notes, see the section "Anti-static Measures" described earlier.
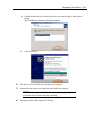
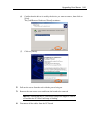
1. See the section "Preparing for Installation and Removal" described earlier to prepare.
2. Pull out the server from the rack.
3. Remove the rear access cover.
4. Remove the CPU access cover.
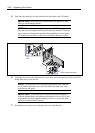
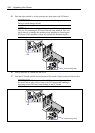
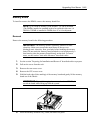
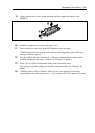
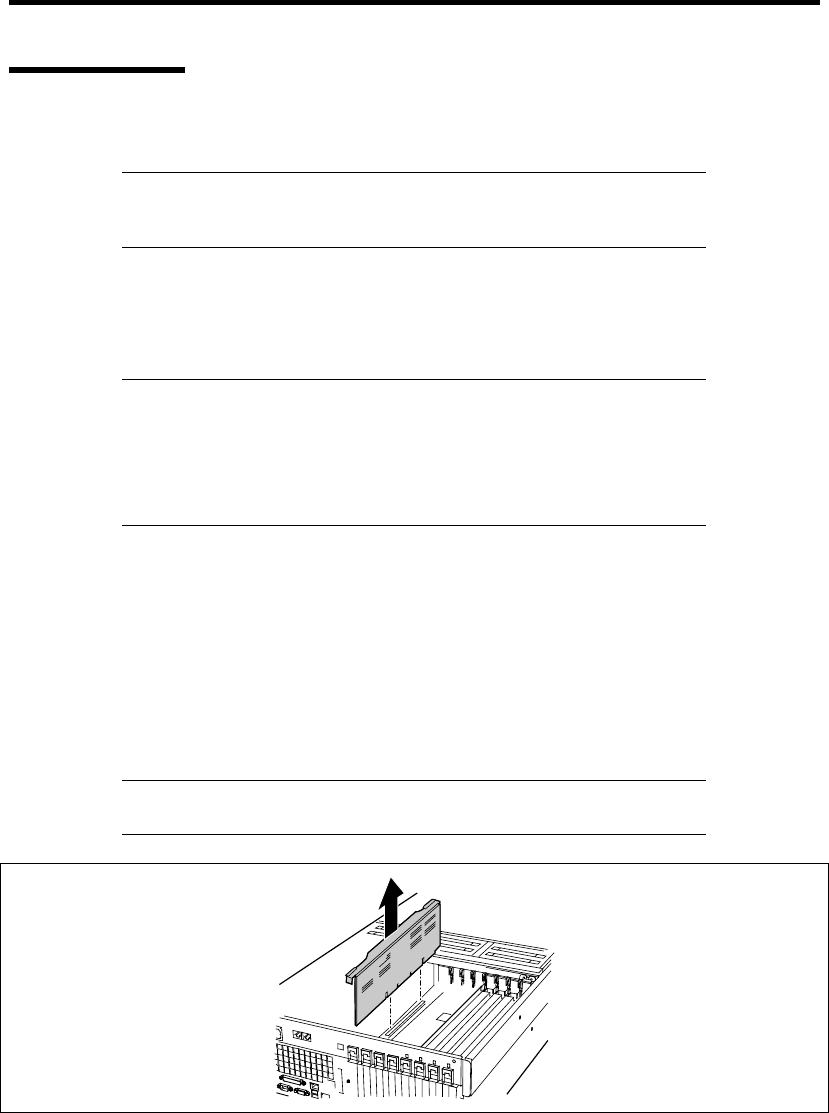
5. Hold the both edges (blue marking) of the memory board and gently lift the memory
board out of the chassis.
IMPORTANT: To avoid damaging the memory board and DIMM, do
not tilt the board while lifting up from the system.
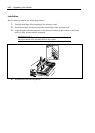
6. Place the memory board on a dry, clean, and static-free place.