


5. SMS (KX-FC235AL only)
43
long messages differently from other
messages. Consult your SMS service
provider for details.
L “Invalid Number” is displayed if you try to
send a message to a phone number saved in
the handset phonebook, Caller ID list, or
redial list that is over 20 digits long.
L When sending a message, “Sending
Message” is displayed momentarily, then
“Transferring Message” is displayed.
L If your unit is connected to a PBX, store the
PBX line access number (page 45).
5.4.2 Displaying / Sending a
saved message
1 Press {j/OK}.
2 Select “SMS”, then press {>}.
3 To access the public mailbox
Select “Public”, then press {>}.
To access a private mailbox
Select the desired mailbox, press {>}, then
enter its password.
4 Select “Send List”, then press {>}.
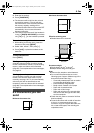
5 To display a saved message, press {e} or
{v} repeatedly to select the message, then
press {j/OK}.
L Messages are displayed in chronological
order and by destination phone number.
6 To send the message, press {j/OK}, select
“Send”, then press {>}.
– To send the message to the same
destination number, press {j/OK},
then continue from step 9, “5.4.1 Writing
and sending a new message”, page 42.
– To send the message to a different
destination number, erase the
displayed number by pressing {C/T},
then continue from step 6, “5.4.1 Writing
and sending a new message”, page 42.
5.4.3 Editing a saved message
1 Press {j/OK}.
2 Select “SMS”, then press {>}.
3 To access the public mailbox
Select “Public”, then press {>}.
To access a private mailbox
Select the desired mailbox, press {>}, then
enter its password.
4 Select “Send List”, then press {>}.
5 Press {e} or {v} repeatedly to select the
message, then press {j/OK}.
6 Press {j/OK}, select “Edit Message”,
press {>}, then continue from step 5,
“5.4.1 Writing and sending a new message”,
page 42.
5.4.4 Erasing saved messages
1 Press {j/OK}.
2 Select “SMS”, then press {>}.
3 To access the public mailbox
Select “Public”, then press {>}.
To access a private mailbox
Select the desired mailbox, press {>}, then
enter its password.
4 Select “Send List”, then press {>}.
5 Press {e} or {v} repeatedly to select the
message, then press {j/OK}.
6 Press {j/OK}, select “Erase”, then press
{>}.
L To erase all messages in the selected
mailbox, select “Erase All”, then press
{>}.
7 Select “Yes”, then press {>}.
8 Press {ih}.
5.5 Receiving a message
When an SMS message is received:
– a tone is heard (if the ringer is turned OFF,
this tone is not heard)
– “Receiving SMS Message” is displayed
– F is displayed
– the message centre number is stored in the
Caller ID list (page 37)
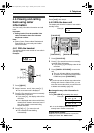
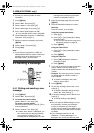
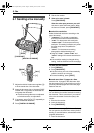
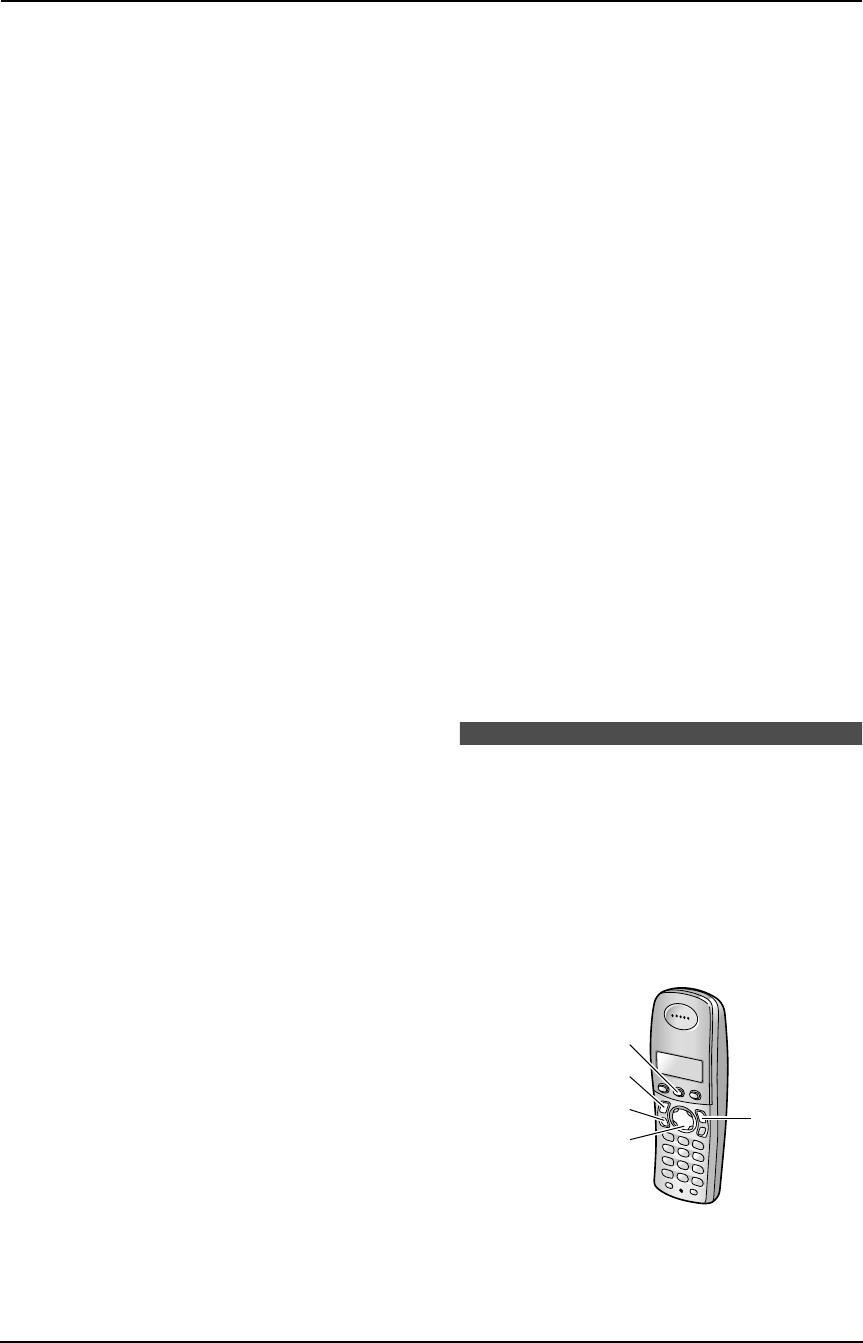
{ih}
{j/OK}
{C}
{s}
{>}{e}{v}
FC235AL-PFQX2248ZA_en.book Page 43 Monday, June 20, 2005 2:19 PM