


18
WJ-HD500 SERIES CONTROL (TERMINAL MODE)
Matrix switcher can control Digital Disk Recorder WJ-
HD500 Series. The following is the procedure of WJ-HD500
Series SETUP MENU.
Notes:
•
The following operating procedures are for the terminal mode.
If you are using a PS·Data system controller, refer to p. 36.
•
When a Multiplexer board is installed in the matrix switch-
er, you can neither connect nor control a WJ-HD500 Series
recorder. You need to remove the board from the matrix
switcher.
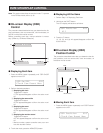
■ Displaying WJ-HD500 Series
SETUP MENU
To display WJ-HD500 Series SETUP MENU, follow the pro-
cedure below.
1. Confirm that WJ-HD500 Series is correctly and securely
connected.
2. Select the desired monitor. (Refer to p. 3 Monitor
Selection.)
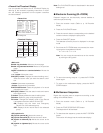
3. Enter the recorder mode. (Refer to p. 19 Recorder
Mode.) Then, the selected monitor number, recorder
number, and "/HDnnn" will appear on the LCD.
4. Press the MENU button repeatedly until “System Setup”
appears on the LCD.
5. Press the F1 button.
WJ-HD500 Series SETUP MENU will appear on the
active monitor, and “
B” mark will light up beside “On”.
6. Perform the camera setting while watching the setup
menu on the monitor.
The following functions and buttons are valid in SETUP
MENU.
<Main unit>
JogDial clockwise:
Increments a parameter.
JogDial counterclockwise: Decrements a parameter.
CAM (SET) button: Executes the selections and dis-
plays a submenu.
+ button: Increments a parameter.
– button: Decrements a parameter.
MON (ESC) button: Returns to SETUP MENU or the
previous menu.
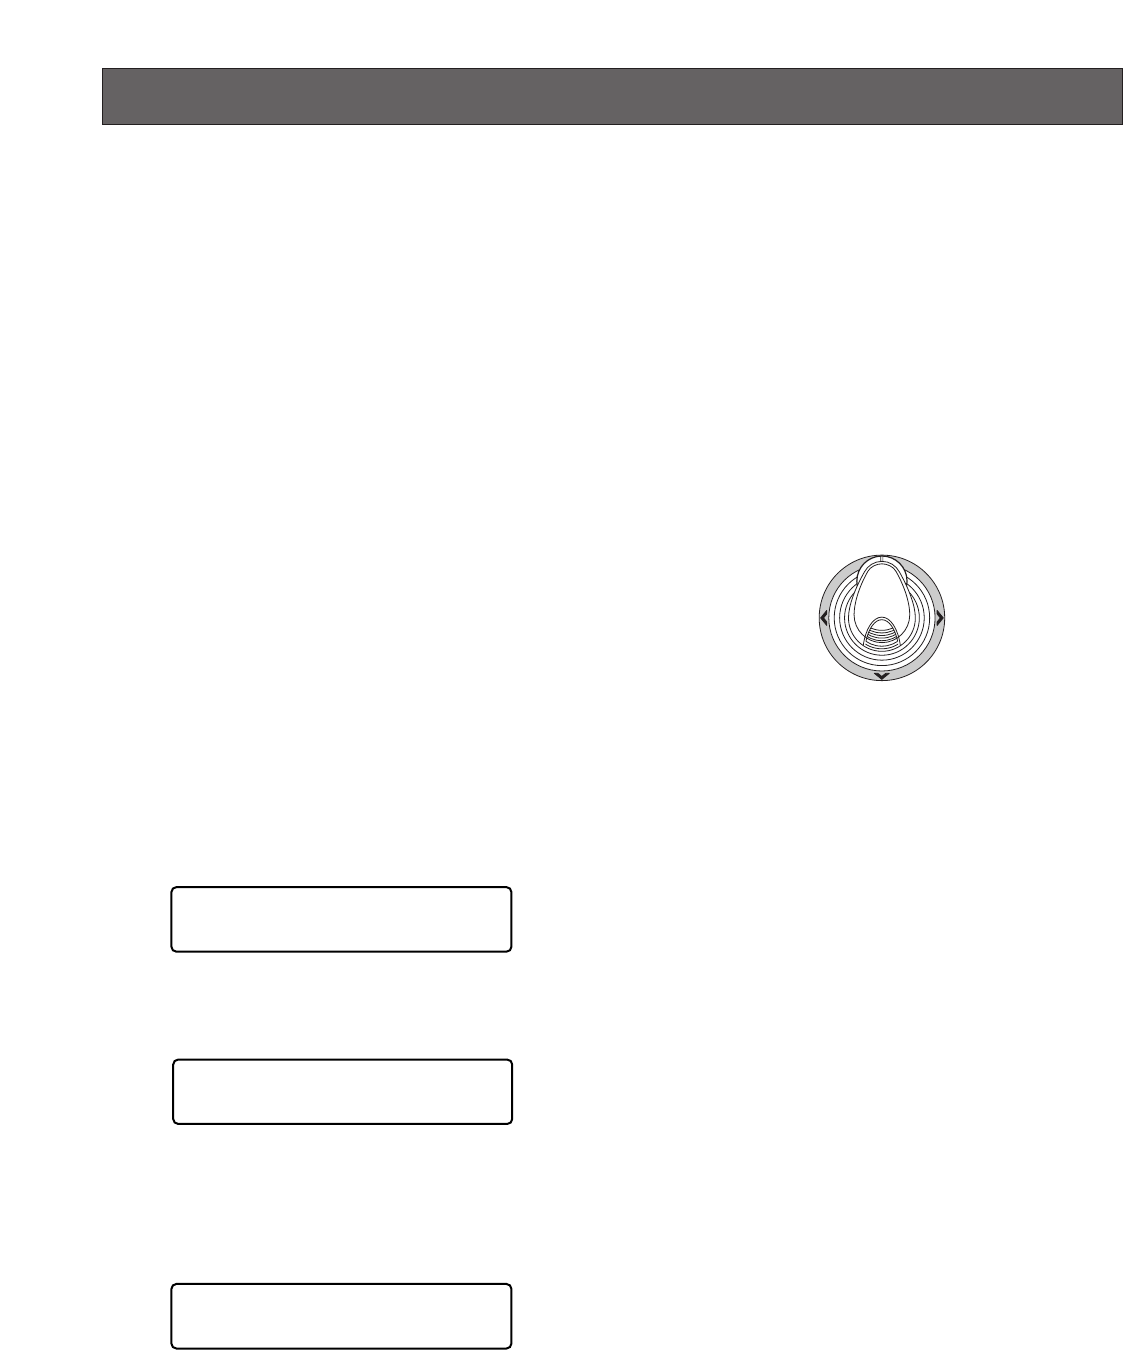
<3D joystick unit>
3D joystick upward (
D): Moves the cursor up.
3D joystick downward (C): Moves the cursor down.
3D joystick leftward (A): Moves the cursor to the left.
3D joystick rightward (B): Moves the cursor to the
right.
6. To end the setting and return to the normal view, press
the F2 button while SETUP MENU is displayed. "
B"
mark will disappear from the LCD.
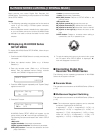
Mon4 Cam-- R4
/HD500
System Setup 501
5
On Off
System Setup 501
On Off