


Cable installation 29
Model 2616RC T-DAC User Manual 2 • Hardware installation
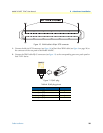
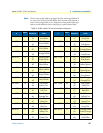
3. Review SCSI pin-out (see table 5 on page 27) and punch-block pin-out and cut wires to the required
length to reach their respective ports on the punch-down block.
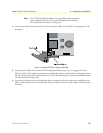
4. Use punch-down tool to press wires down into block terminals.
5. Use cable ties to secure the wires and SCSI cable to the punch-down block (see table 5 on page 27).
Note
Cable ties should not allow movement of wires or SCSI cable.
6. Connect the 68-pin SCSI connector of the WAN cable to the connector on the rear panel of the
Model
2616RC.
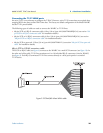
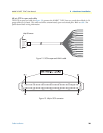
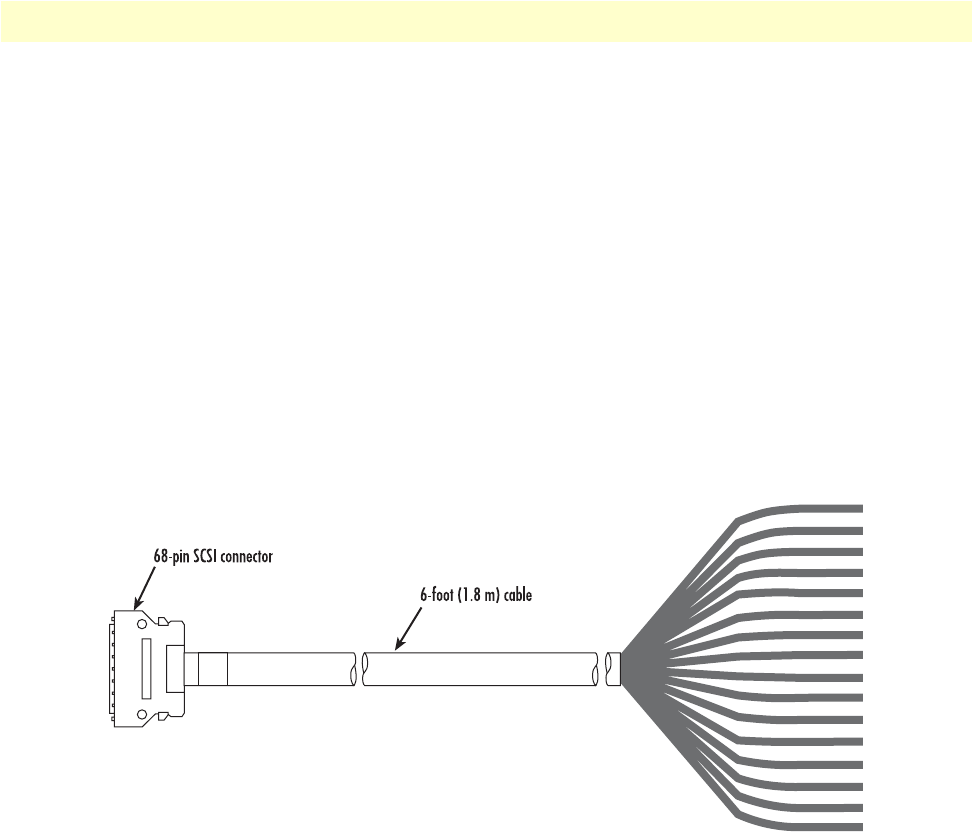
68-pin SCSI to open end, 6 foot cable (part #10-3096TM68-6)—Obsolete
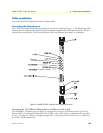
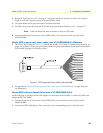
1. This 6-foot WAN cable (see figure 15) connects the 2616RC T1/E1 lines to a punch-down block via 28
gauge wire (0.3mm). Check your punch-down block wire gauge requirements as most punch-down blocks
will not hold 28-gauge wire securely in place.
Figure 15. SCSI-to-open-end 6-foot WAN cable (obsolete)
2. See appendix B, “68-pin SCSI-to-open-end 6-foot cable (part #10-3096TM68-6)” on page 78 for pin-
out information.
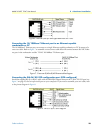
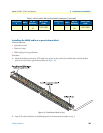
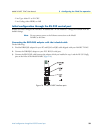
68-pin SCSI to 64-pin female Telco (part #10-3096TM68/64-6)
Do the following to install the 6-foot cable adapter for connection of the 2616RC to a Patton E1 balun rack
Models 464RC and 466RC.
1. Connect the 68-pin SCSI connector of the WAN cable to the connector on the rear panel of the
Model
2616RC.
2. Connect the WAN cable 64-pin Telco connector to the corresponding port on a the balun rack.