C2907M-D (4/05) 39
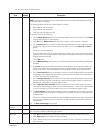
The set of alarm features is explained below.
Configuration
Item
Default
Setting Description
Video motion alarm N/A The system has a video motion detection feature. The video scene is monitored constantly for relevant motion.
NOTE: Use of the motion detection feature is recommended only indoors and under controlled lighting conditions; it
is not recommended in dim lighting.
The following conditions must be met for motion detection to function:
• Motion detection must be activated.
• At least one cell must be activated.
• Sensitivity must be set higher than zero.
To set motion detection, do the following:
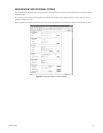
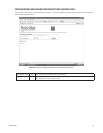
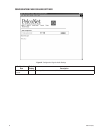
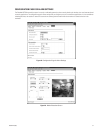
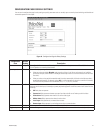
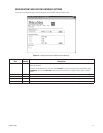
1. Click the Motion detection button to access the Motion Detection screen. (Refer to Figure 29.) Click Default
to get the default settings for motion detection.
2. Select On from the Motion detector pull-down menu to trigger an alarm in the event of movement.
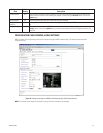
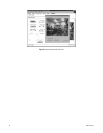
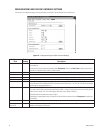
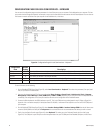
3. Click the Select area button to display a window with a grid superimposed on it (refer to Figure 30). Select
the cells in the image you want the system to monitor for motion. You can use the Select all and Clear all
buttons.
The default is all cells selected (red).
To set an individual cell, click it with the left mouse button (it will turn red). Click the right button to deselect a
cell (which will turn white). Select or deselect multiple cells by holding down the left or right mouse button and
dragging. Release when finished.
Click the Set button.
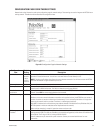
4. Use the Motion tracking pull-down menu to turn on/off tracking. (Note that motion tracking overrides motion
detection.)
5. The Tracker box indicates and controls the direction of motion detection. You can set motion detection to
operate in one direction only by removing the check mark in the opposite direction. (This advanced feature
must be set up precisely. Pelco recommends extensive setup testing in order to get the expected results.)
6. Use the Local sensitivity slide bar to set detection sensitivity. You need to adapt sensitivity to the respective
environment and the acceptable false alarm rate: for a lower false alarm rate select a lower sensitivity and
vice versa. Experiment to find the best setting.
7. Use the Average n [frames] slide bar to define how much motion must be detected before an alarm will be
released. If the value is high, even movement over a small time period triggers an alarm. If the value is low,
movement over a longer period is required to trigger an alarm.
8. Use the Object min size [nxn blocks] slide bar to designate the minimum number of cells in the frame a
moving object must fill to trigger an alarm. You can set the value between 1*1 and 6*6 (2*2 is recommended).
If the size of the object in the picture exceeds the value you set, motion detection triggers an alarm.
9. The Alarm indicator box lets you set a threshold so an alarm is triggered only if the sensitivity of the video
sensor is exceeded. Thus, something such as background noise caused by the camera can be filtered to avoid
unwanted alarms.
The blue line indicates the alarm threshold. Any value exceeding this produces an alarm signal. Components of
the motion signal generating the alarm are indicated in red. Pull up or down on the blue line to observe the
motion detector.
10. Click Back to Alarm page! when finished.
Unified picture
detection
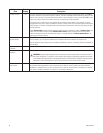
Off Use the pull-down menu to turn on/off this feature, which gives an alarm when the picture becomes too blurry.
Video loss alarm Off If you select On, the signal from the video source (the camera in most cases) is monitored constantly for interrup-
tion. If no signal is received, the NET350 triggers the alarm.
Alarm input Off/High 1. Select On from the pull-down menu if you want to activate an alarm through an external alarm sensor.
2. Select High or Low for the voltage level to activate the alarm.
3. Enter a name for the alarm input to be displayed on the screen if an alarm is activated (31 alphanumeric char-
acters maximum).


