


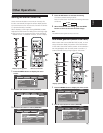
30
En
PICTURE/SCREEN Adjustment
English
PICTURE/SCREEN Adjustment
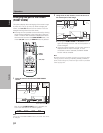
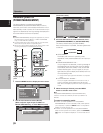
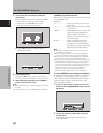
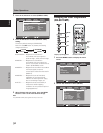
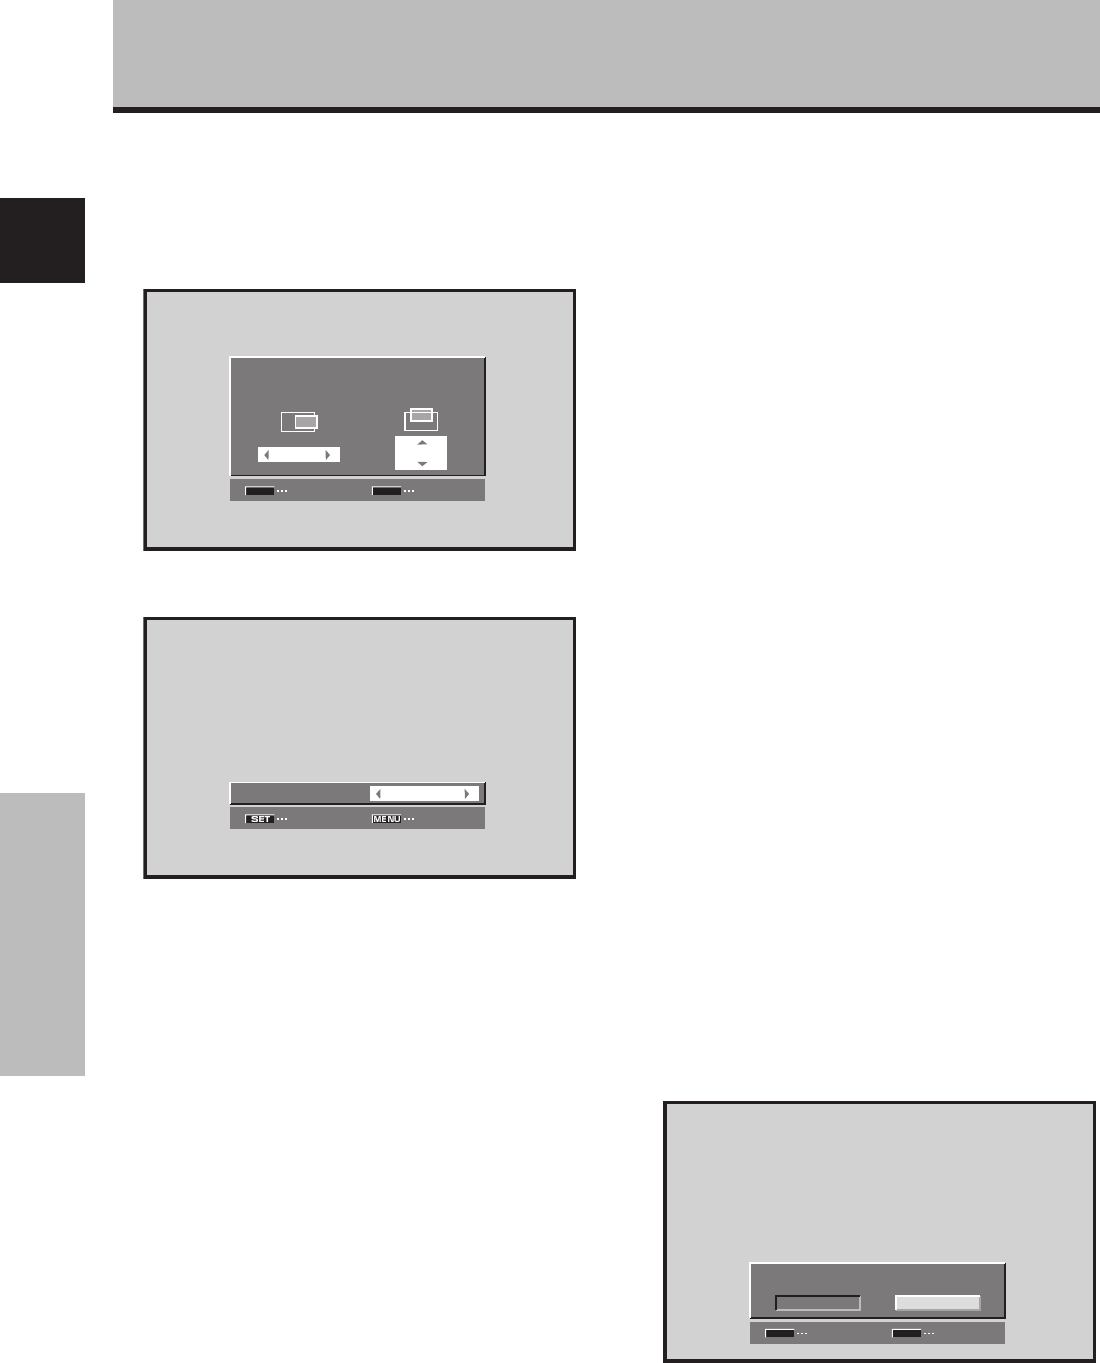
4 Use the 2/3 and 5/∞ buttons to select the
desired value.
÷ When the [POSITION] item is selected, the 2/3
buttons control movement in the Horizontal
direction (H), and the 5/∞ buttons control
movement in the Vertical direction (V).
SET
SET
EXIT
MENU
POSITION
H V
00
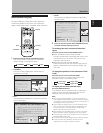
÷ Use the 2/3 buttons for the adjustments of
[CLOCK] and [PHASE].
SET EXIT
:
CLOCK
0
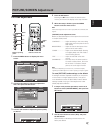
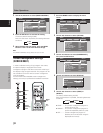
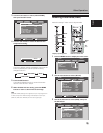
5 Press the SET button.
Pressing the SET button writes the value into the
memory and returns the display to the step 3 screen.
6 When adjustment is finished, press the MENU
button to exit the menu screen.
Notes
÷ Make these adjustments for each input (INPUT1 or INPUT5)
and signals.
÷ If INPUT2 is selected, only the [POSITION] can be adjusted.
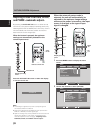
[SCREEN] mode adjustment items
Below are brief descriptions of the options that can be set
in the [SCREEN] mode.
POSITION
H ··························· Adjust the picture’s position to the
left or right.
V ···························· Adjust the picture’s position upward
or downward.
CLOCK ···················· Adjust letter breakup or noise on the
screen. This setting adjusts the
display’s internal clock signal
frequency that corresponds to the
input video signal.
PHASE····················· Adjust so that there is minimum
flicker of screen letters or color
misalignment. This setting adjusts
the phase of the internal clock signal
adjusted by the [CLOCK] setting.
Notes
÷ The [CLOCK] and [PHASE] adjustment items are supported
only for INPUT1 and INPUT5.
÷ When the [CLOCK] frequency is changed, the [POSITION]
command’s horizontal [H] option may require readjustment.
÷ If the adjustment items in the [SCREEN] mode are adjusted
excessively, the picture may not be displayed properly.
÷ When the [AUTO SET UP MODE] set to [ACTIVE], selecting the
[POSITION] and [CLOCK] adjust modes will cause a message
to be displayed on the screen, but adjustment is possible.
However, if the input source is changed, the adjustment value
stored in memory will be the one automatically set with the
auto setup mode. If you wish to record a manually set
adjustment value, set the [AUTO SET UP MODE] to
[INACTIVE] (page 28) before beginning your adjustments.
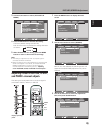
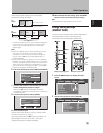
To reset [SCREEN] mode settings to the default
If settings have been adjusted excessively or the picture
on the screen no longer appears natural, it may prove
more beneficial to reset the [SCREEN] mode to default
settings instead of trying to make adjustments under
already adjusted conditions.
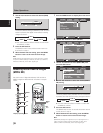
1 In step 3 in the previous procedure, use the 5/∞
buttons to select [SCREEN RESET], then press the
SET button.
SET
SET
EXIT
MENU
SCREEN RESET
YES
NO
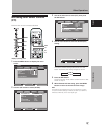
2 Use the 2/3 buttons to select [YES], and press
the SET button.
All [SCREEN] mode settings are returned to the
factory set default.