


31
INSTALLATION AND ASSEMBLY
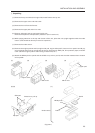
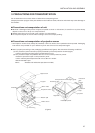
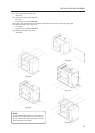
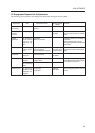
[8] Remove the bonnet. (Fig. 3-8)
10 screws
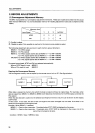
[9] Remove the rear cover. (Fig. 3-9)
9 screws
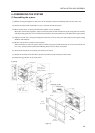
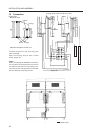
Loosen the six screws (ABA-283).
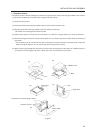
[10] Push in the optional board completely inside the second rail from the right. (Fig. 3-10)
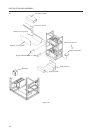
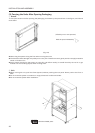
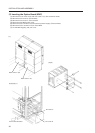
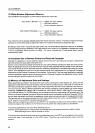
[11] Attach the rear cover. (Fig. 3-11)
11 screws
Tighten the six screws (ABA-283)
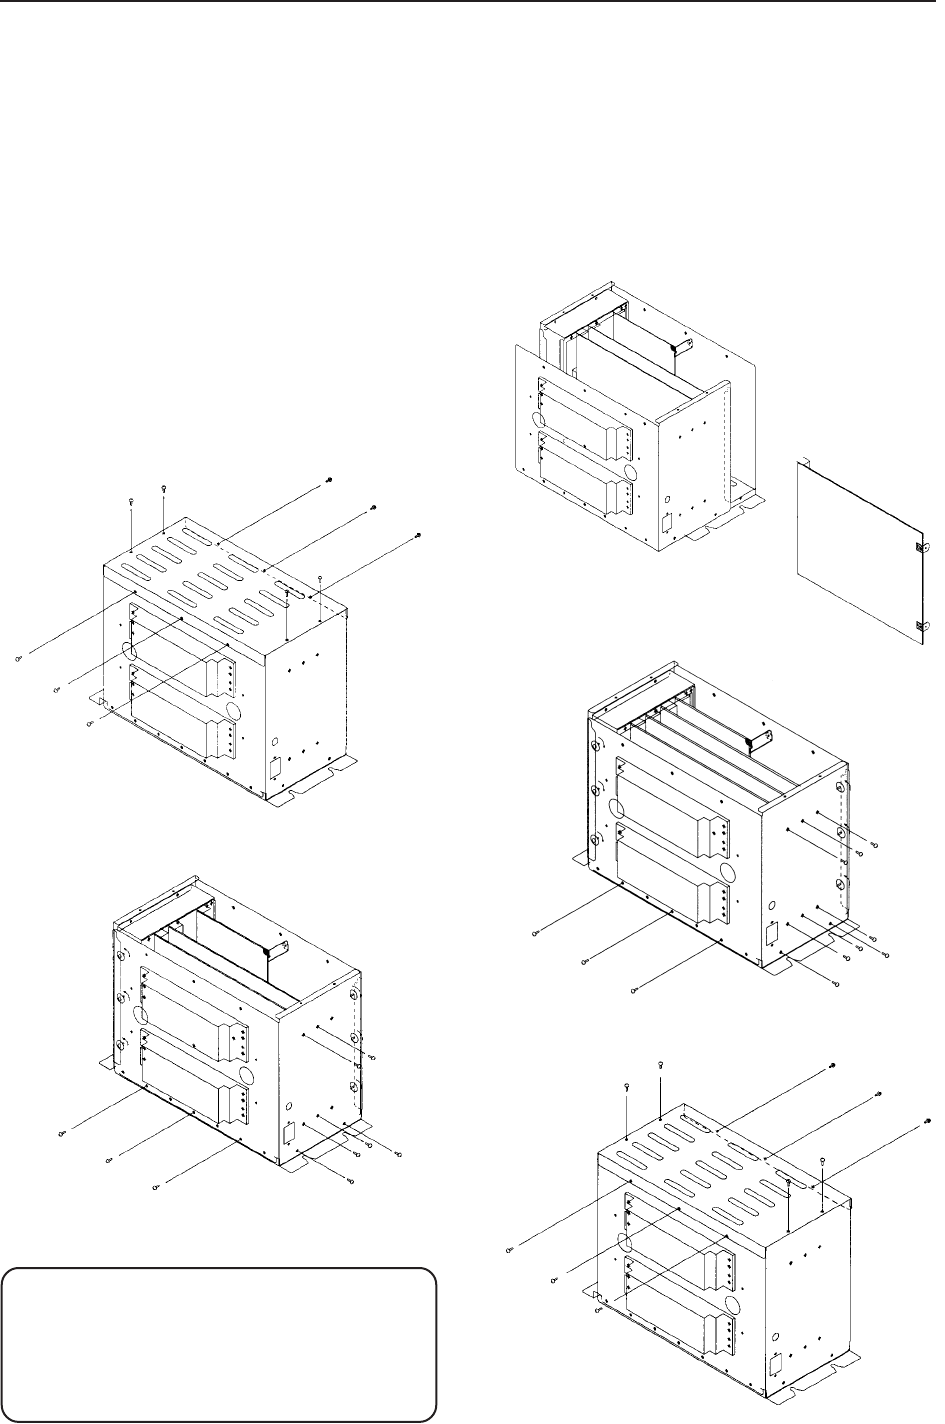
[12] Attach the bonnet. (Fig. 3-12)
10 screws
(Fig.3-8)
(Fig.3-9)
(Fig.3-11)
(Fig.3-12)
(Fig.3-10)
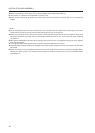
(Note)
To prevent damages of the optional board re-
sulting from static electricity, touch the bon-
net, etc. before touching the board to remove
static electricity in the body.