


40
ADJUSTMENTS
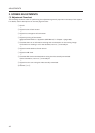
Using the Remote Control>
[1] Press the
ADJ IN
key to set the whole screen into the adjustment mode.
[2] The main menu will be displayed. Press the
1
key.
Select “1. ID SET/CLEAR/SELECT”
[3] Check that the ID display at the top left of the screen is “– –” and press the
1
key.
Select “1.ID SET”.
If an ID has already been given, press the
0
key, select “0. ID CLEAR” of the main menu, return to
“[1] Enter the adjustment mode.” and give the ID.
[4] As the ID input standby state is set, press the
0
to
9
,
A
to
F
keys, and input the ID.
[5] To use the multi-screen MPJ, return to “[1] Enter the adjustment mode.” and given an ID to the next MPJ.
(Note) To return the whole screen to the main menu after giving IDs to the whole screen, press the
ADJ IN
key.
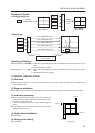
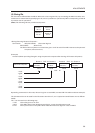
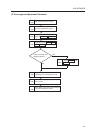
<Selecting the ID Using the Remote Control>
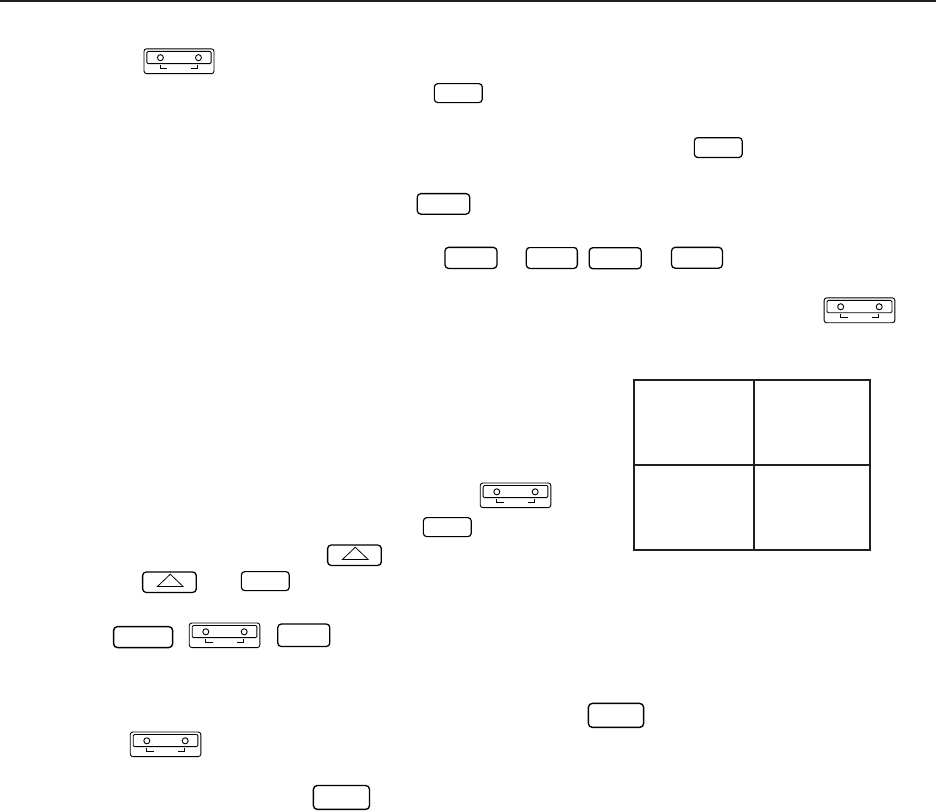
Select the screen to be adjusted using the remote control.
(Example) Select the ID at the bottom left side of the screen (ID=13)
as shown in the figure on the right.
[1] Set all screens to the adjustment mode using the
ADJ IN
key .
[2] Select [1. ID SET/CLEAR/SELECT using the
1
key.
[3] Select [2. ID SELECT] using the
2
key.
[4] Press the
2
and
1
keys (ID=13).
[5] Only the bottom left side of the screen shows the main menu. The other screens will set into the standby
state (
POWER
,
ADJ IN
,
ADJ OUT
keys only are accepted).
¶ To return to the main menu after completing ID SELECT, press the
MAIN MENU
key to keep the ID SELECT state.
Pressing the
ADJ IN
key will also return to the main menu, but it also clear the ID SELECT state, making it
necessary to repeat from step [1] again.
To select other screens, press the
MAIN MENU
key to return to the main menu, and change the ID number set at
step [4] above.
(Note) : When the wrong ID has been specified
Repeat the above steps [1] to [5]. Perform the same steps when an inappropriate ID (Example : ID=33, etc. in the
above screen) has been input. In this case, all screens will set into the standby state.
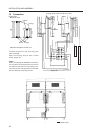
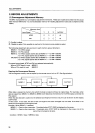
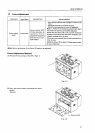
<Precautions for Giving IDs using the Remote Control and Personal Computer>
Communication cannot be performed with units connected using the ABL link cable, after units whose IDs
have been cleared. When the command “** IDC” shown in the figure on the previous page is performed, only
the first unit can be controlled. Using the command “11 IDS” will enable the 2nd unit and onwards to be
controlled.
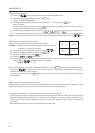
When IDs are set as this, the unit connected next can be controlled.
ID = 13
ID = 14
ID = 12ID = 11
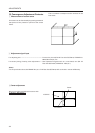
At shipment