54Sheet
AA
AA
A
dding titles, labels and grid linesdding titles, labels and grid lines
dding titles, labels and grid linesdding titles, labels and grid lines
dding titles, labels and grid lines
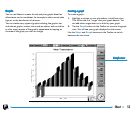
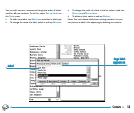
• To add a title to a graph: select the Graph settings
command from the Graphs menu and insert the title. You
can change the style and font of the title using the Title
font command on the Graphs menu or by tapping on the
Title Font button.
• To add axis titles: use the Format X-axis and Format
Y-axis commands. You can also use these commands to
format the X and Y axes, e.g. to add grid lines, tick marks,
add or remove axis labels, alter the axis position and scale,
or hide them completely.You can change the style and font
of the axis title using the Axes font button on the Toolbar
or the command on the Axes menu.
• To add labels to each range: use the Change range
command to specify the type of label you want and the cells
in which your labels are stored.
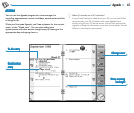
• To add a legend to a graph: tap the Legends button and
select the desired position for the legend. Alternatively, use
the Graph settings command.
WW
WW
W
orking with more than one graphorking with more than one graph
orking with more than one graphorking with more than one graph
orking with more than one graph
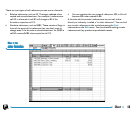
You can create more than one graph for a worksheet and switch
between them easily.
• To create a new graph: highlight the first range for the
new graph, then switch to the Graph view. Select the New
graph command from the Graphs menu, and specify the
settings for the new graph.
• To switch between the graphs you have created: tap
the Graph button on the Top toolbar or use the command
on the Graphs menu.
PP
PP
P
rinting from Sheetrinting from Sheet
rinting from Sheetrinting from Sheet
rinting from Sheet
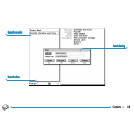
You can print a range of pages, the entire worksheet or a graph
from Sheet using the Printing commands on the File menu. You
need to set up the page layout and printer first, using the Page
setup and Print setup commands. You can use the Print
preview command or the Print button in the Toolbar to display
a preview.
See the ‘Printing’ chapter for more details.


