


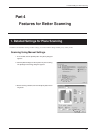

27
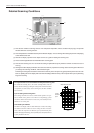
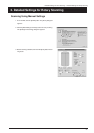
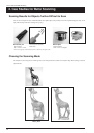
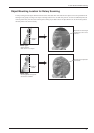
Scanning a Specific Area in Greater Detail
You perform coarse scanning of the entire object using rotary scanning, then rescan just the required areas at a finer pitch. This can reduce
the size of the data and also shorten the scanning times. This feature is for rescanning a portion in the rotary-scanning mode.
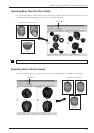
1. First, use rotary scanning to scan the entire object. From this
point on, until rescanning is finished, the mounted position of
the scan object must not be moved.
2. When you have finished scanning the entire object, click the
[SCAN] button. A dialog box appears.
3. Click [Rescan a portion in detail]. The Controller appears.
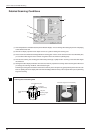
4. Hold down the SPACE key and drag to position the area you
want to rescan at the front.
5. Drag (without holding down any keys) to specify the rescanning
area. You can specify more than one scanning area.
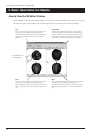
6. Enter a finer scanning pitch, then go to the Controller and click
[Scan]. Rescanning starts.
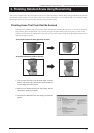
7. You can check and verify the scanning results in greater detail
by using 3D Editor. Click [Run 3D Editor] to start the program
and display the scanning results.
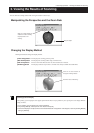
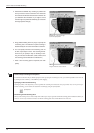
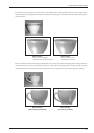
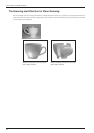
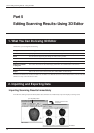
Viewing Scanning Results Using 3D Editor
Processing to merge multiple sets of scanning data is performed when you export these scanning results, but to speed up display, no process-
ing is performed when you display the results with Dr. PICZA3. This means that the view that Dr. PICZA3 shows may differ slightly from the
results after merging. If you want to check the appearance after merging, use 3D Editor to open the data you scanned.
For more information about 3D Editor, see Part 5 and the 3D Editor User's Manual (electronic-format manual) .
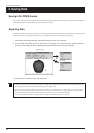
[Run 3D Editor] button
3. Finishing Detailed Areas Using Rescanning