


Part 5 Editing Scanning Results - Using 3D Editor
32
Part 5
Editing Scanning Results -- Using 3D Editor
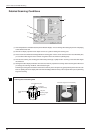
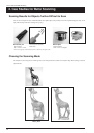
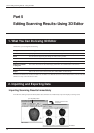
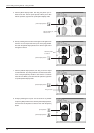
[Run 3D Editor] button
Dr. PICZA3
3D Editor starts and data
is imported.
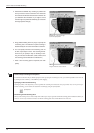
3D Editor
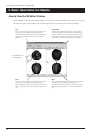
1. What You Can Do Using 3D Editor
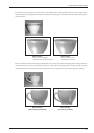
3D Editor lets you do things like the following.
Enlarge and reduce Deforming operations such as stretching in one direction are also possible.
Move and rotate Specifying numerical values for the movement distance and angle of rotation is also possible.
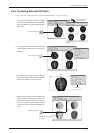
Sever You can divide an object into parts. Filling cut surfaces is also possible.
Delete You can delete unneeded objects.
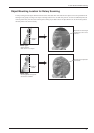
Merge You can unite a number of objects. There is even an alignment feature for doing this.
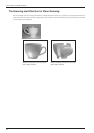
Reduce the number This reduces the amount of data while keeping detail. This is an essential feature of 3D scanners.
of polygons
Smoothing feature This smooths the surfaces of objects.
Export Data can be saved in such formats as DXF, STL, IGES, VRML, and Point Group.
The features of 3D Editor are described in detail in the "3D Editor User's Manual" (electronic-format manual). Refer to it as well. Note that
3D Editor can only work with surface models.
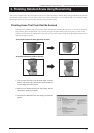
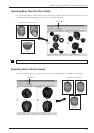
2. Importing and Exporting Data
Importing Scanning Results Immediately
In Dr. PICZA3, clicking the [Run 3D Editor] button starts 3D Editor and simultaneously imports the displayed scanning results.