10
INSTALLING THE PAPER ROLLS
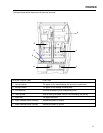
Your cash register features a thermal printer which uses two rolls of 58mm standard bond paper; one roll (left side)
is for the customer receipt and the other roll is for the journal record (right side). If a customer receipt is not
required, a paper saving option is available by pressing the [ON/OFF] key on the keyboard.
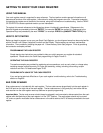
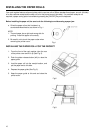
Before installing the paper roll, be sure to do the following to avoid causing a paper jam:
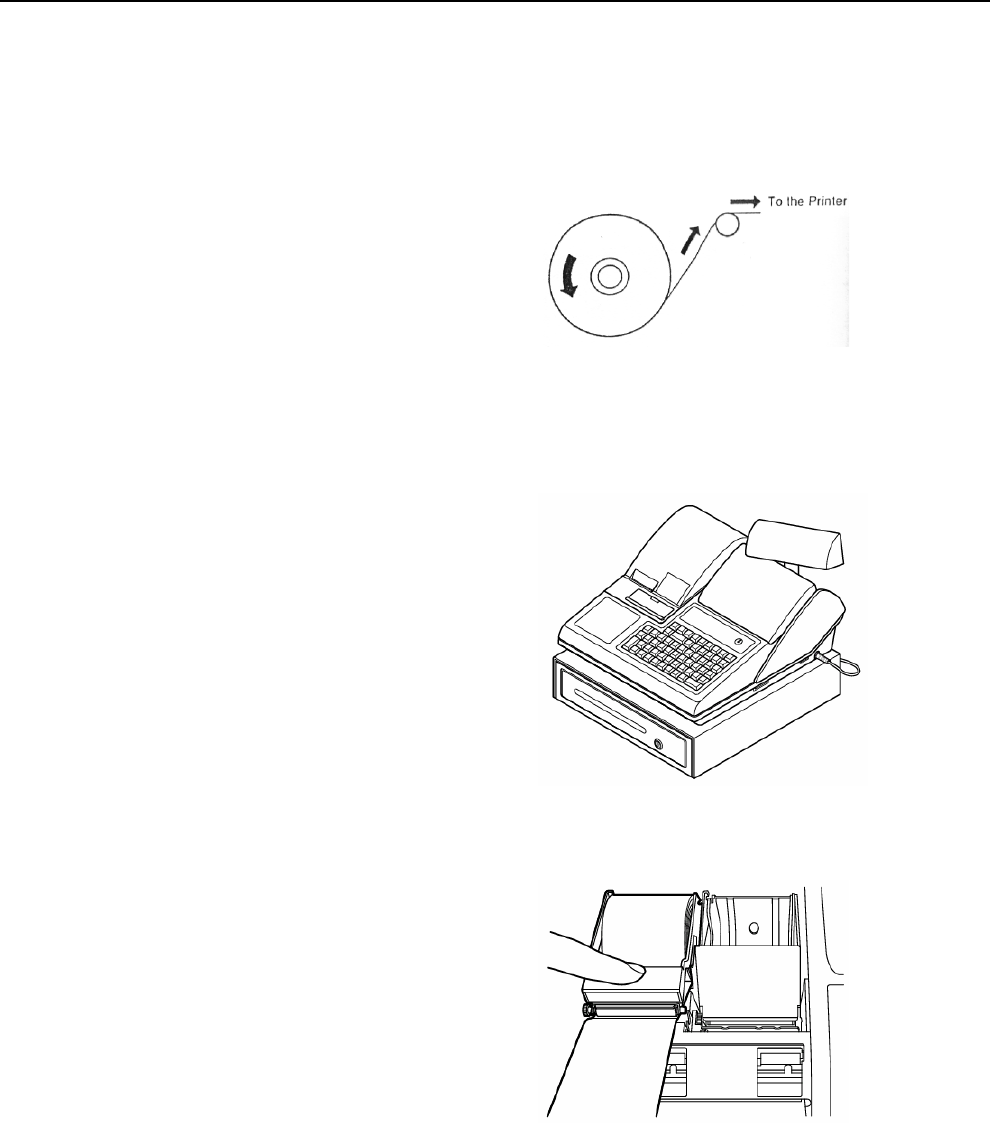
Fig.1
INSTALLING THE PAPER ROLL FOR THE RECEIPT
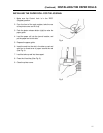
Fig.2
Fig.3
a. Orient the paper roll so that it rotates in a
counterclockwise direction, as shown in Fig. 1.
NOTE:
1. Thermal paper has a right and wrong side for
printing. Install the paper roll correctly.
2. Be careful not to touch the paper cutter when
removing the printer cover.
1. From the front of the cash register, take the rear
of the printer cover and lift it up (See Fig. 2).
2. Push the platen release button (left) to raise the
paper guide.
3. Load the paper roll into the receipt location, and
put the paper end to this side.
4. Depress the paper guide (See Fig. 3).
5. Keep the paper guide to this end and close the
printer cover.


