


49
Enabling/disabling the front panel controls
This function enables/disables the front panel controls.
Example: Setting “ON”
Perform the following operations.
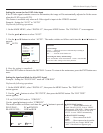
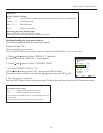
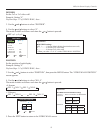
Press the MENU button on the remote control to display the MAIN MENU on the screen, then...
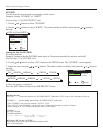
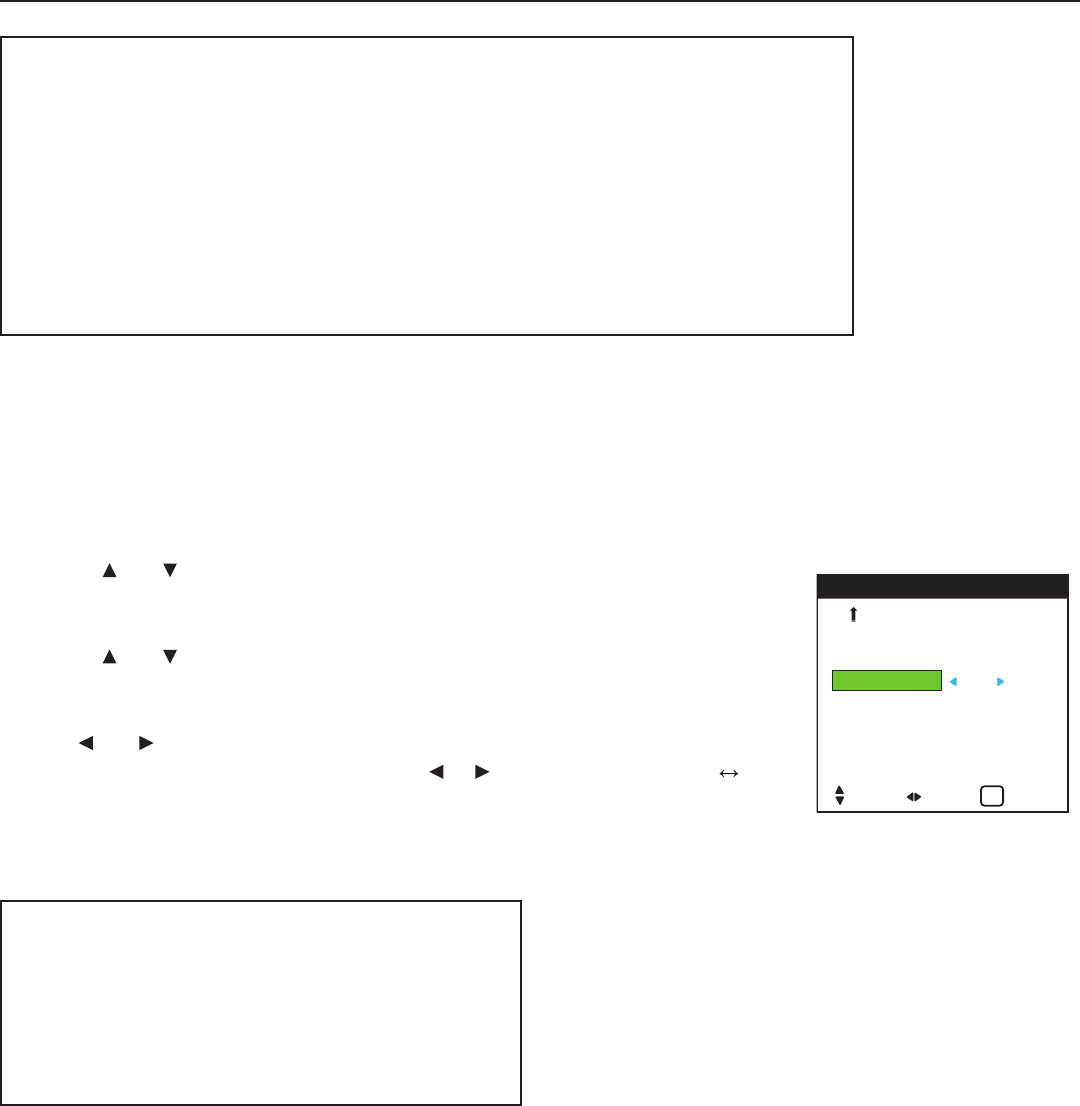
1. Use the and buttons to select “INSTALL 3”, then press
the MENU button. The “INSTALL 3” screen appears.
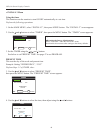
2. Use the and buttons to select “CONTROL LOCK”.
3. To set the CONTROL LOCK to “ON”...
Use the and buttons to select “ON”, then press the MENU button.
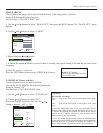
The mode switches as follows each time the or button is pressed: OFF ON
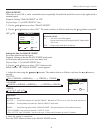
4. Once the setting is completed ...
Press the EXIT button to return to the main menu. To delete the main menu, press the EXIT button once more.
OSD (On Screen Display) Controls
Information
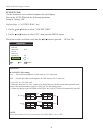
■ INPUT SELECT settings
LAST ................... Last mode (the mode that was last selected at the time the power was switched off).
VIDEO 1, 2, 3 ...... VIDEO input mode.
RGB 1, 2, 3 .......... RGB input mode.
HD 1, 2 ................. HD/DVD input mode.
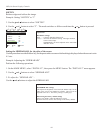
■ Restoring the factory default settings
Select “FACTORY” under the INSTALL 1 menu.
Note that this also restores other settings to the factory defaults.
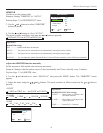
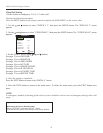
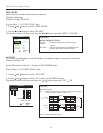
TIMER
INPUT SELECT : LAST
CONTROL LOCK : OFF
IR ENABLE : ON
LOOP OUT : OFF
ID NUMBER : ALL
VIDEO WALL
INSTALL 3 3 / 3
PREVIOUS PG
SEL. ADJ. RETURN
EXIT
Information
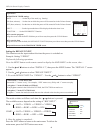
■ CONTROL LOCK settings
ON ................... Disables the buttons on the front panel.
OFF .................. Enables the buttons on the front panel.
* Even when the CONTROL LOCK is set, the POWER switch will
not be locked.
* This becomes effective when the on-screen menu goes out.