


3-19
OPERATION
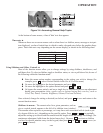
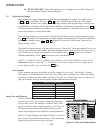
NEXT CHANNEL: Select this option to see or change Channel Edit settings for
the next channel in the Channel Setup list.
3.6 Adjusting the Image
Most options for image adjustments can be accessed through two menus: Size and Position
( ) and Image Settings ( ), both of which are listed in the Main menu.
While in either of these two menus, you can change settings affecting the image from the cur-
rent channel by working with the appropriate slidebars, checkboxes and pull-down lists.
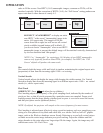
will always return to the previous menu (or to the presentation, if from the Main menu) and
accept any changes you may have made.
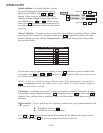
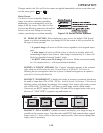
From your presentation, you can access any of the individual options in these menus by press-
ing followed by the appropriate two-digit number representing their location in the menu
system. For example, press to quickly access the "color temp" option in the
Image Settings menu.
Note that for certain options, you may prefer to use a "direct key" from presentation level to go
directly to a particular option rather than traveling through the menu system at all (note: this is
not available for all display parameters). For example, press to access the "contrast"
slidebar immediately. Press to return to your presentation.
NOTE: 1) To hide the "direct" slidebars only, make sure the Display Slidebars option in the
Preferences menu is unchecked. 2) To hide the entire menu system from view, toggle the on-
screen display OFF: press and hold the key.
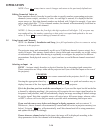
Auto Setup
If you want the projector to quickly set up the image for you, select "Auto Setup" from the
Main menu. A confirmation box will ask if you really want to continue, in which case display
parameters listed in the Table below will be set for you. An "Auto Setup" can save time in set-
ting up an image, and you can also make further adjustments as desired.
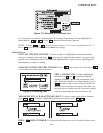
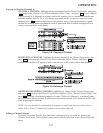
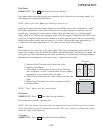
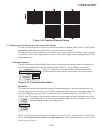
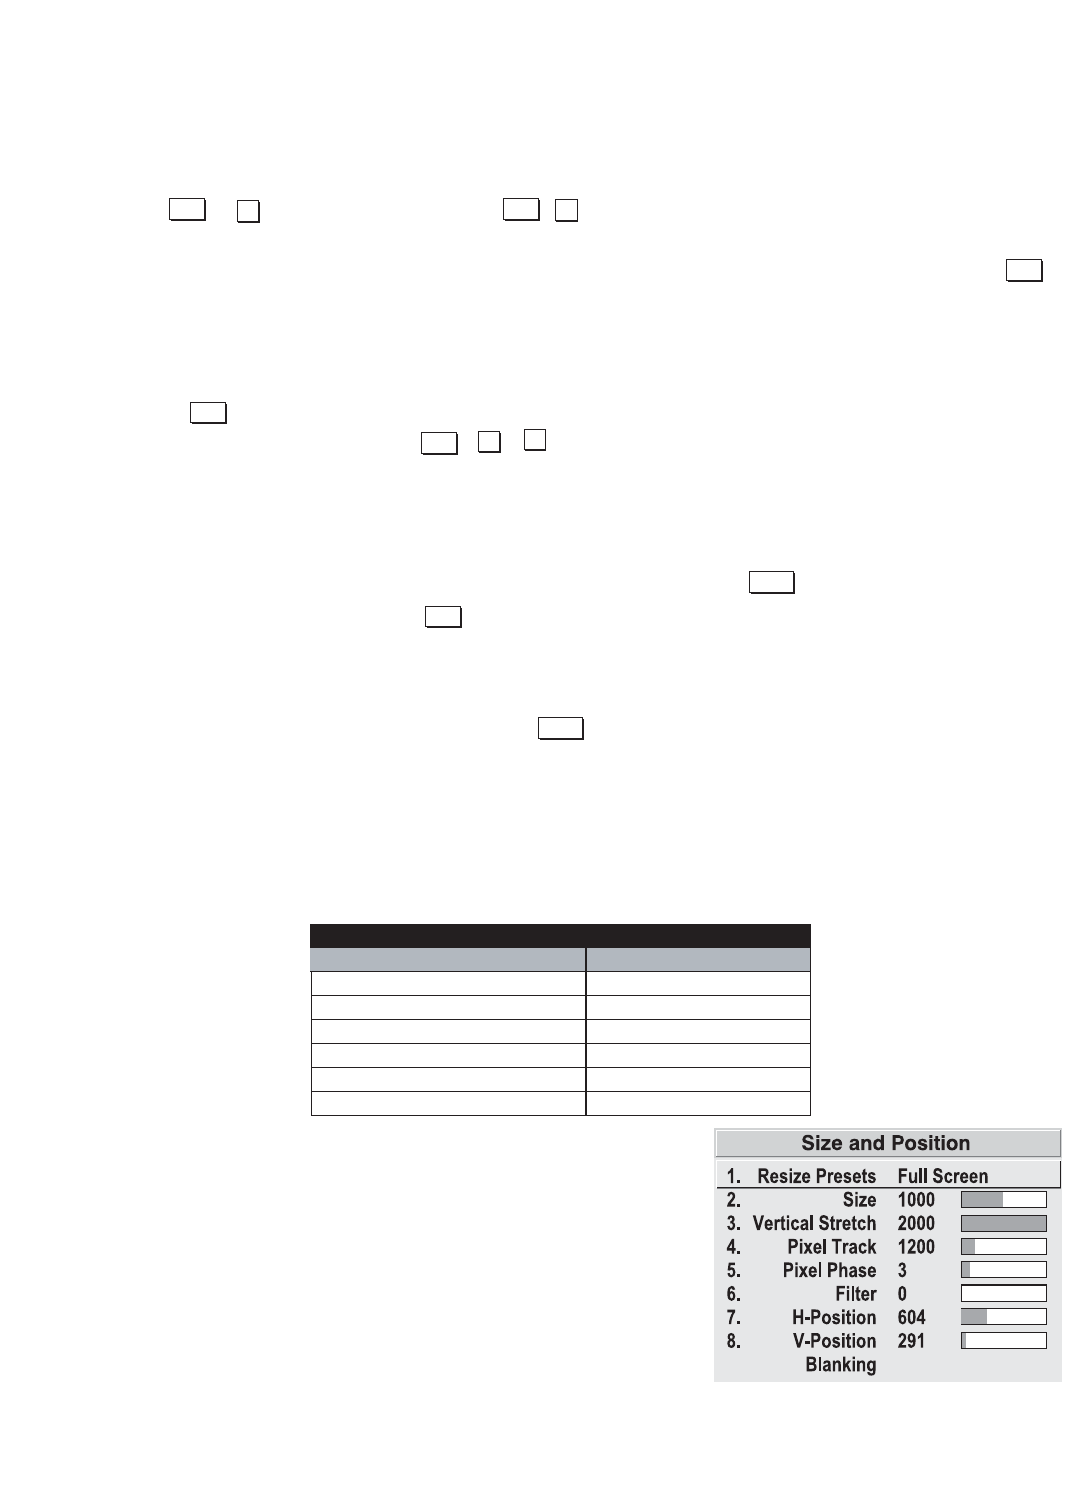
Image Size and Position
The Size and Position menu allows you to increase or
decrease the size of your image, change its proportion
(aspect ratio), move the image to a specific area of the
screen, and refine other related parameters. Use Size and
Position controls to match the image precisely to the
screen size and aspect ratio needed for your application.
Refer to "Using Slidebars and Other Controls" (earlier in
this section) if you need help using any of the following
slidebars or pull-down lists to alter your image.
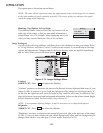
Menu
Menu
1
2
Exit
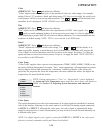
Menu
Menu
2
6
Cont
Exit
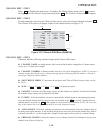
What an “Auto Setup” Does
OPTIMIZES: SETS TO DEFAULT:
Pixel Tracking & Phase Contrast & Brightness
Size Auto Input Level (off)
Vertical Stretch Blanking
Position Detail (if video source)
Input Levels (if analog source) Filter
Luma Delay
Figure 3.11 Size and Position Menu
OSD*