


3-23
OPERATION
This option moves the picture up and down.
NOTE: The value shown represents where the approximate center of the image lies in relation
to the total number of pixels available vertically. This varies widely according to the signal-
watch the image while adjusting.
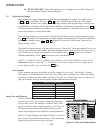
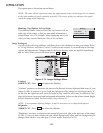
Blanking: Top, Bottom, Left or Right
This submenu blanks (turns to black) the top, bottom, left, or
right edge of the image so that any unwanted information is
cropped from view. For example, when displaying native size
video you may want to blank out a few of the top lines.
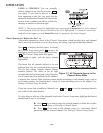
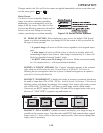
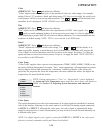
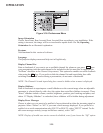
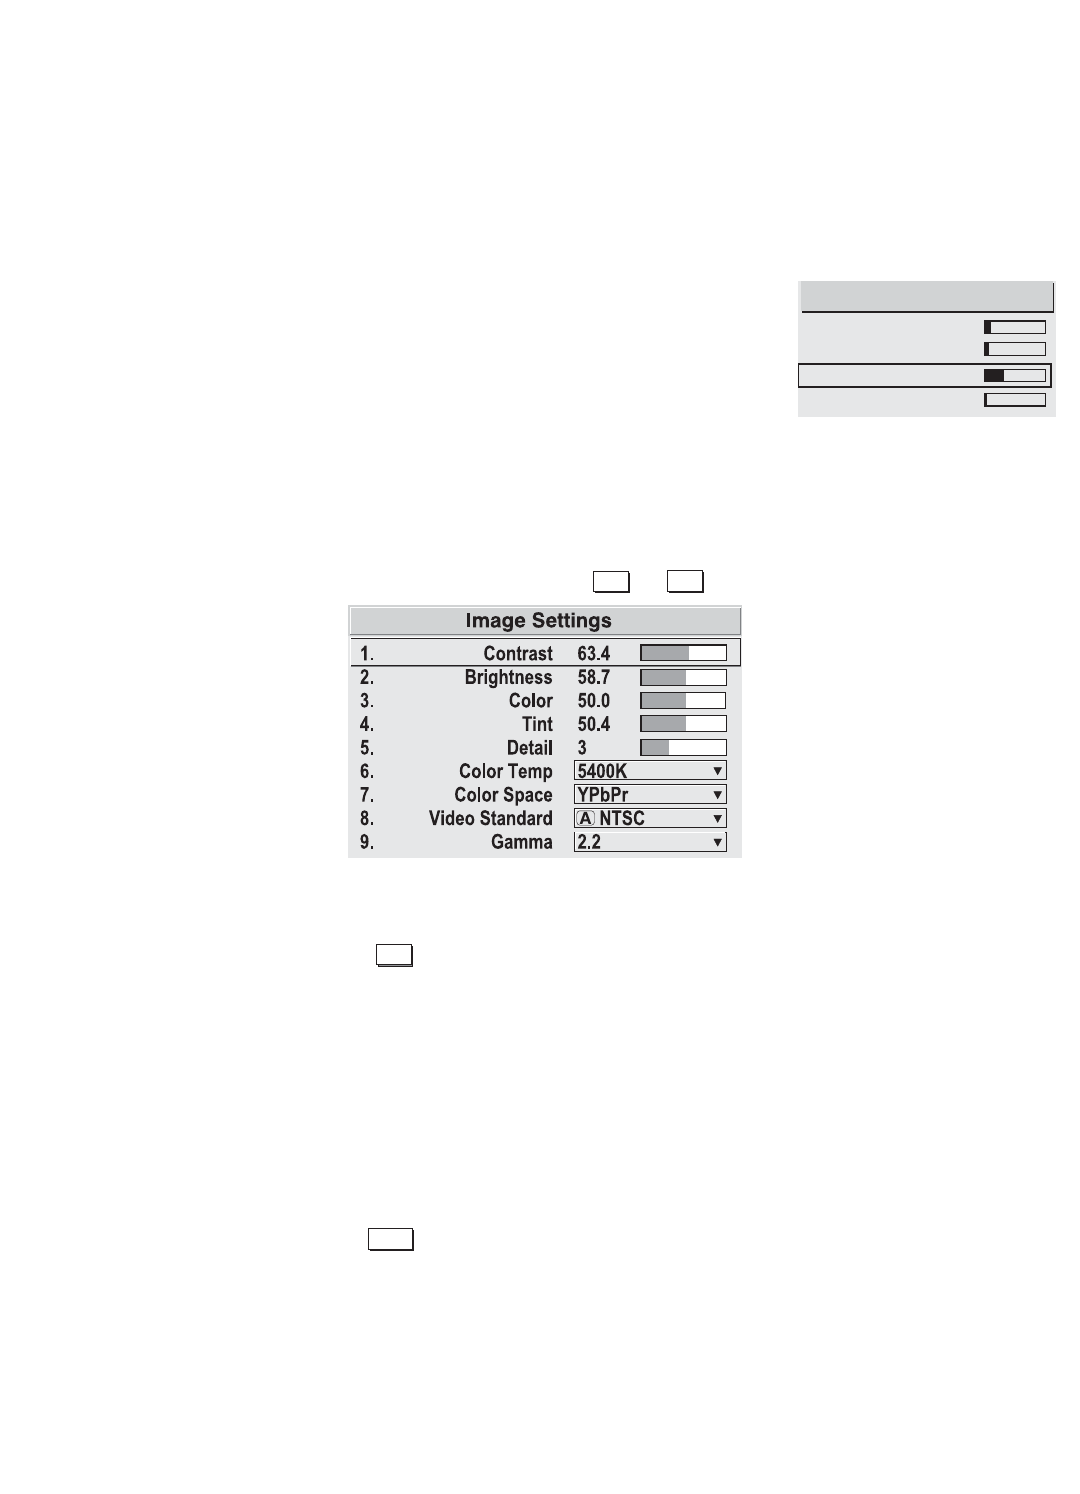
Image Settings
Use any of the following slidebars, pull-down lists or the checkbox to alter your image. Refer
to "Using Slidebars and Other Controls" (earlier in this section) if you need help in selecting
options and adjustments. Changes made to the Image Settings menu are applied immediately
and are saved when you exit the menu (press or ).
Figure 3.13. Image Settings Menu
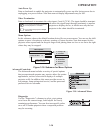
Contrast
(SHORT CUT: Press and adjust the slidebar.)
"Contrast" increases or decreases the perceived difference between light and dark areas of your
image (0-100). If contrast is set too high, the light parts of the image lose detail and clarity. If
set too low, the light areas will not be as bright as they could be and it may be difficult to dis-
tinguish between foreground and background information. Adjust so that whites remain bright
but not distorted or tinted. For best results, keep close to 50.
NOTE: If environment lighting changes, it may be necessary to re-adjust both options.
Brightness
(SHORT CUT: Press and adjust the slidebar.)
"Brightness" increases or decreases the amount of perceived light in the dark part of the image
(0-100). If video or data is displayed with a black background, adjust until the background just
changes from black to very dark gray. For best results, keep close to 50.
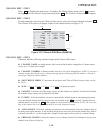
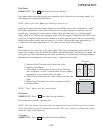
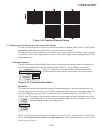
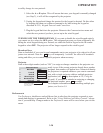
Blanking
1. Top Blank 8
2. Bottom Blank 4
3. Left Blank 18
4. Right Blank 1
Exit
Menu
Bright
Enter