


4-5
MAINTENANCE
4.4 Replacing The Lens
A variety of lenses are available to accommodate different throw distances and specific types of
installations. See page 5-1 for details. To change a lens, follow the steps below.
NOTES: 1) You will need a 9/64”(3mm or 3.5mm) hex socket ball driver (supplied with projec-
tor) or allen wrench for this procedure. 2) “Top” or “bottom” references assume a non-invert-
ed projector, as illustrated. 3) If you are installing a lens, first make sure its Lens Adapter is
present on either the lens or projector. Such an adapter/flange secures to the projector in the
same manner as the flange described below, but accommodates a screw-mount lens.
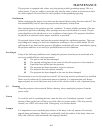
STEP 1 Turn off the projector, cool, and unplug.
Before removing or installing a lens, turn off the projector and allow it to cool for five minutes
before unplugging. Make sure that the lens cap is on.
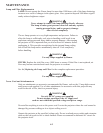
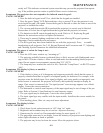
WARNING
Unplug the projector.
Install the lens cap.
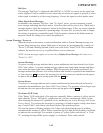
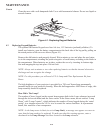
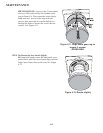
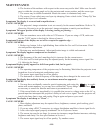
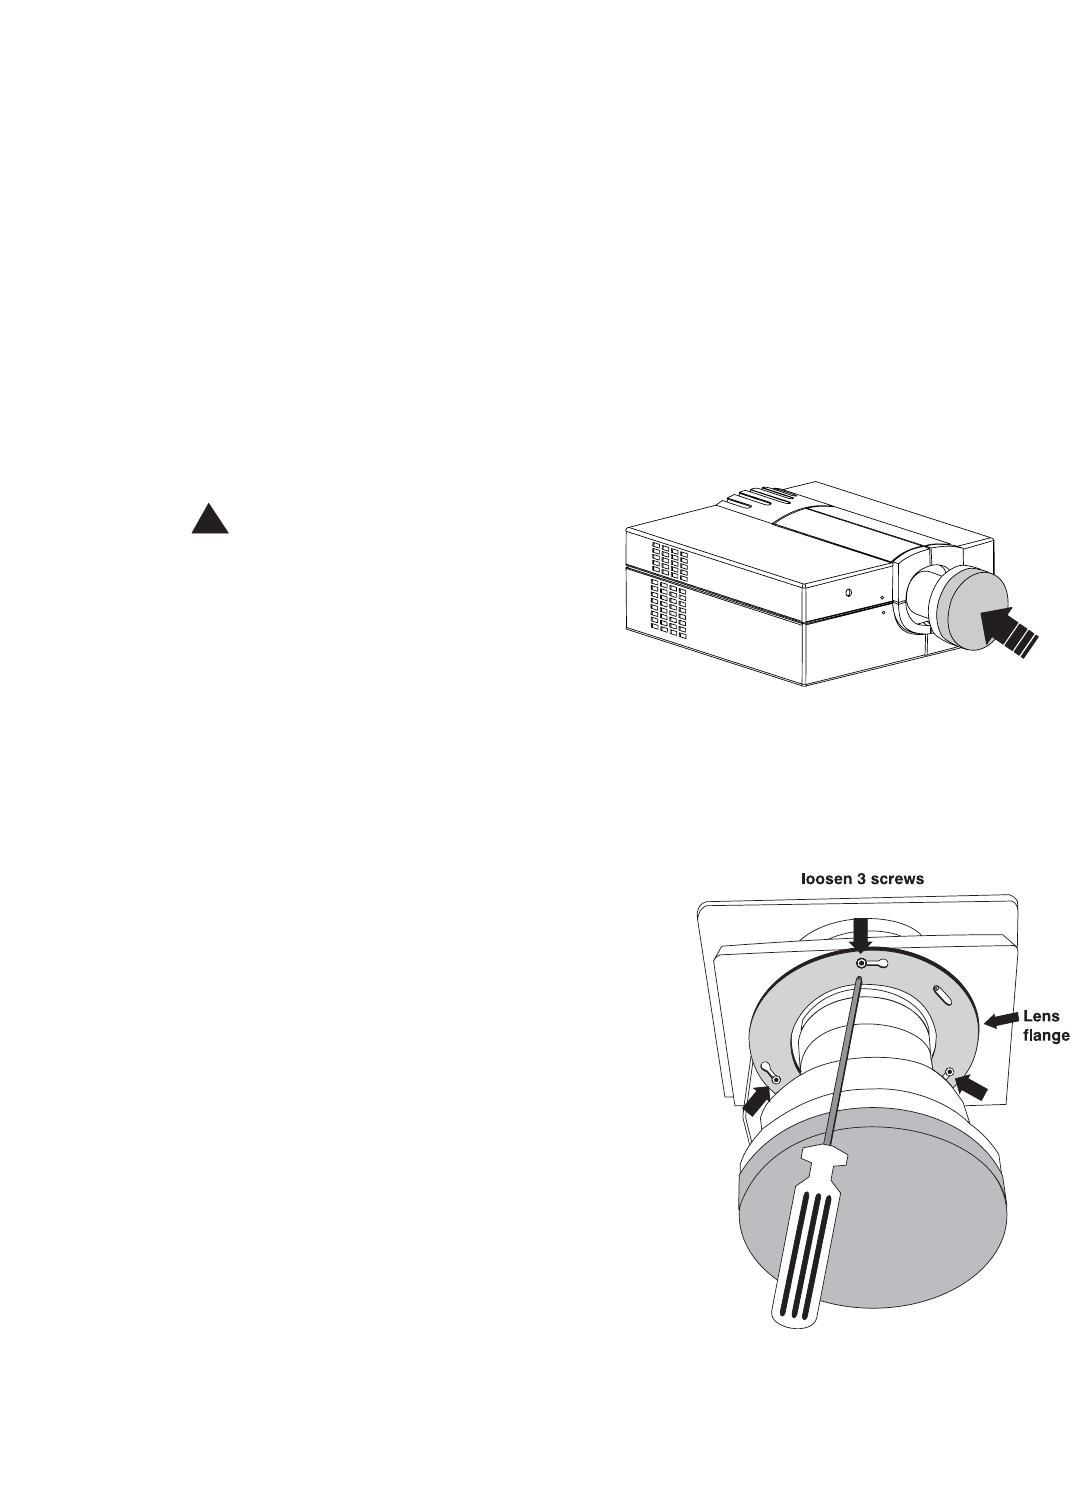
STEP 2 Loosen the 3 lens mount screws
IF FIXED LENS: Use the hex socket ball driver
provided with the projector to loosen the 3 lens
mount screws that secure the lens flange to the
mount-loosen these screws only, do not remove. See
Figure 4.10.
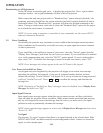
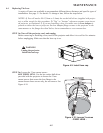
Figure 4.9. Install lens cap
!
Figure 4.10. Loosen 3 screws
- FIXED LENS -