3-5
3
CUSTOM SETTINGS
Custom settings are used for various settings based on the customer operating conditions. The items that can be set
with the custom settings are shown below.
● Total count ....................................... The number of printed pages and the like are displayed. (See page xxxx.)
● Display contrast*1 ........................... The display contrast of the operation panel is adjusted. (See page xxxx.)
● List print .......................................... Used to print a list of settings that have been made or a font list. (See page
xxxx.)
● Clock............................................... The date and time of the built-in clock of the printer are set.
● Tray settings*4................................. The paper type and paper size for each tray are set.
● Auto tray switching .......................... Used to switch automatically the paper tray of the same paper size when
paper runs out in continuous printing.
For the items below, detailed setting procedure is described on the respective pages of the functions.
● Address control*3 ....................... Used to register destination E-mail addresses, fax numbers, and Internet
fax addresses. Also group entry, memory box entry, custom index entry,
and scanner sender entry can be set.
● Receive mode*2 ......................... The fax receive mode (automatic or manual) is set.
● Fax data forward*2 ...................... Received fax data in memory can be forwarded to another destination.
● Key operator programs .................... RSetting programs are provided for key operators (administrators of this
machine). If this product is equipped with a scanner module as a peripheral
unit, this key will appear in the CUSTOM SETTINGS menu screen. For settings,
see Key Operator’s Guide. (See page xxxx.)
1 Can be set if this product is equipped with a scanner module as a peripheral unit.
2 Can be set if this product is equipped with a scanner module as a peripheral unit and the facsimile feature can be
used.
3 Can be set if this product is equipped with a scanner module as a peripheral unit and the facsimile feature or the
network scanner feature can be used.
4 Can be set with this item if this product is not equipped with a scanner module as a peripheral unit.
Operation procedure common to all custom settings (items that can be set
from the operation panel)
When using the operation panel on the main unit:
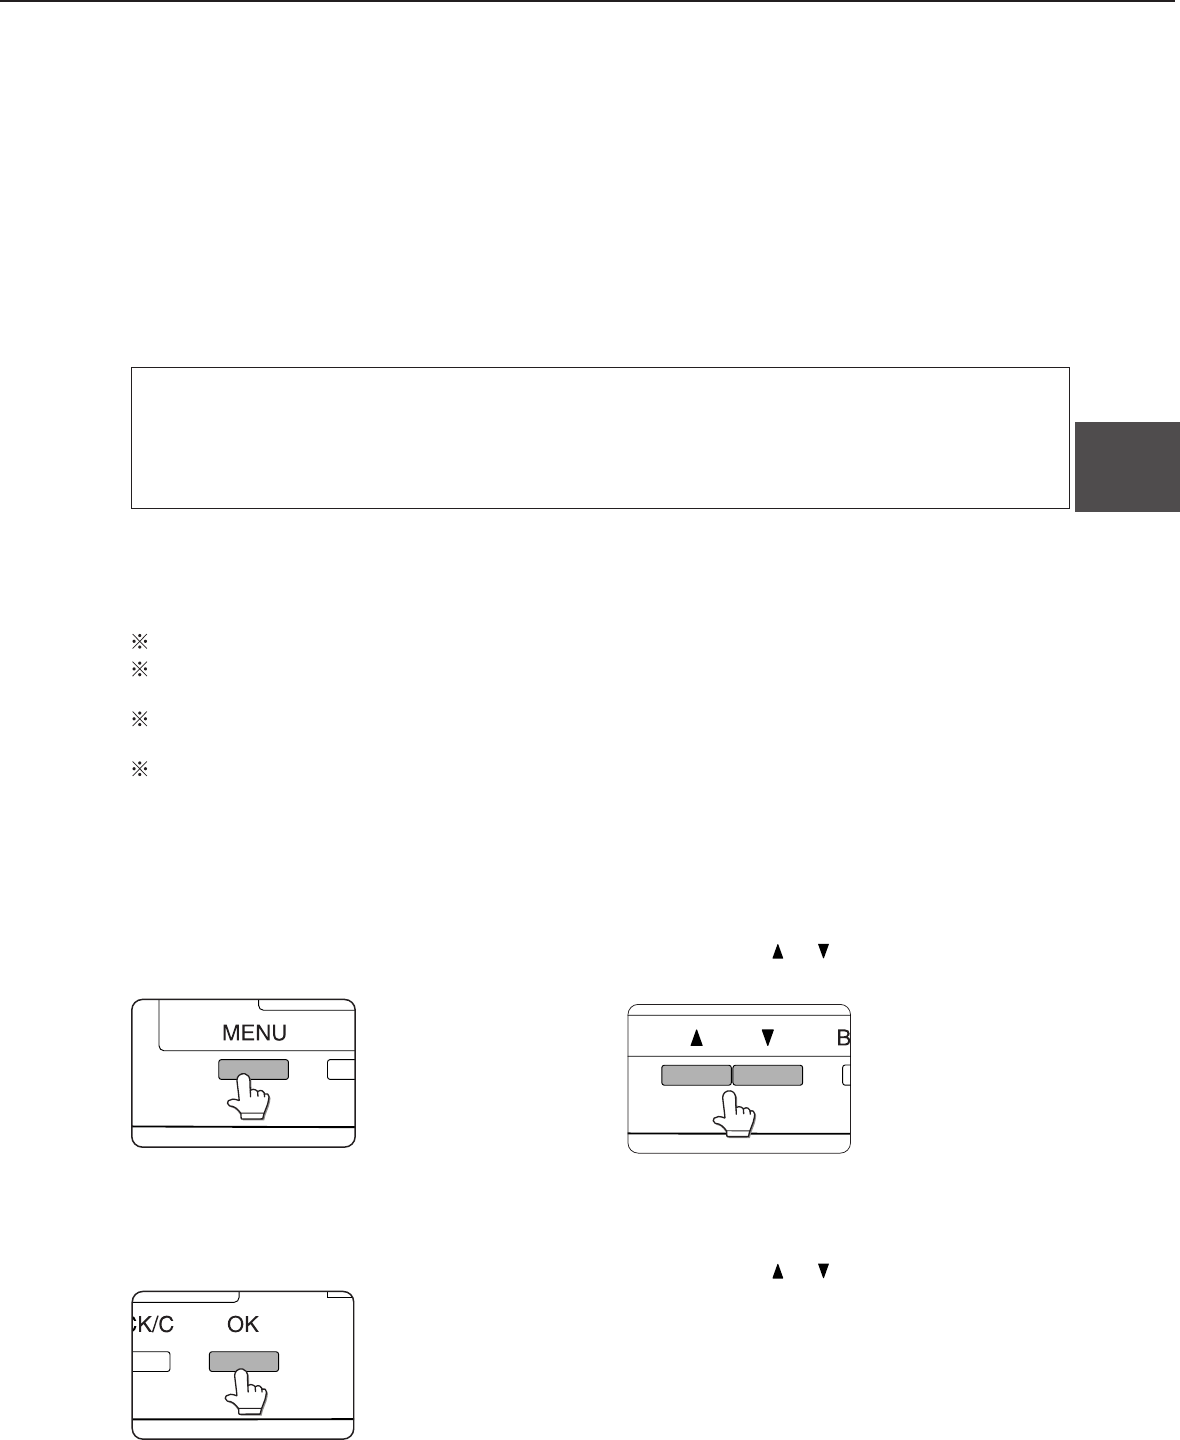
1
Press the [MENU] key to display the
custom settings menu screen.
Press the [MENU] key
repeatedly until the
message “CUSTOM
SETTINGS” appears.
Any print jobs held in the
printer and any job
currently transmitted to
the printer will be printed
in the former custom
setting conditions.
2
Press the [OK] key.
3
Press the or key to select the desired
setting item.
4
Press the [OK] key.
5
Press the or key to select the desired
setting.
For details of each setting item, see the description
on and after page xxxx.


