


1-5 (E)
HDS-X5800
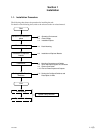
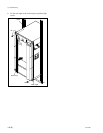
1-5-2. Rack Mounting Procedure
This section describes the rack mounting procedure using
the rack mount kit supplied with the HDS-X5800.
n
Tighten the screws to the following torque.
Tightening torque : 120 x 10
_2
N.m {12.2 kgf.cm}
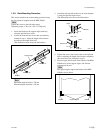
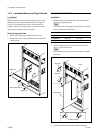
1. Attach the bracket to the support angle tentatively
using the specified four screws.
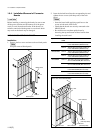
2. Loosen the front and rear screws that are tentatively
fastened in step 1. Adjust the length of the brackets
according to the depth of the rack.
(The illustration below shows the left bracket.)
n
Maximum depth of bracket : 750 mm
Minimum depth of bracket : 595 mm
PSW4 x 10
PSW4 x 10
Support angle
Bracket
Bracket
B4 x 10
B4 x 10
31.75
31.75
Front side
Rear side
Bracket
Bracket
Rack
Rack
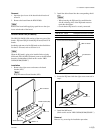
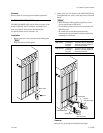
3. Attach the right and left brackets to the rack complete-
ly using the specified eight screws.
(The illustration below shows the left bracket.)
4. Tighten the screws (four screws each on the right and
left) for adjusting the length of the bracket completely
(the screws that were loosened in step 2).
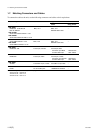
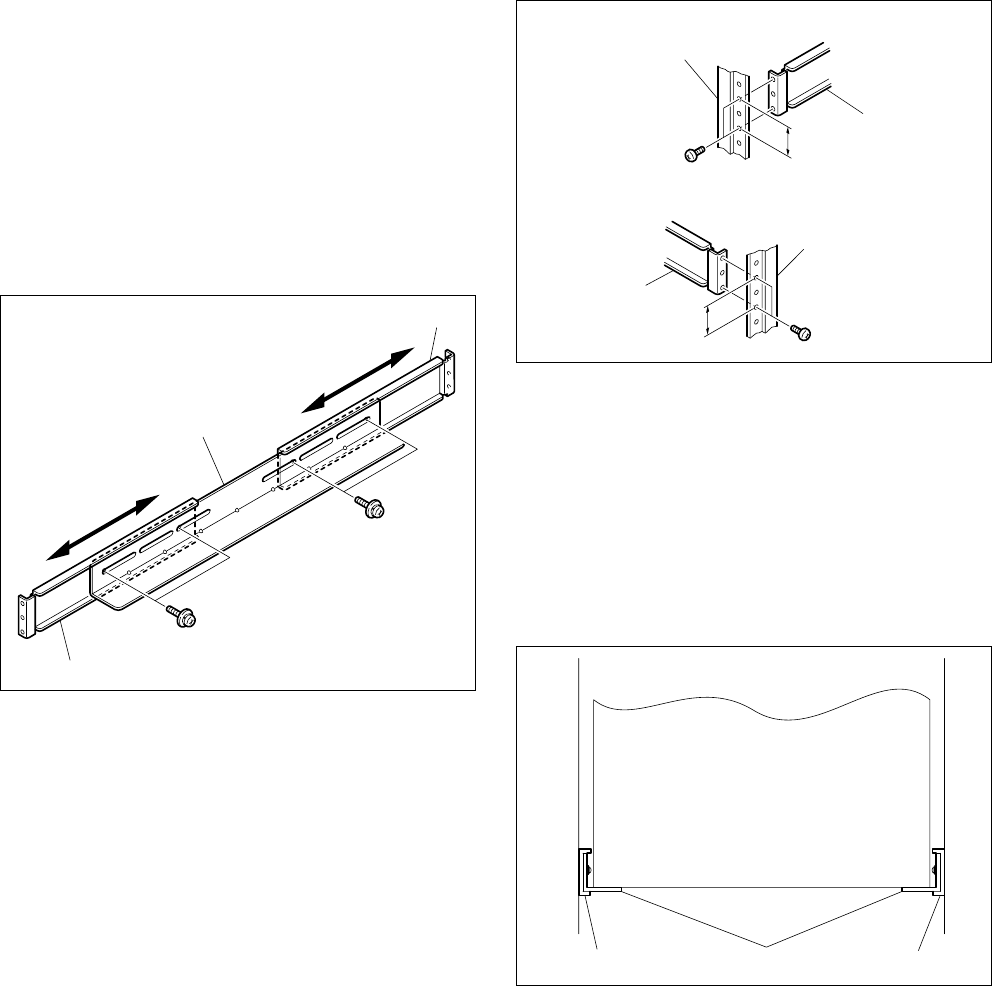
5. Place the right and left ends of the bottom of the HDS-
X5800 on top of the support angles, and slide the
equipment to the rear.
n
The support angles support the bottom of the HDS-
X5800 as shown below.
Support angles
Bracket Bracket
Unit : mm
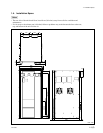
1-5. Rack Mounting