


21
GB
Making basic printing
Tip
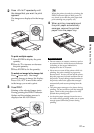
When the printer is ready for printing, the
PRINT indicator lights in blue green. (If
not, check to see that the print paper and
print cartridge are properly set.)
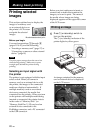
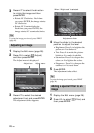
4
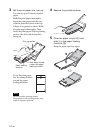
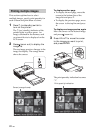
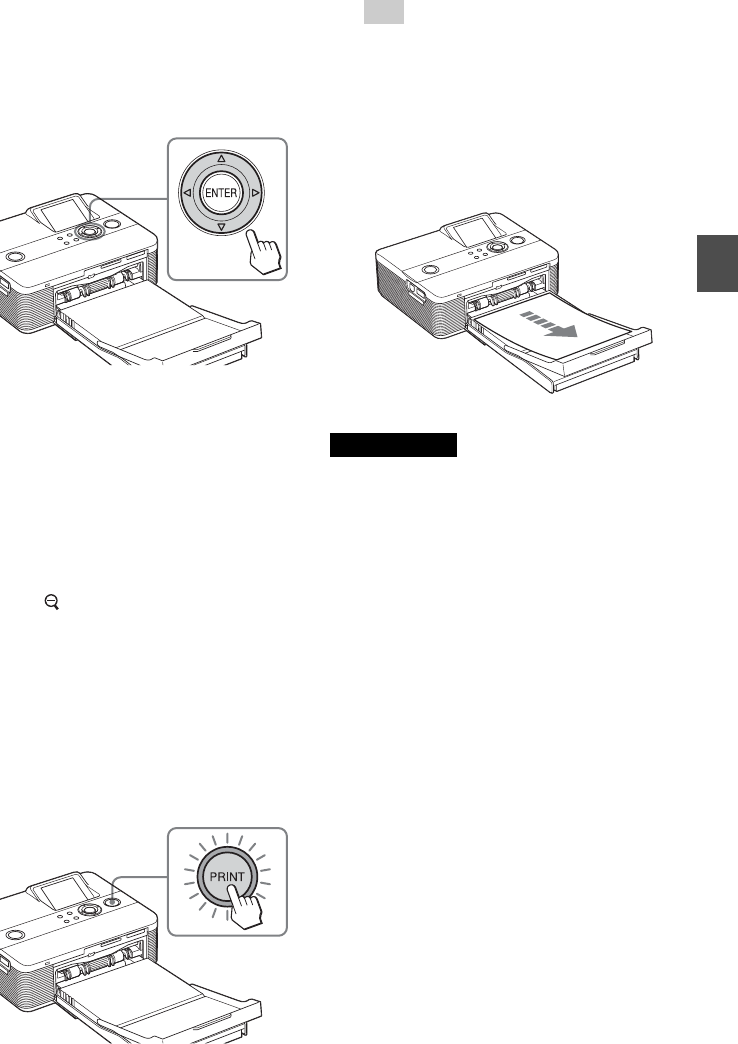
When printing is complete and
the print paper automatically
emerges, remove the printed
paper from the paper tray.
Notes on printing
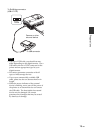
• Do not remove or connect a memory card or
an external device while the access indicator
is flashing or the access indication is
displayed on the LCD screen.
•
Never move or turn off the printer while it is
printing; the print cartridge or paper may
become stuck. In case you turn off the power,
keep the paper tray inserted and then turn on
the printer. If paper being printed remains in
the printer, remove the paper that emerged
automatically and resume printing from the
step 1.
• The print paper emerges a few times during
printing. Do not touch nor pull the emerged
paper. Wait for the print paper to be fully
ejected after printing ends.
• As the print paper emerges from the rear a
few times during printing, make sure to spare
enough space behind the printer during
printing.
2
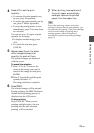
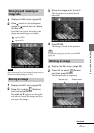
Press g/G/f/F repeatedly until
the image that you want to print
appears.
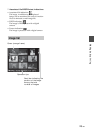
The images are displayed in the image
list.
To print multiple copies
1 Press ENTER to display the print
quantity.
2 Press f/F to increase or decrease
the print quantity.
3 Press ENTER to fix the quantity.
To select an image in the image list
Press
(zoom out). One image
preview changes to image list display.
Press g/G/f/F to move the cursor
to the image you want to print.
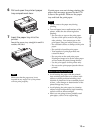
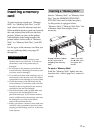
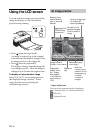
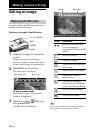
3
Press PRINT.
Printing of the selected image starts.
During printing the PRINT indicator
flashes and the printing process is
displayed on the LCD screen.