56
Installation and Adjustment
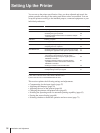
Setting Up the Printer
You can set up the printer specification. Once you have adjusted and stored, the
printer operates according to the setting until those values are modified. You can
set up the printer according to the intended purpose, connected equipment or your
individual preferences.
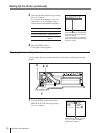
Menu
PICTURE ADJUST
LAYOUT SETUP
CAPTION
a)
WINDOW SETUP
a)
PRINTER SETUP
SYSTEM SETUP
b)
FUNCTION SETUP
INPUT SETUP
OUTPUT SETUP
a) This menu is the sub menu of the LAYOUT SETUP menu.
b)This is the sub menu of the PRINTER SETUP menu.
Functions to be set
Adjusting the sharpness.
•Selecting the memory mode
•Selecting the type of printouts
•Selecting whether white borders are added to multiple
reduced images.
Entering a caption
Changing the printout size/printout area.
•Setting the print quantity
•Adjusting the tone of printout
•Selecting whether the operation and error tones sound.
•Selecting the application mode (printer operation mode)
•Selecting the image which appears after storing the image
into memory, source image or memory image.
•Selecting the timing of the pulse signal input to the
REMOTE 2 connector
•Selecting operation mode for automatic printing
capabilities of remote commanders connected to
REMOTE 2 connector.
•Setting the function of the CLEAR button
•Selecting the input signal
•Compensating for the input signals.
Erasing the screen display.
Reference page
59
26
29
31
40
62
18
60
71
23
34
65
67
45
13
57
69
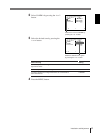
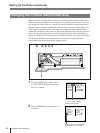
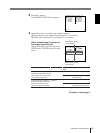
This section explains the following settings and adjustments.
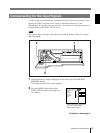
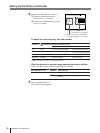
• Compensating for the input signals (page 57)
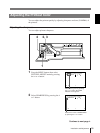
• Adjusting the sharpness (page 59)
• Adjusting the tone of the printout (page 60)
• Changing the printout size/printout area (page 62)
• Selecting the operating mode for automatic printing capability (page 65)
• Erasing the screen display (page 69)
• Selecting whether to enable the operation and error tones (page 71)


