64
Installation and Adjustment
When a black line appears on the
printout
Adjust the printout area according to
the position of the line on the printout,
by using the H START and V START
items on the menu.
Setting Up the Printer (continued)
Position where
the black line appears
On the right
On the left
At the top
At the bottom
Menu adjustment
item
H START
(horizontal direction)
V START
(vertical direction)
Button to be
used
∫ button
ı button
∫ button
ı button
Adjustment result
The image position shifts to the right
with the size remaining as is.
The image position shifts to the left
with the sized remaining as is.
The image position shifts up with the
size remaining as is.
The image position shifts down with
the size remaining as is.
When the black line is
at the right or left edge
When the black line is
at the top or bottom
To clear the adjusted value
Press the MENU button from the WINDOW SETUP menu. The adjusted
values are cleared and the values are reset to the original ones.
Note
When a black line still appears, even after adjusting H START or V START,
change the printout size.
5 Select LAY SETUP by pressing the ◊ or √ button, then press the ∫ button.
The adjusted values are stored. The LAYOUT SETUP menu appears.
6 Press the MENU button.
The regular screen appears.
To check the adjustment result
Cature a new image and print it to check that no black frame appears on the
printout, that the image is not partially cut, and that no black line appears.
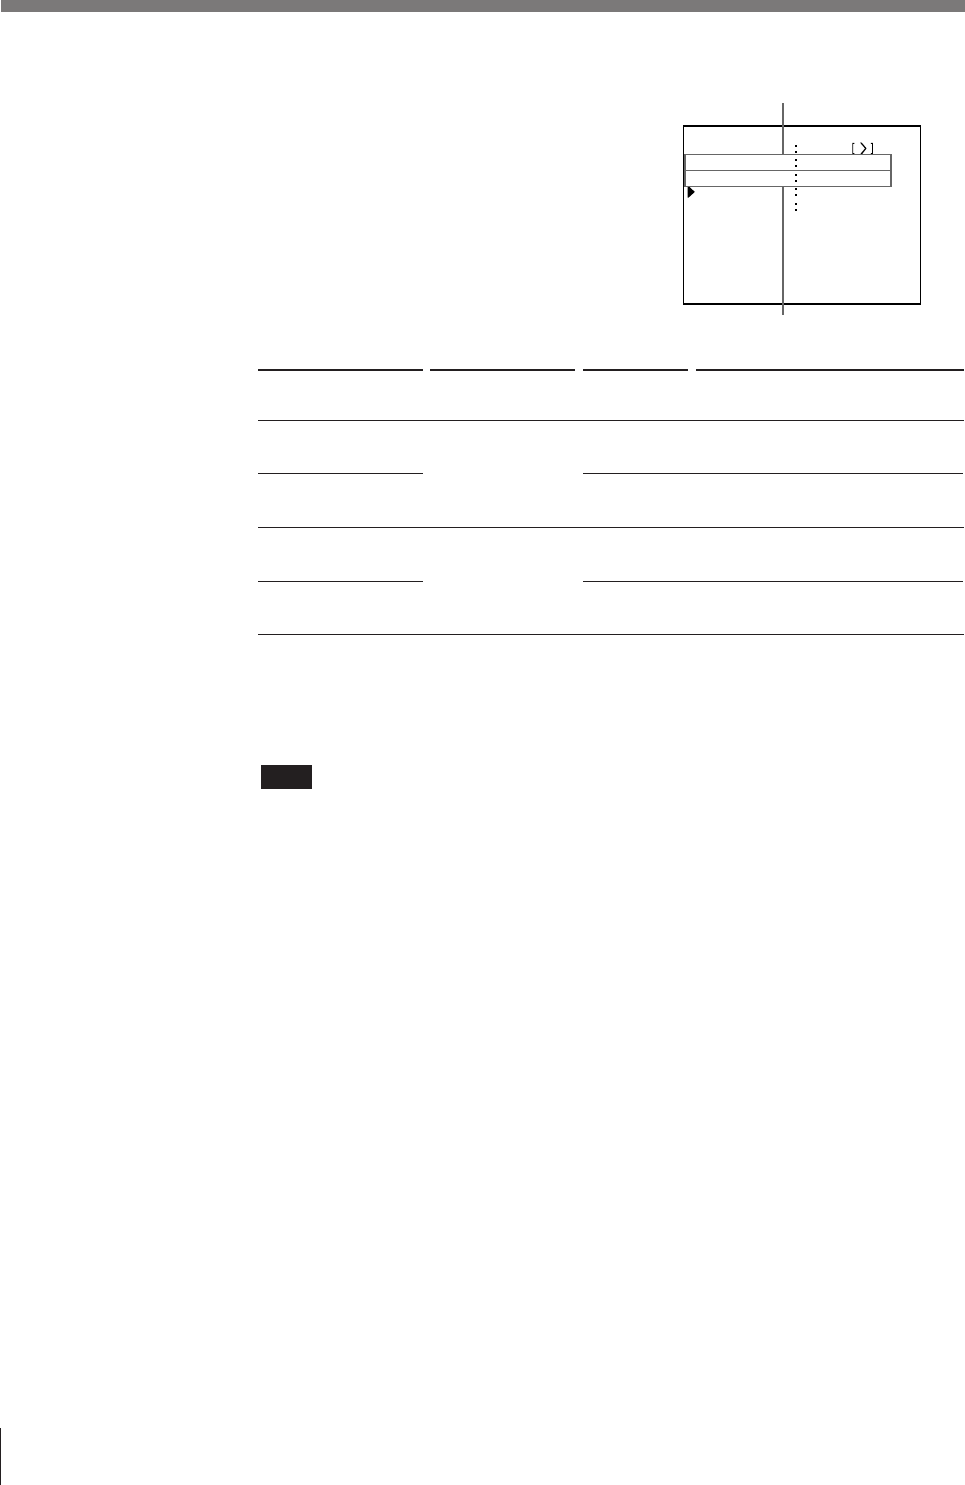
WI NDOW SET UP COLOR n n n
PRESS
L AY SETUP
H START
00
DOT
(
S
)
Q 1 A
1
S
V START
H WI DTH
V WIDTH
00
DOT
(
S
)
720
DOTS
468
DOTS


