


4-16
4 Operations4 Operations
4 Operations4 Operations
4 Operations
TELEDYNE ANALYTICAL INSTRUMENTS
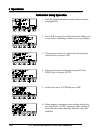
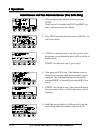
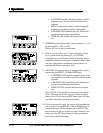
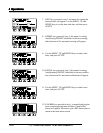
• LATCHING actuates the alarm above a certain
setpoint even if the level falls back below the
setpoint.
• RELAY indicates the relay (on the rear panel)
actuated by the alarm, which is changeable.
• FAILSAFE=YES enables the relay which actu-
ates the alarm during system failure.
• DEFEAT=NO actuates the alarms for normal
use.
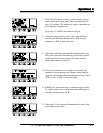
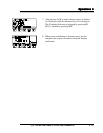
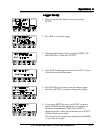
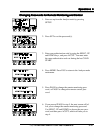
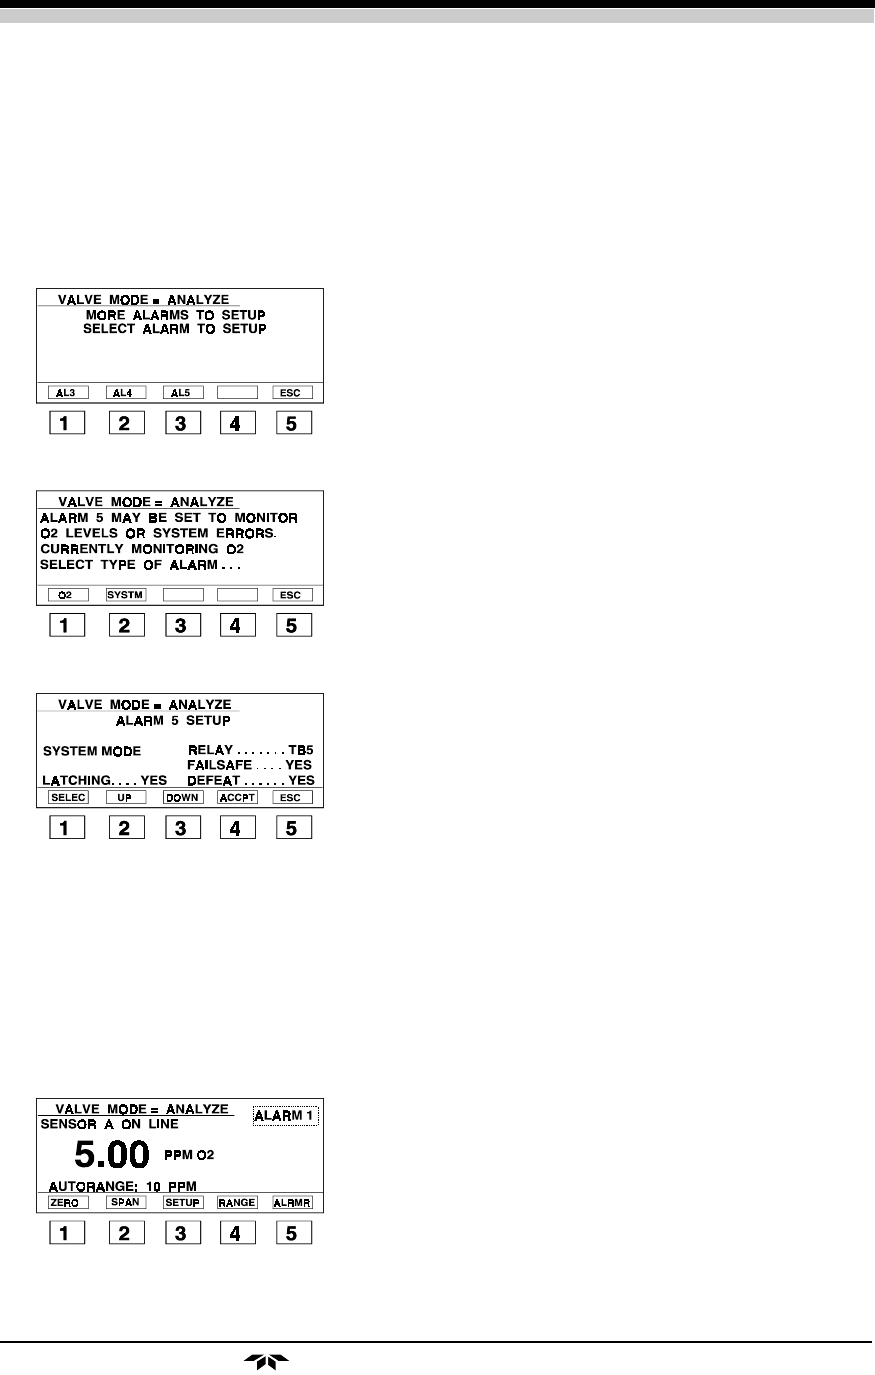
7. If MORE was pressed in step 5, choose alarms 3, 4, or 5
by pressing AL3, AL4, or AL5.
Choose AL5 to set-up a system alarm.
8. If AL5 was pressed in step 7, choose alarm 5 to be an
O
2
or system alarm by pressing O
2
or SYSTEM.
Configured as a system alarm, alarm 5 will ring when a
scheduled calibrator zeroing or a scheduled span calibra-
tion fails, when there is an internal system failure, or
when the RAM back-up battery fails.
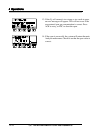
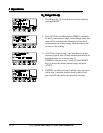
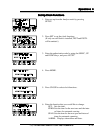
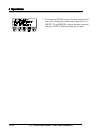
9. If SYSTM was pressed in step 8, configure the system
alarm using the SELEC, UP and DOWN keys.
• LATCHING=YES actuates alarm 5 above a cer-
tain setpoint even if the level falls back below the
setpoint.
• FAILSAFE=YES enables the relay which actu-
ates the alarm during system failure.
• DEFEAT=YES actuates the alarm for normal
use.
Press ACCPT to accept the new system alarm configu-
ration. The next screen will ask you if there are more
alarms to set. If not, pressing ESC three times will take
you back to the Analyze mode main menu.
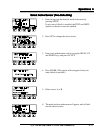
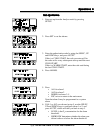
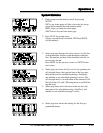
10. If O
2
was pressed in step 8, the screen will resemble the
one in step 6. Use the SELEC, UP and DOWN keys to
configure alarm 5. When finished, press ACCPT. The
next screen will ask you if there are more alarms to set.
If not, pressing ESC three times will take you back to
the Analyze mode main menu.