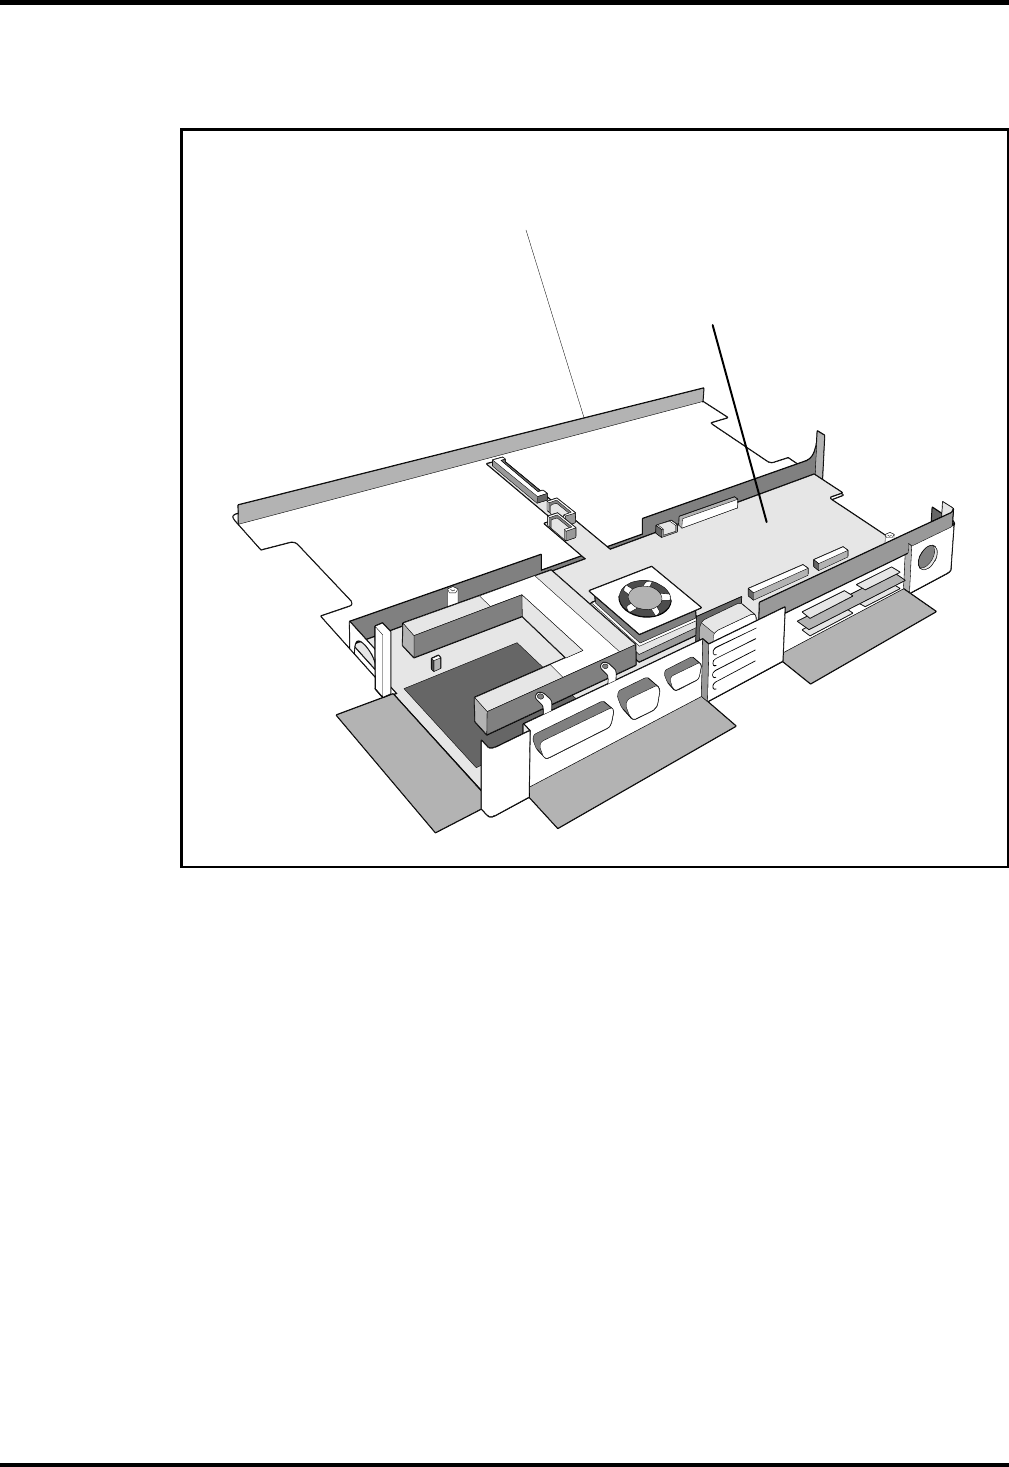
4
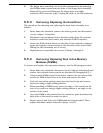
. Lift up on the front edge of the main board until it clears the battery
cavity; then pull the main board forward and out of the plastics.
5
. Reassembly is the reverse of steps 1 through 4 above.
6.5.14
Removing/Replacing HDD Connector Board
To remove and replace the HDD connector board Assembly, perform the
following procedure:
1
. Remove the top case assembly as described in Paragraph 6.5.8.
2
. Remove the main board assembly as described in Paragraph 6.5.13.
3
. Turn the main board over and lay on a flat surface.
4
. Using a small Phillips screwdriver, remove the two screws securing
the HDD connector board to the main board.
5
. Replacement is the reverse of Steps 1 through 4.
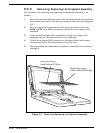
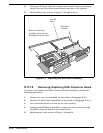
New P/S
Board
Remove all other board
assemblies; then remove four
Hex Standoffs and four screws.
Main Board
Assembly
Figure 6-4 Replacing the Main Board Assembly
6-14
Field Service


