GL-1010 Network Fax Operator’s Guide 17
USING THIS GUIDE
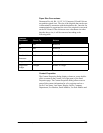
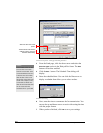
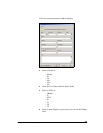
Styles and Conventions
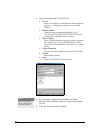
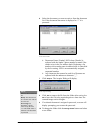
This guide employs several typographic styles to visually convey
information. The following table illustrates the styles used and
defines the conditions in which they are used.
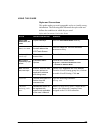
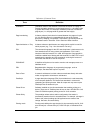
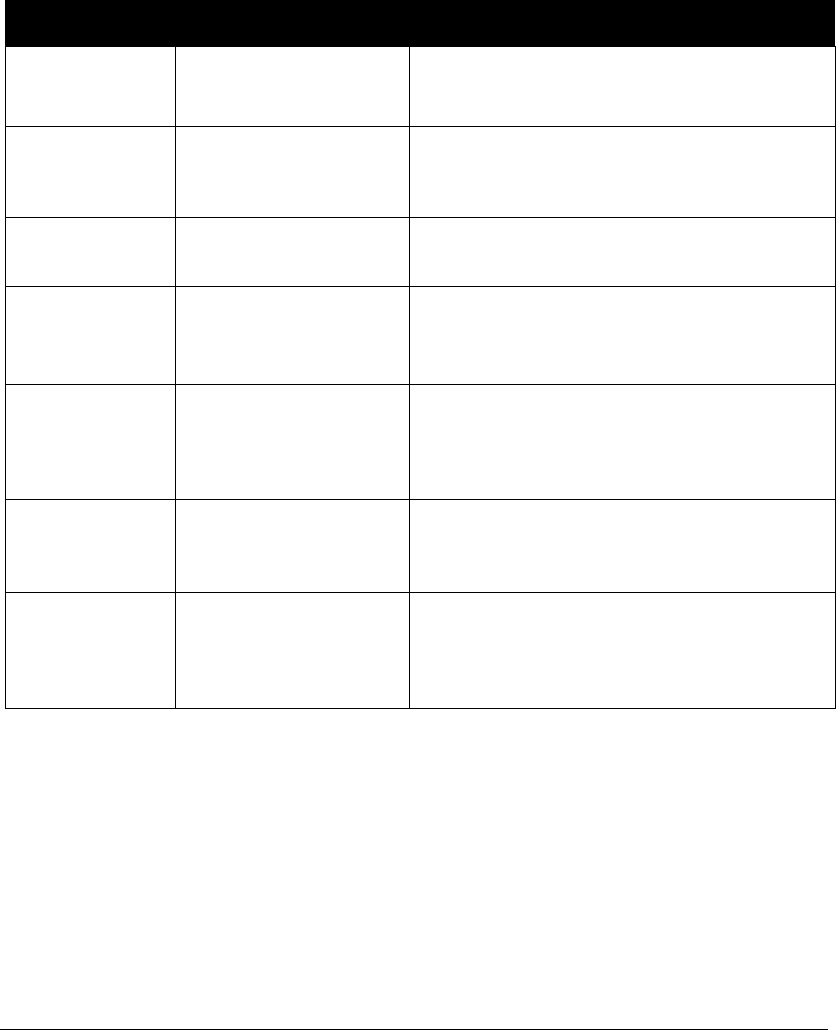
Styles and Conventions Used in this Guide
STYLE USAGE DESCRIPTION EXAMPLE
BOLD, SANS
SERIF FONT, ALL
CAPS
Copier hard keys.
Press the PRINTER/NETWORK hard key.
SANS SERIF
FONT, ALL CAPS
Soft keys, fields,
function tabs on the
LCD Touch Screen.
Press the ADMIN tab. Press the NETWORK
SETTINGS soft key.
Italic, serif font,
initial caps
Menu names and
screen titles.
From the File menu, choose Print.
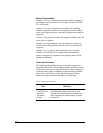
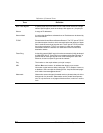
Menu options
separated by right
arrows.
Embedded Menu
Options.
From the Start menu, choose
Programs→Toshiba e-STUDIO GL Client
→Toshiba GL Address Book.
Bold, sans serif
font, initial caps
Buttons, controls, tabs,
or menu options on
application windows
and dialog boxes.
Double-click Properties and click Services.
From the Novell Printing group box, click
On
to enable Novell Printing. Click
OK.
Courier Text the user types in a
field or from the
command line.
Type the following command:
setup.exe
<Brackets
enclosing, italic
text>
Variable text that is to
be replaced with
specific text applicable
to the user’s network.
Enter GL-1010<device name>, where device
name is the Microsoft Computer Name
assigned to the GL-1010 controller.