30 GL-1010 Network Fax Operator’s Guide
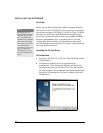
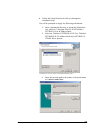
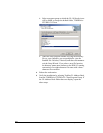
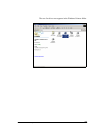
5 Locate the GL-1010 printer in the network:
Each driver is represented by a separate printer icon within the
network:
6 Select the \\<device name>\dssc printer and click OK.
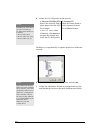
7 Follow the Add Printer Wizard as prompted until you are
notified that the fax driver has been installed successfully.
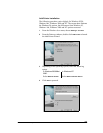
In Windows 95/98/Me/2000: In Windows NT:
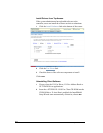
Specify the Network Path or
queue name of the
GL-1010.
For example:
\\<device name>\dssc
Alternately, click Browse to
navigate the network and
locate the
GL-1010 printer.
Enter the Printer Name or
select a printer from the
list of Shared Printers.
NOTE:
Depending on which driver
you want to install, the
GL-1010 printer names are
as follows:
\\<device name>\dssc
\\<device name>\GL_pcl6
\\<device name>\GL_ps
NOTE:
If the Add Printer Wizard
detects previously installed
driver software, you will be
prompted to either keep or
replace the existing driver.
If the controller software
has been recently updated,
it is recommended that you
replace the driver.
Otherwise, keep the
existing driver.


