


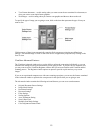
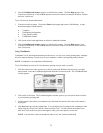
Using the Multiple Scan Mode
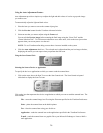
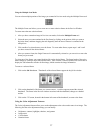
You can select multiple portions of the image you scanned in Preview mode using the Multiple Frame tool.
The Multiple Frame tool allows you to create two or more selection frames in the Preview Window.
To create more than one selection frame:
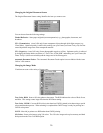
1. After you have scanned an image in Preview scan mode, click on the Multiple Frame tool.
2. Select the area you want contained in the first frame by clicking on the point at which you want to
begin the frame, and then dragging the tool diagonally until the area of interest is contained in the
marquis box.
3. Click outside of a selected area to save the frame. To create other frames, repeat steps 1 and 2 until
you have created all the desired frames.
4. After you create a frame, the Single Frame tool is automatically selected so you can resize or move the
frame you just created.
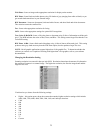
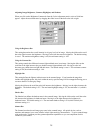
To select one of the frames you created, double-click on the desired frame. The frame border of the active
frame changes to a marquis style frame (dotted lines). Once a frame is selected, double-click on a frame to
display the Job Information window for that image, which contains the image information.
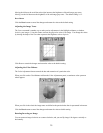
To remove a selected frame:
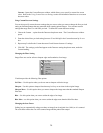
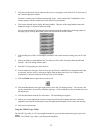
1. Click on the Job List button. Thumbnails of the selected frames appear in the job list window.
2. Click on the thumbnail of the frame you want to remove. A red box appears around the selected
thumbnail. The frame in the Preview window associated with the thumbnail, changes to a dashed
outline.
3. Click on the “X” button, located in the bottom-left corner of the thumbnail, to remove the frame.
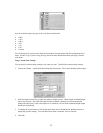
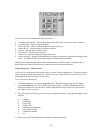
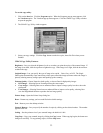
Using the Color Adjustment Features
The Color Adjustment features allow you to make adjustments to the colors and/or tones in an image. The
following lists the color adjustment settings you can modify:
• Brightness, contrast, highlights, shadows, and gamma
• Image tones
• Color balance
• Rotation/Invert
27