


Scanning Procedure
119
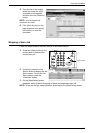
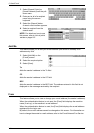
1.
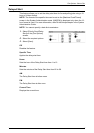
Press the <All Services> button
on the control panel.
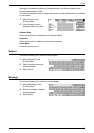
2.
Select a scan service on the
touch screen.
NOTE: If the Authentication and
Accounting feature is enabled, you
may be required to enter the user ID
and passcode (if one is set up). If
you need assistance, contact the System Administrator.
3.
Press the <Clear All> button once on the control panel to cancel any previous
selections.
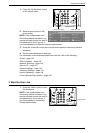
4.
Set the desired features on each tab.
For information on the features available on each tab, refer to the following.
E-mail – page 122
Scan to Mailbox – page 126
Network Scanning – page 126
Scan to PC – page 127
General Settings – page 130
Advanced Settings – page 133
Layout Adjustment – page 134
E-mail Options/Filing Options – page 138
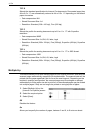
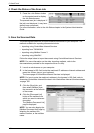
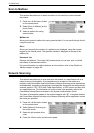
3. Start the Scan Job
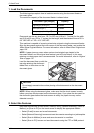
1.
Press the <Start> button to scan
the documents.
NOTE: If the Authentication and
Accounting feature is enabled, you
may be required to enter the user ID
and passcode (if one is set up). If
you need assistance, contact the
System Administrator.
<Clear All> button<All Services> button
<Start> button