


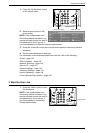
Scan to PC
127
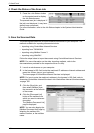
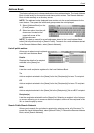
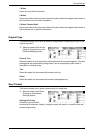
Job template list
Allows you to select a job template for the scan job.
• DEFAULT - This is the default job template. This template is used as a base
template when a new template is to be created in CentreWare Internet Services.
This template cannot be deleted. It can be edited and returned to the factory-default
only by the System Administrator.
• @S2HOME - This is a template for the Scan-to-Home feature. Selecting this
template verifies a user and sends scanned data to the user’s private folder.
NOTE: The job template “@S2HOME” is displayed only when the remote
authentication is enabled, and [Enabled] is selected for [Status], under [Properties]
> [Services] > [Scan to Home] in CentreWare Internet Services. For more
information, refer to the Scanner Environment Settings and CentreWare Internet
Services chapters in the System Administration Guide.
NOTE: The job template “@S2HOME” cannot be edited using a remote
application.
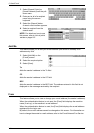
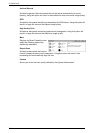
Go to
Allows you to specify the number of the job template to be displayed, using the numeric
keypad on the control panel. The specified job template is displayed at the top of the
template list.
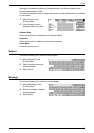
Template Description
Displays the [Template Description] screen where you can view the template
description, settings, and location.
Update Templates
Updates the list of available job templates.
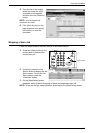
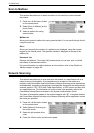
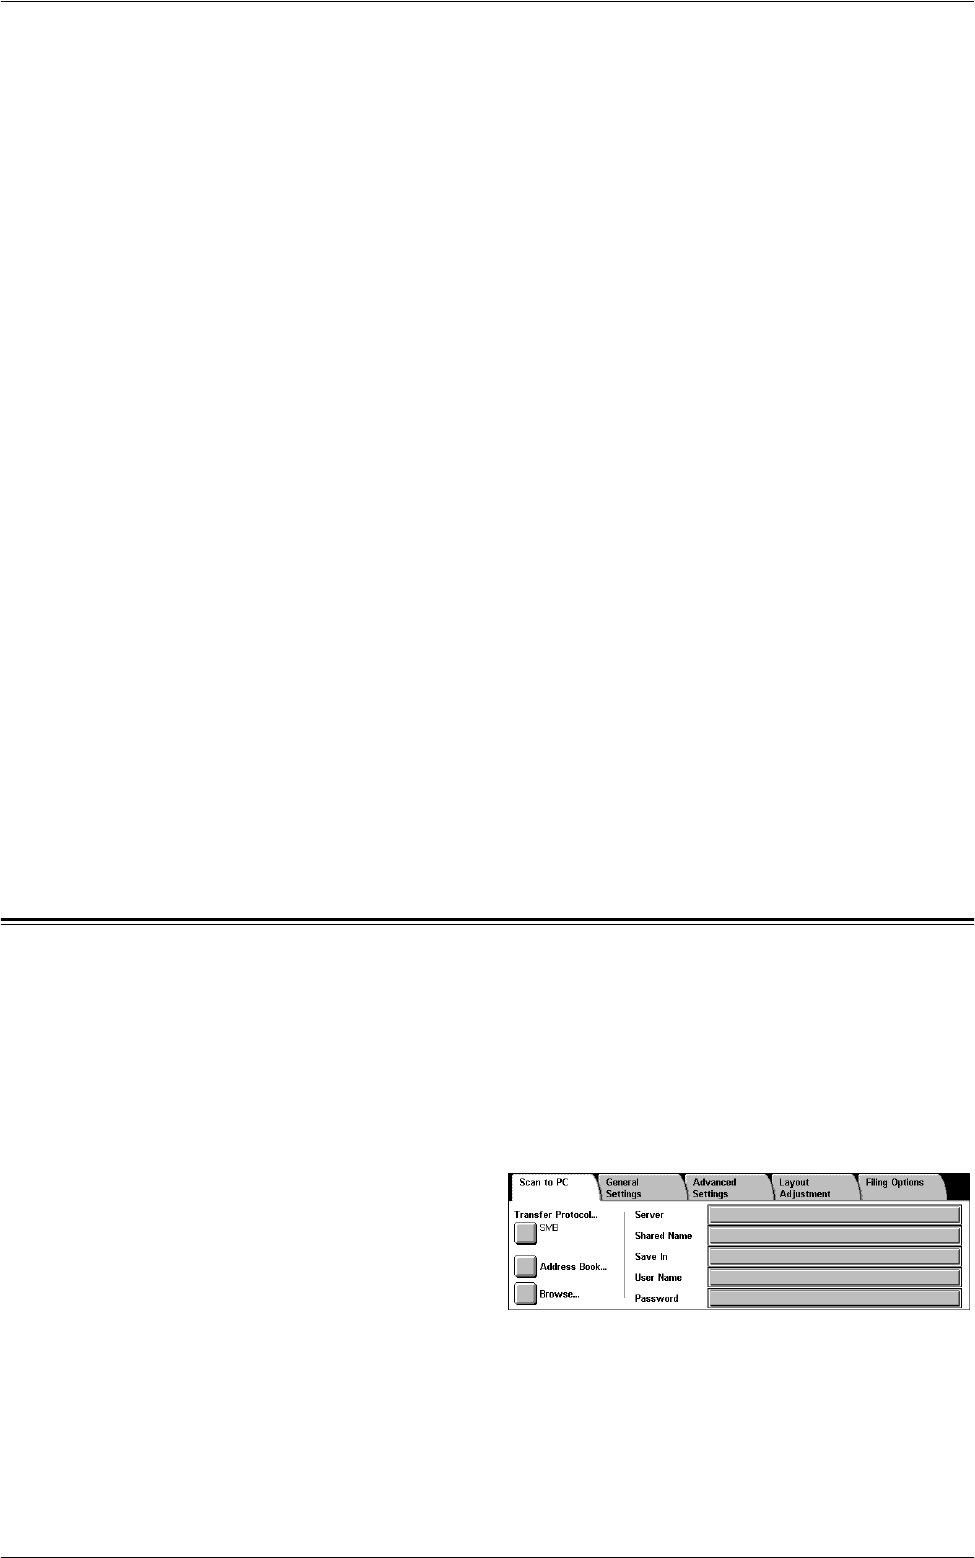
Scan to PC
This section describes how to send scanned documents to specified destinations using
the FTP or SMB protocol. For more information, refer to the following:
Transfer Protocol – page 128
Address Book – page 129
Browse – page 129
General Settings – page 130
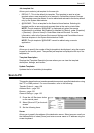
1. Press the <All Services> button
on the control panel.
2. Select [Scan to PC] on the touch
screen.
3. Set the following items.
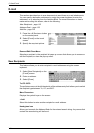
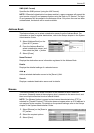
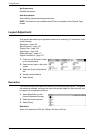
Server
Allows you to specify the address of the destination server. Select a server name from
the Address Book or select [Server] and enter a server name or IP address using the
screen keyboard.