


4Fax
82
2.
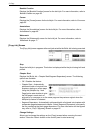
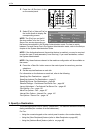
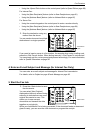
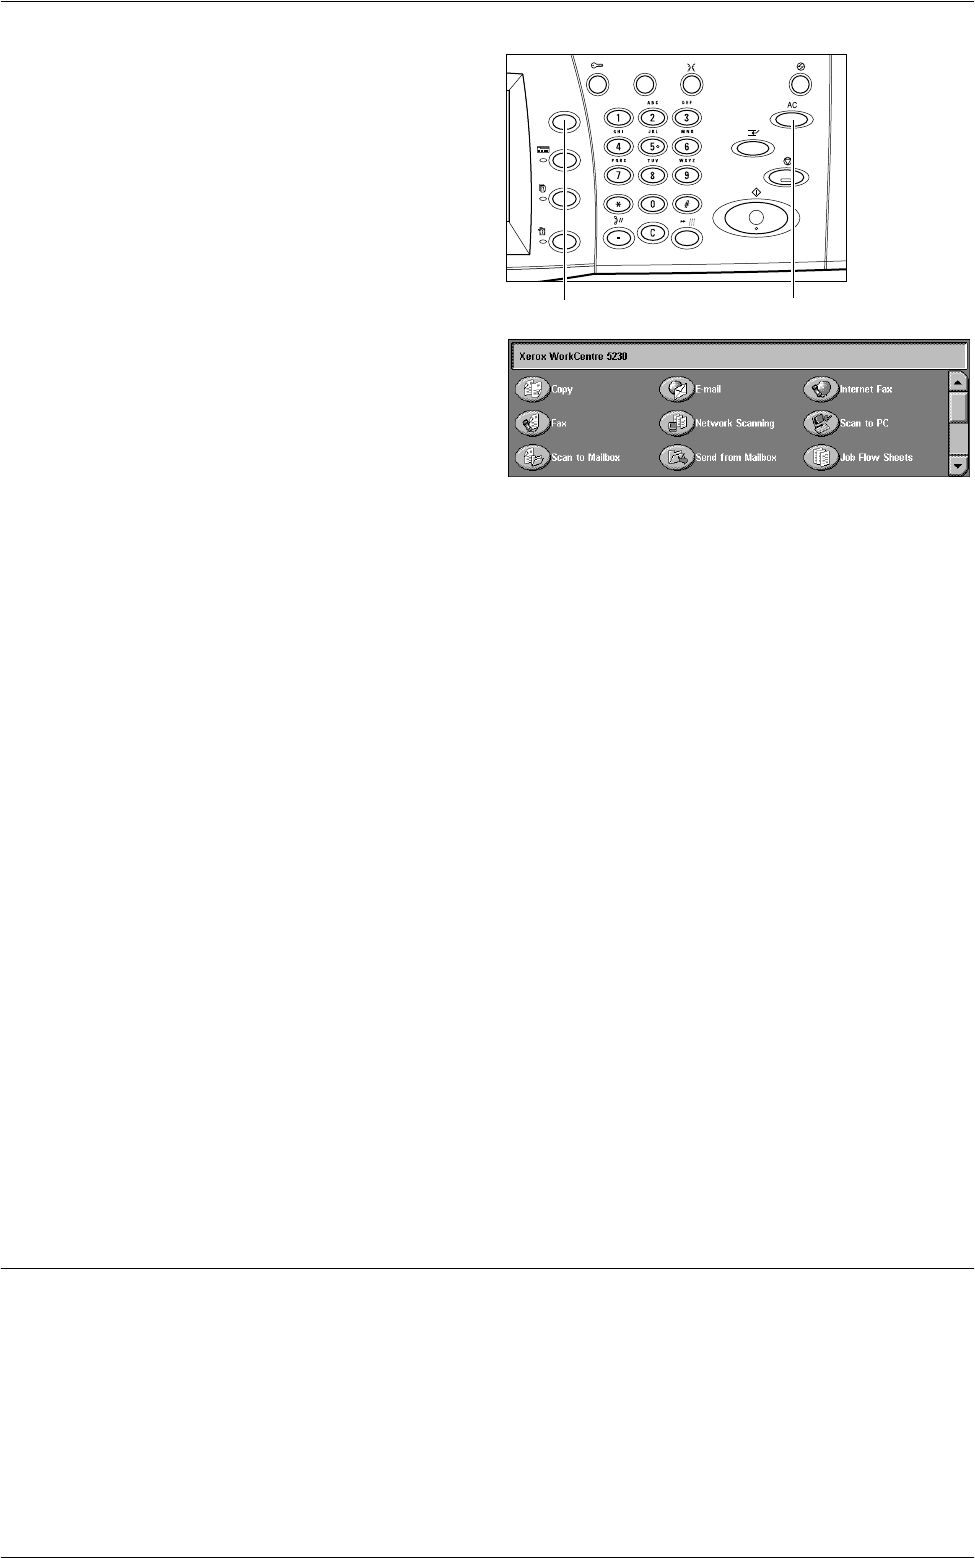
Press the <All Services> button
on the control panel.
3.
Select [Fax] or [Internet Fax] on
the touch screen to display the
corresponding screen.
NOTE: The [Fax] icon on the All
Services screen is for the Fax or
Server Fax service depending on
the fax service selected in the System Administration mode. For how to switch
between Fax and Server Fax in the System Administration mode, refer to the Setups
chapter in the System Administration Guide.
NOTE: If the Authentication and Accounting feature is enabled, you may be required
to enter the user ID and passcode (if one is set up). If you need assistance, contact
the System Administrator.
NOTE: Only those features relevant to the machine configuration will be available on
the screen.
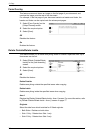
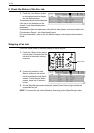
4.
Press the <Clear All> button once on the control panel to cancel any previous
selections.
5.
Set the required features on each tab.
For information on the features on each tab, refer to the following:
Specifying Fax Destinations – page 85
Specifying Internet Fax Destinations – page 91
Specifying Server Fax Destinations – page 94
General Settings - Fax/Internet Fax/Server Fax – page 96
Layout Adjustment - Fax/Internet Fax/Server Fax – page 99
Fax Options - Fax – page 101
More Fax Options - Fax – page 107
Internet Fax Options - Internet Fax – page 110
Fax Options - Server Fax – page 114
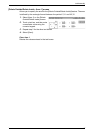
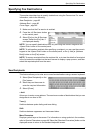
3. Specify a Destination
The following explains how to specify a destination. The machine allows the following
dialing methods (fax numbers or e-mail addresses):
For Fax:
• Using the numeric keypad on the control panel to enter a fax number directly
• Using the [New Recipients] feature (refer to
New Recipients on page 85
)
• Using the [Address Book] feature (refer to
on page 88
)
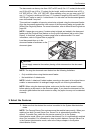
<Clear All> button<All Services> button