


11
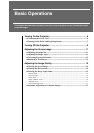
Basic Operations
Adjusting the Screen Image
You can adjust the screen image in order to obtain the best possible picture.
The size of the projected image is basically determined by the distance from the projector to the screen.
(Refer to the Setup Guide.)
The following procedures explain how to adjust the screen image once the projector itself has been set up.
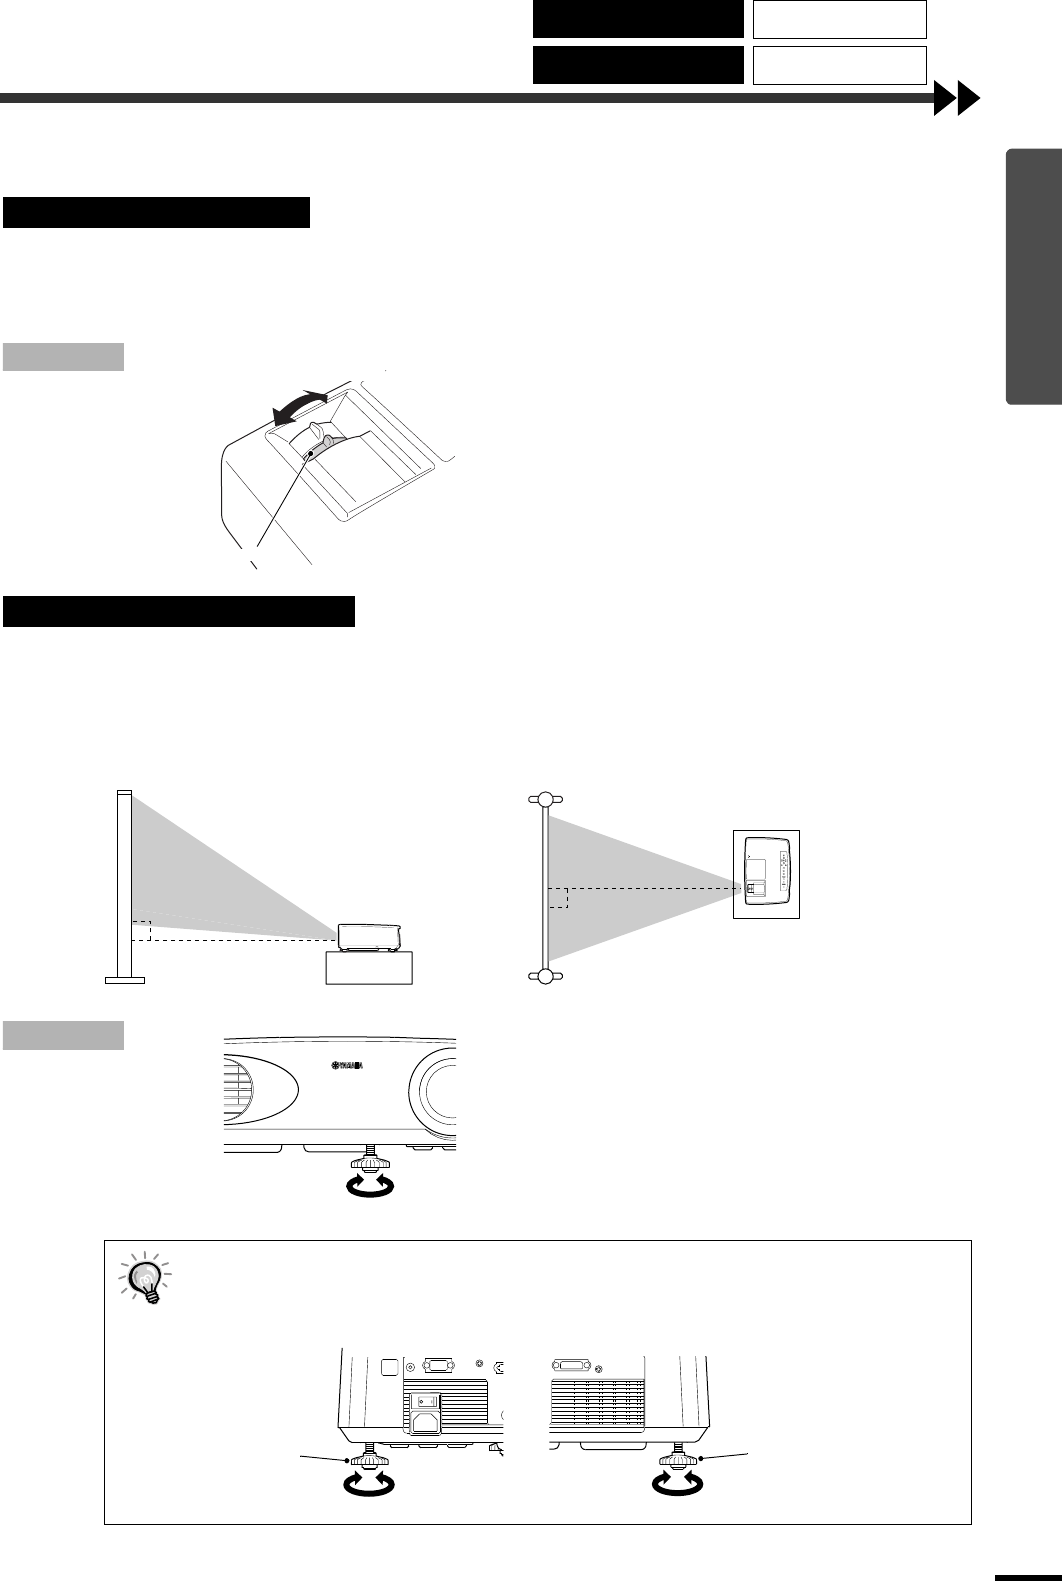
Procedure
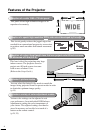
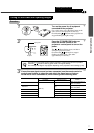
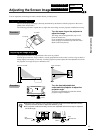
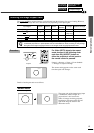
Turn the zoom ring on the projector to
adjust the image.
The image can be enlarged in this way to 1.35
times the normal size.
If you would like to enlarge the image further,
move the projector further away from the screen.
(Refer to the Setup Guide.)
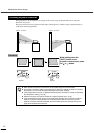
The projector should be as perpendicular to the screen as possible.
If the projector cannot be set up so that it is exactly perpendicular to the screen, it can be set up so that it is
tilting slightly horizontally or vertically. To tilt the projector upward, adjust the front adjustable foot to tilt
the projector at an angle of up to a maximum 12.9°.
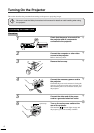
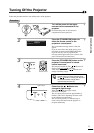
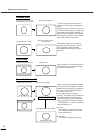
Procedure
Turn the front adjustable foot
underneath the projector to adjust the
projector angle.
Turn the front adjustable foot until the desired
projection angle is obtained.
Adjusting the Image Size
Adjusting the Image Angle
•
••
•
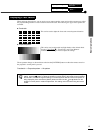
When the foot is adjusted, it may cause the projected images to become distorted. Use the
keystone correction function to adjust this distortion. (p.12)
•
••
•
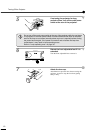
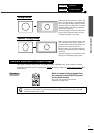
If the projector is tilted horizontally, turn the rear adjustable feet at left and right to adjust the
horizontal angle.
To reduce
To enlarge
Zoom ring
Seen from the side
Seen from above
Extend
Retract
Rear
adjustable foot
Extend
Retract
Retract
Extend
Rear
adjustable foot
Adjusting the Image Size Correcting Keystone
Distortion
Adjusting the Image Angle Displaying a Test
Pattern